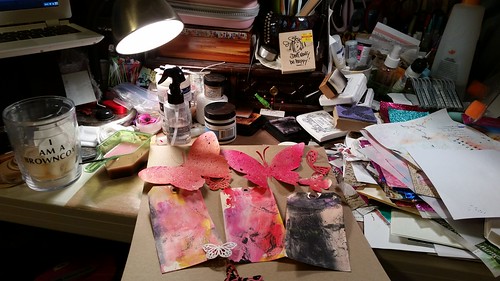
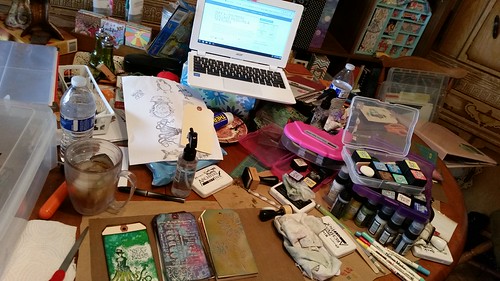
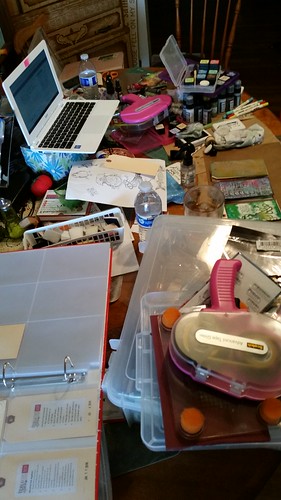
Today's class was an overview of some of the variety of substrates available from his line, so he didn't have any tags for us to make. So Dawn and I took the opportunity to get caught up. We crafted all. day. long!
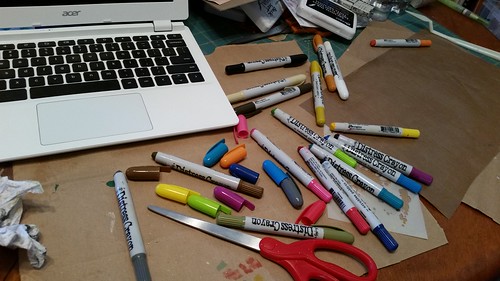
First and foremost, we made a humongous mess!
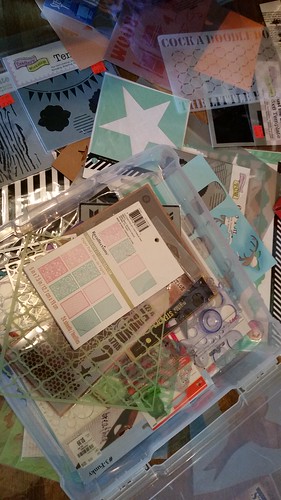
After gathering stencils from my bedroom and craft room, and throwing them on the floor so we could see them more easily, we decided it was time to put them in a bin. Honestly, I hadn't realized just how many we've accumulated over the last couple of years.
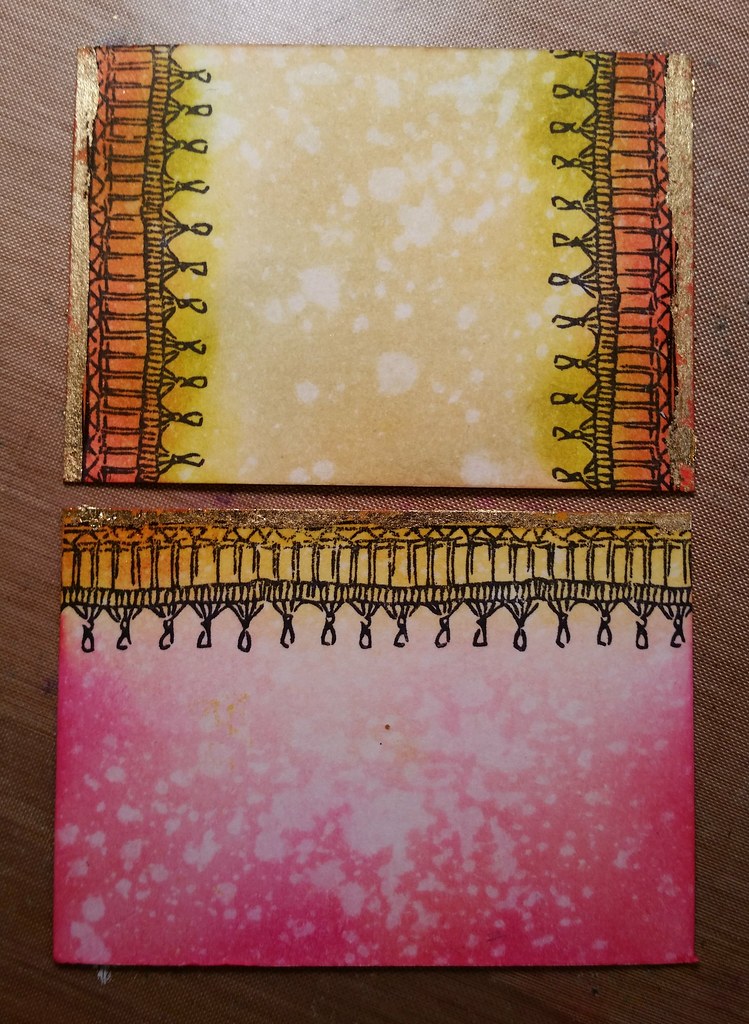
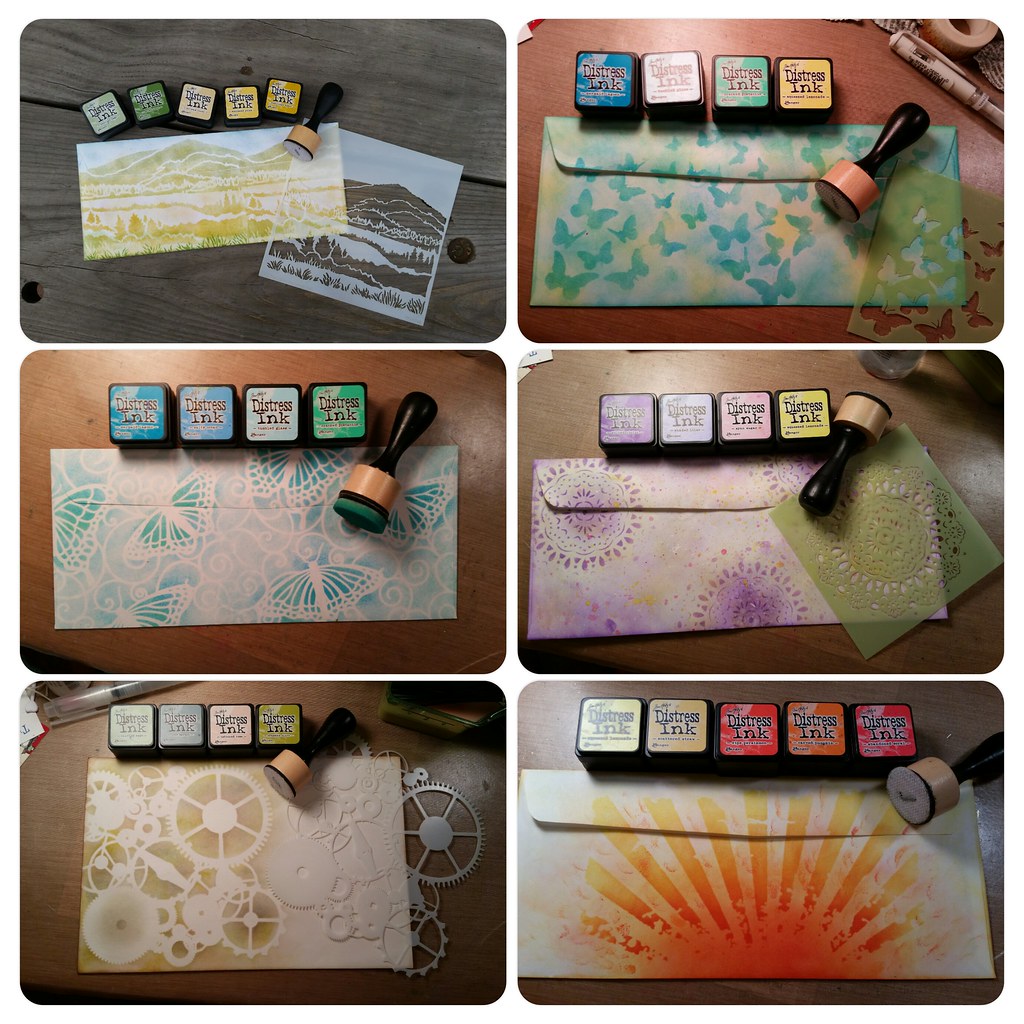
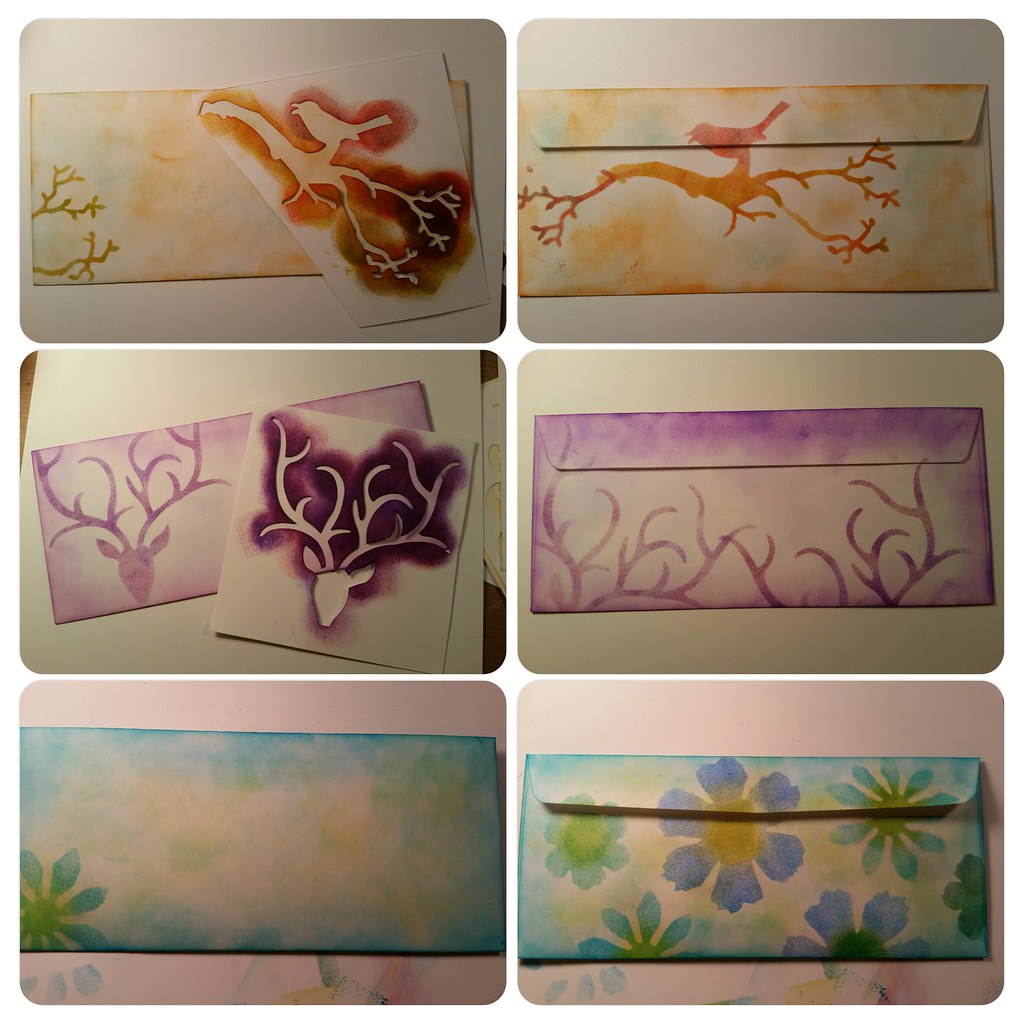
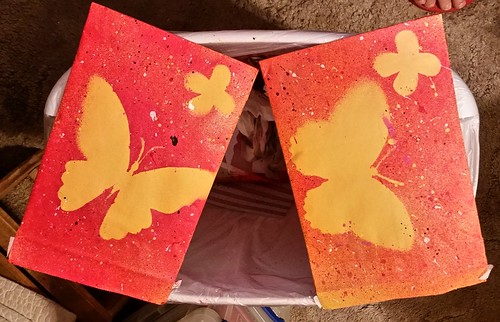
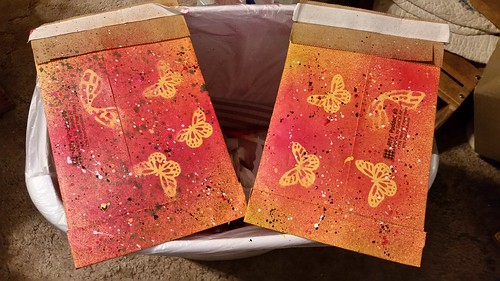
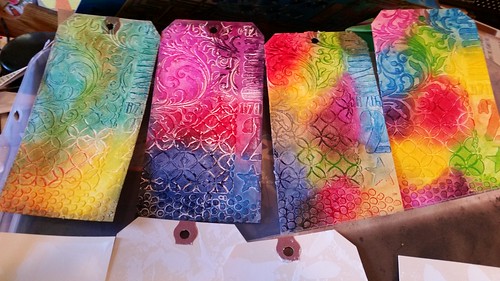
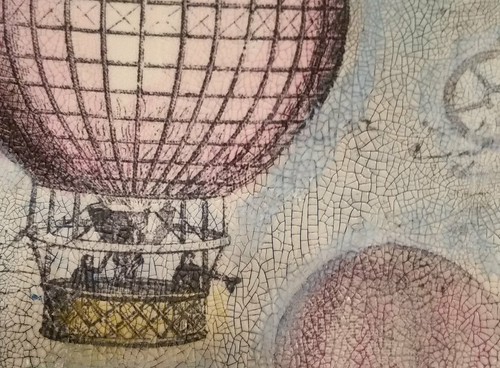
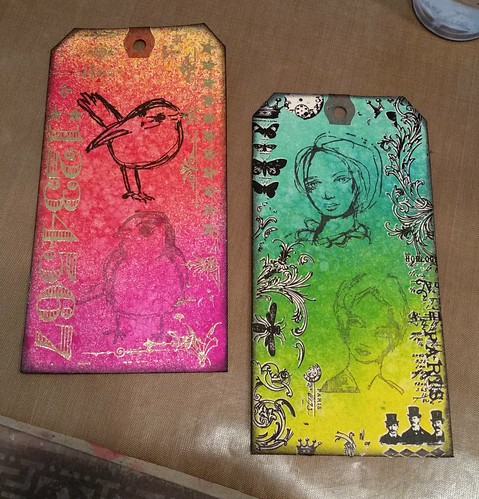
Okay, finally, here are the tags we created today. I can't remember all of the process names exactly, so my apologies for not labeling these as they should be labeled. I can tell you there was a lot of stencils, Distress Paint and Ink used, and a whole lot of spritzing going on. These are meant to be used as a reference so when we go to make a card, journal page or mixed media piece, we can look at the tags and remember, hey, we can do this or that to them, and have the confidence to go for it.
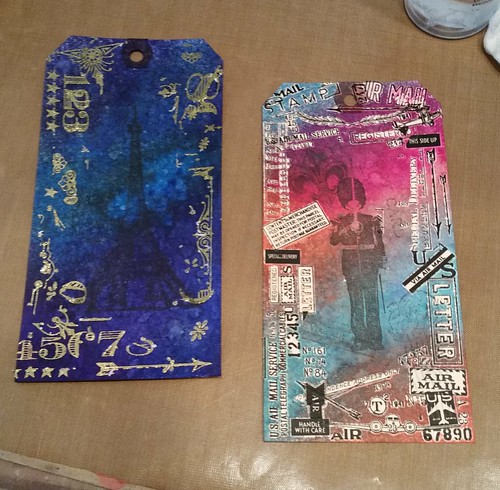
Mine is on the left, Dawn's on the right.
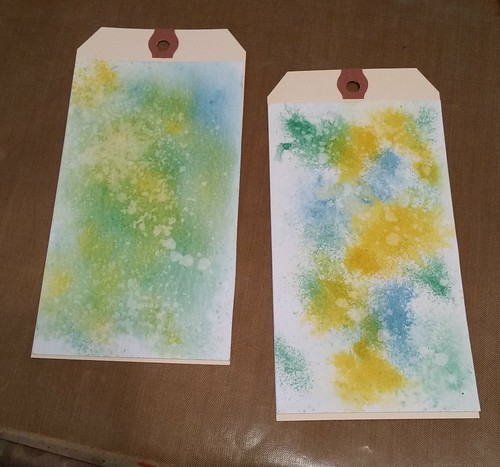
Paint lifting, which was pretty cool once we got the hang of it.
Mine is on the left, Dawn's on the right.
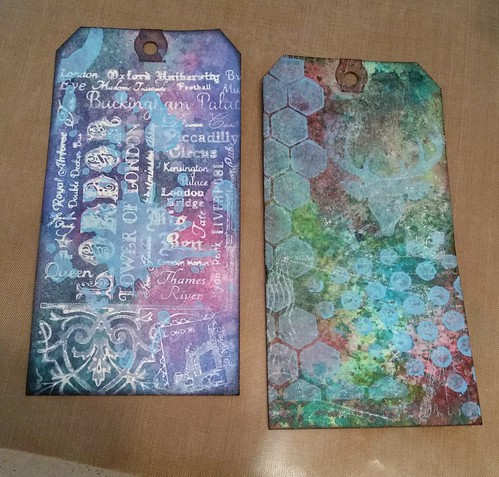
The one on the right is my favorite so far of all the tags she's made.
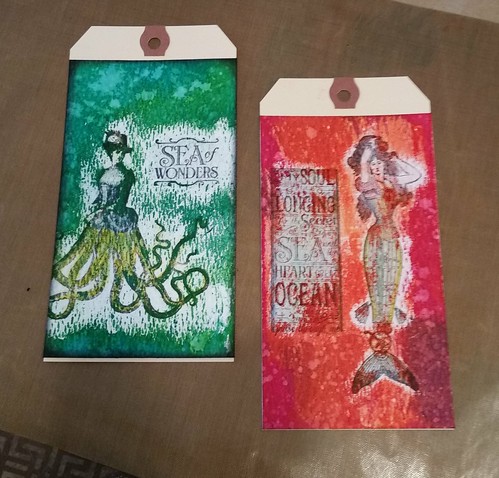
Both of these are mine.I kind of want to draw flower outlines on the one on the right.
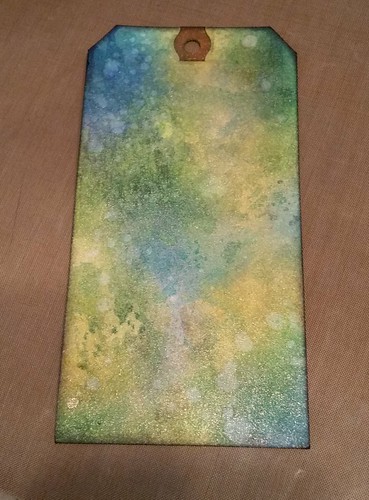 Using Mica spray, this one is mine. You can't really see the wonderful shimmer
the mica spray gives it.
When we were finished crafting, Dawn printed out the tag/process labels and we sat on my bed, cut them out and adhered them to the backs of the tags we've been making the last few days. We finished just in time to tune into a live chat with Tim Holtz and company. It was very enjoyable, and we're looking forward to the next one.
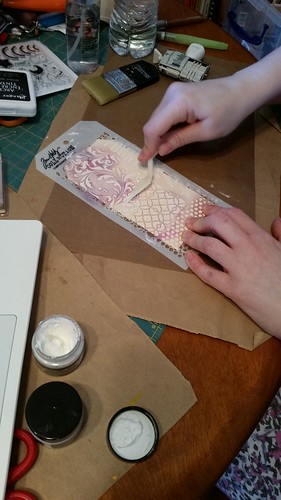
Paint resist with ink, one of my favorite processes.Mine is on the left, Dawn's on the right.
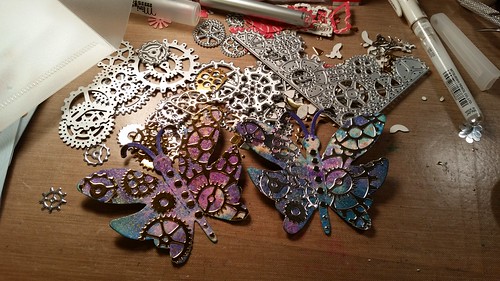
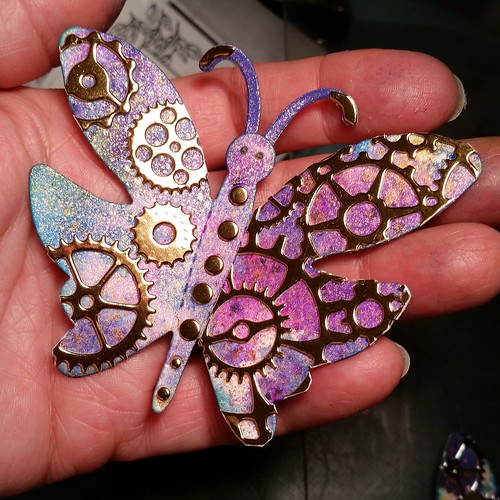
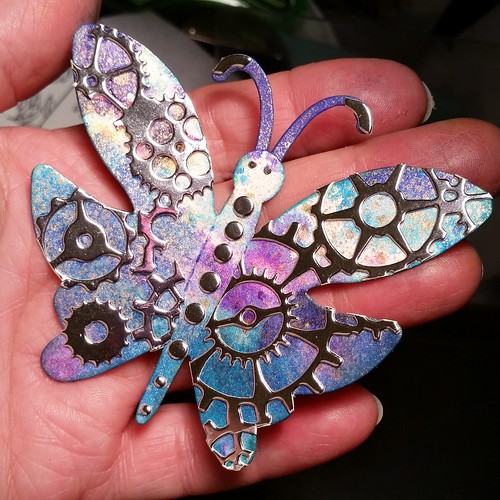
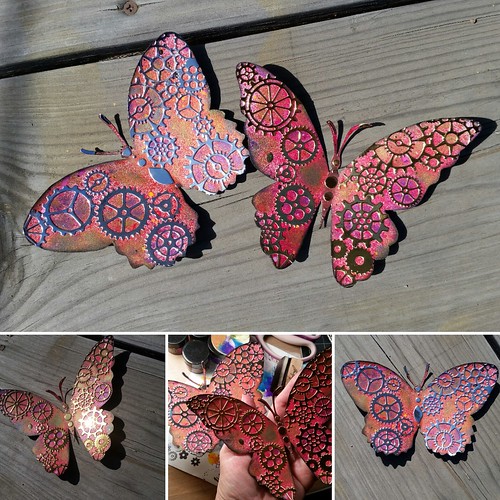
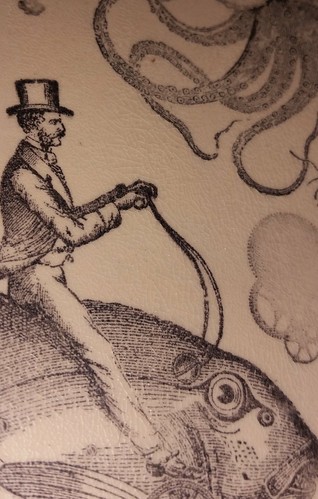
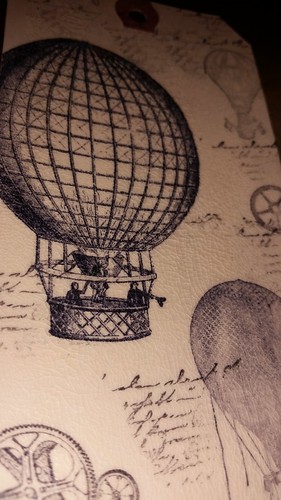
Using Micro Glaze, steampunk!
Mine is on the left, Dawn's on the right.
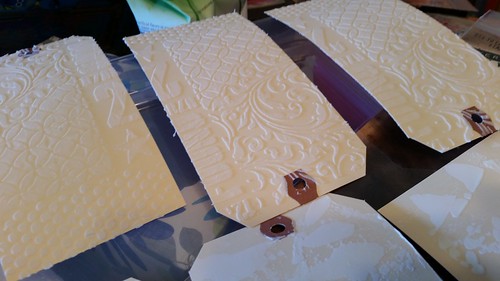
Stain rub resist using Tim Holtz rub-ons
along the outer edges. Both of these are mine.
I love how they turned out.
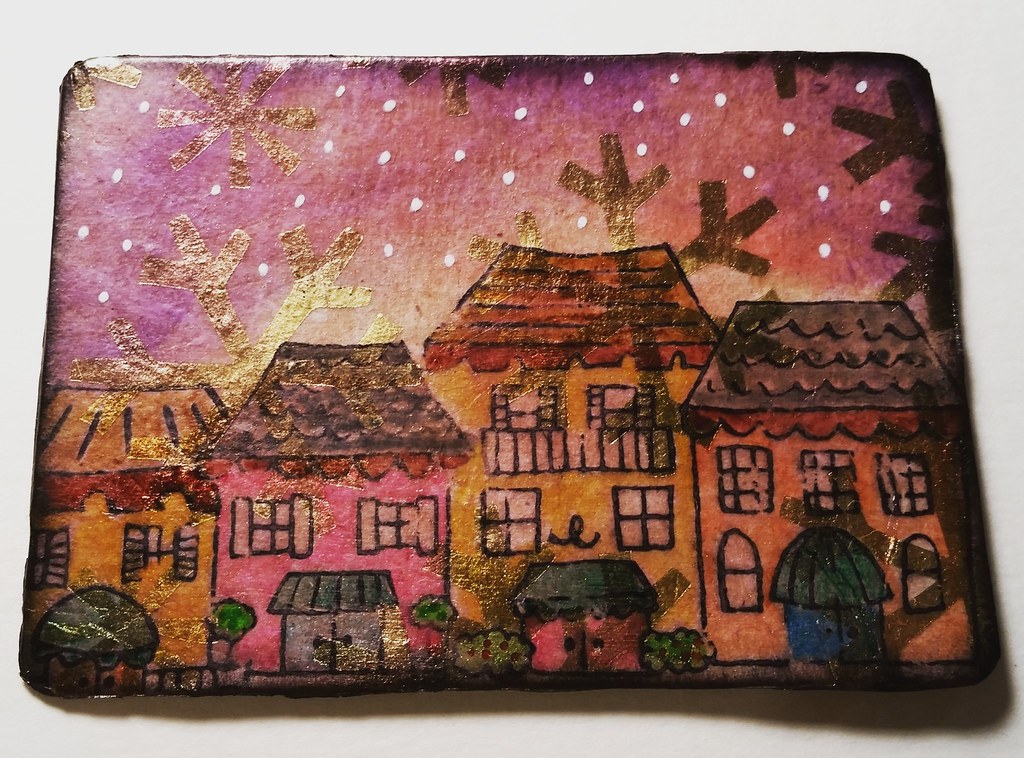
That's a lot of arting going on, right?!
Summer of Creative Chemistry 101, 102, and 103