Thursday, April 14, 2016

Craft Swapping

Our first craft swap of the year was another success!
There were seven of us this time around, but a few of us made eight things because we didn't know one of the members moved away. (It's okay, though, her things will be mailed to her.)

Let's see, we have a place to take notes (made from a glass frame), play with chalk on a black canvas (with our initial written in chalk), set a glass on (a hand-sewn coaster), three new bracelets to wear, two plants, a coloring book (which I made), and a diorama.


The succulents are special because one plant came from my sister-in-law's mother's house. She passed away recently, so we'll take extra care to see it grows up strong and full. The other succulents are from the garden of one of the members. She cultivated them for a long time and sprinkled sea shells on the soil. I really love them.

The bracelets, made by my daughter Dawn, are adorable and easy to wear, not noisy or heavy, even though every other one is made of sparkly glass.

The dioramas, made by my daughter Valerie, were made with wood, which was woodburned, painted and decorated with all sorts of things like sand, twine, and miniature trees and bushes.

I made these coloring books. I started with a pre-made blank book and then stamped each page with images I thought would be fun to color. For the covers, I stamped, cut out Julie Nutting paper dolls I thought matched the personalities of those I made them for, adhered them to the cover and then put their names in the corner. I also included a piece of cardstock to use as a backing for whatever page is being colored so it doesn't bleed through to the next page if they use markers (Dawn's great idea!)

The books were very time consuming, but it was fun. I'm not sure I would make them again.


This is my haul. I'm so happy we all got together and shared a meal and few laughs.


Here are links to just a few of the stamps I used throughout the coloring book:


Disclosure – This post contains affiliate links, which means that at no cost to you, I may make a tiny commission if you decide to make a purchase. The products I link to are those that I believe in, regardless of any commission I may make from them. My goal is to help you easily find the tools, products, or other items that you will need to complete your project.

Wednesday, April 6, 2016

My Hair, A Different Sort of Post

Let me first say that no one has given me any beauty products to try. I'm going to talk about something I ordered on Amazon.com myself and paid for it out of my own pocket. I doubt I've ever posted about any beauty product, ever, this is a first. Also, I'm lucky if I put on face powder and lipstick these days.

I'm going to talk about my fine hair, which has been an issue all my life. Rarely have I had a decent haircut, so when I can grow it out and pull it back, woo-hoo! That's the stage I'm at right now and I'm enjoying being able to put my hair up quickly if I need to go someplace without notice.


I don't even have what you would call a styled haircut.

I'm not one to watch beauty videos. I find them boring and most of them are just selling products or lifestyles. But I've been watching Dominique Sachse, a news reporter who makes YouTube videos and I'm actually enjoying her. My bestest friend Lauri (who has awesome hair, btw, and is always put together), kept sending me links to Dominique's videos and telling me she did this or that with her hair and how much she loved her hair cut and wants a similar style. Me being in a place where I'm not overly concerned with my looks (I'm downright frumpy, and don't even ask about my non-existent eyebrows), thought, great for you, Lauri, but not for me.

But the more I watched Dominique's videos, the more I liked her. Besides being the sweetest person ever, Dominique has a way of making things she does with her FABULOUS hair seem very doable. That said, there's no way my fine hair could do anything close to what her thick head of hair will do, but I CAN use a few of her practical tips and tricks to manage my hair more successfully.


I have tried product after product on my thin hair, shampoos, mousse, conditioners, and hairsprays, that claim to boost volume. I've even tried putting nothing on it and that didn't work either. I became intrigued with the hairspray Dominique uses called Kenra Volume Spray #25, 80% VOC, 16-Ounce. She used so little of it yet she claimed her hair held all day. I thought, hmm, right, yeah, okay, sure, heard it before.


So I searched Amazon.com and was surprised at the price of the hairspray, steep for my usual let's buy it at Target or Safeway attitude. I thought long and hard before ordering a can, but I did it. I could have purchased a smaller can, but I went whole-hog and got the big one. I also ordered a little teasing brush as well called the Spornette Little Wonder Boar-Nylon Bristle Teasing Brush.

I have been using the hairspray the last couple of days, and you know what? I LOVE IT! A few short spritzes and I'm good for the day! It's not sticky like the stuff I've been lacquering on my hair, you can touch it and you wouldn't even know I had any hairspray in my hair. It also brushes out quite nicely at the end of the day. It's magic. Seriously.

So I just wanted to put this out there because when I like something, I like everyone to know about it. What floats your boat?


Disclosure – This post contains affiliate links, which means that at no cost to you, I may make a tiny commission if you decide to make a purchase. The products I link to are those that I believe in, regardless of any commission I may make from them. My goal is to help you easily find the tools, products, or other items that you will need to complete your project.


Sunday, April 3, 2016

We Attended A Julie Nutting Class!

...and it was so much fun!
My daughter Dawn and I took a Julie Nutting class at what turned out to be a very yummy scrapbooking store, The Island's Creative Escape (you can also find them on Instagram), about an hour's drive away from us. I was so excited to meet one of my all-time favorite crafting gurus, Julie Nutting, and I was not disappointed.

We brought a tote full of things I thought we'd need like adhesives, markers, colored pencils, ink pads, scissors, and whatever else I could fit into it, Julie and the store provided the rest.

Dawn and I were the first ones there, so we sat, where else, but right next to Julie! The kits she put together were filled with all sorts of embellishments, her printed cardstock, chipboard and other stickers. She even supplied the paint so we could paint the outside our little shelves.

Two people to each table left plenty of space for crafting. There were other tables behind us we could have spread out onto if we needed to, but we didn't. This craft store really knew what they were doing, from the classroom setting to purchasing their products, everything went very smoothly.

At first Julie was taking us step by step and we were a little nervous about keeping up and doing everything exactly as she did. But after awhile we were all pretty much on our own and doing things however we wanted. Julie walked around the table as best she could (her back was giving her a lot of pain), talking to everyone.

Dawn felt she was out of her element with all of the fussy-cutting and embellishment work, but she did a great job, even though her carpal tunnel was acting up. She's a trooper.

I'm glad we brought two paper cutters because every square needed some adjusting before being glued in place. We appreciated having the basic forms to start with, I'm sure that was a lot of prep work. Actually, we appreciated the work that went into putting together the entire kit, it was fabulous.

And here we are, with Julie Nutting herself! She was so accommodating about pictures with us and our finished project.

 She even signed the books we brought! Needless to say, I'm thrilled about our day with Julie Nutting.

There are some things I would have done differently with a few of the squares, but I'm pretty pleased with myself. I especially like that we remembered to bring photos of our dogs to incorporate them into our little shelves. I also like that bit of yummy fabric at the top from Julie's fabric line.


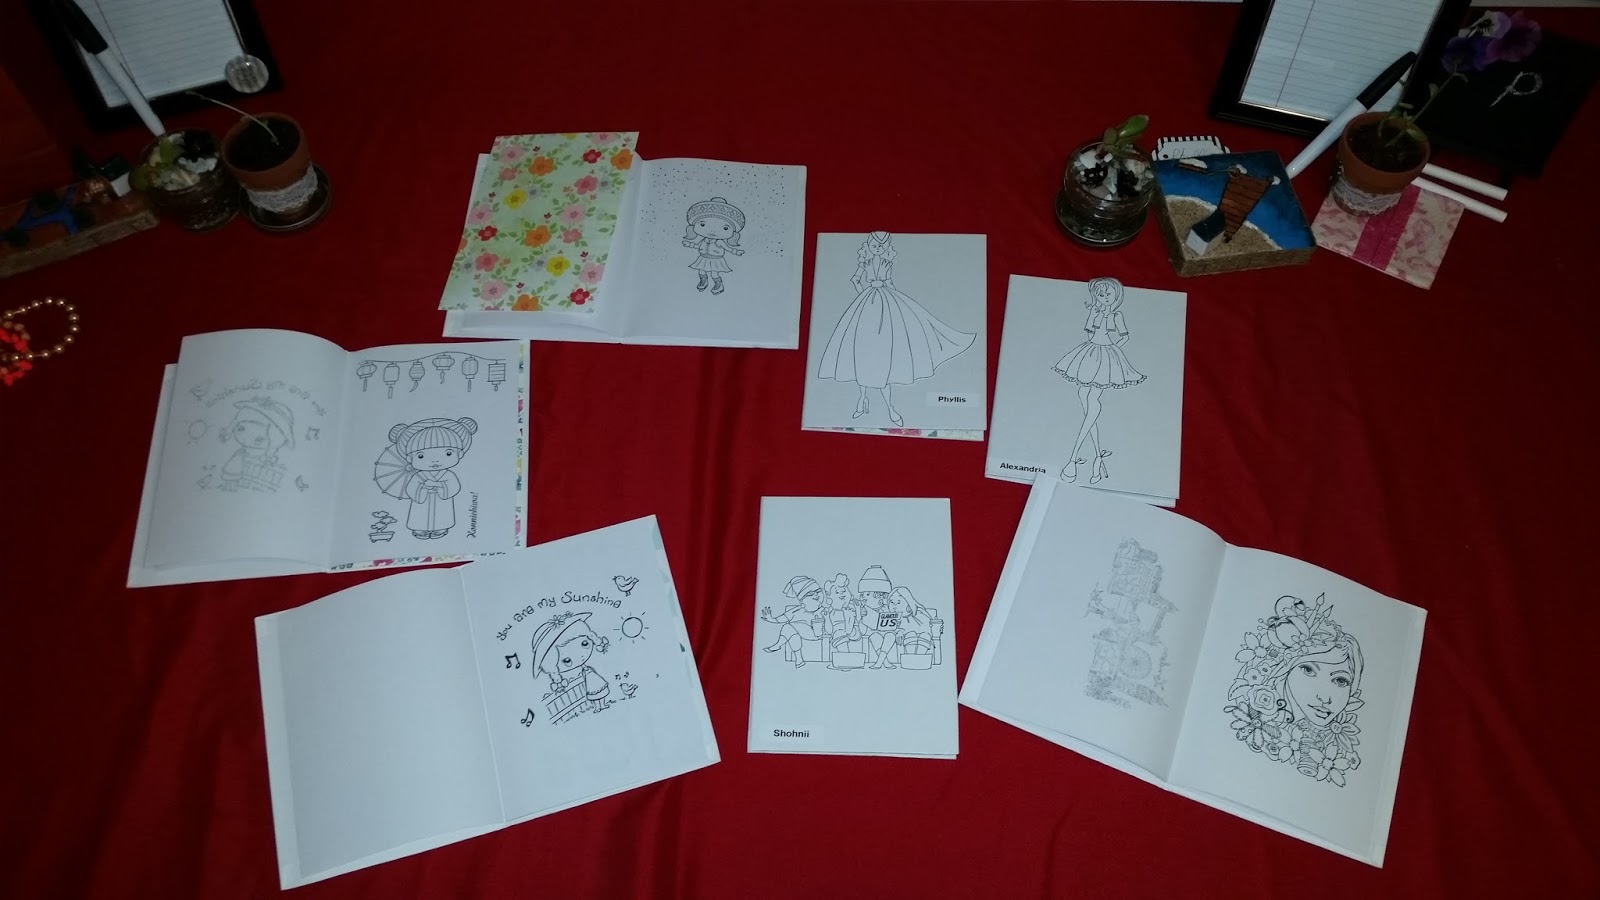
I was able to pick up all of the new Julie Nutting paper doll stamps as well as a paper pack and few extras. Aren't they adorable?!

If you ever have a chance to take a class like this, do it! It's loads of fun and you'll have a new made-by-you piece to display when you get home. And bragging rights for having met such an awesome crafter!


Disclosure – This post contains affiliate links, which means that at no cost to you, I may make a tiny commission if you decide to make a purchase. The products I link to are those that I believe in, regardless of any commission I may make from them. My goal is to help you easily find the tools, products, or other items that you will need to complete your project.