Sunday, August 14, 2016

Butterflies Galore!

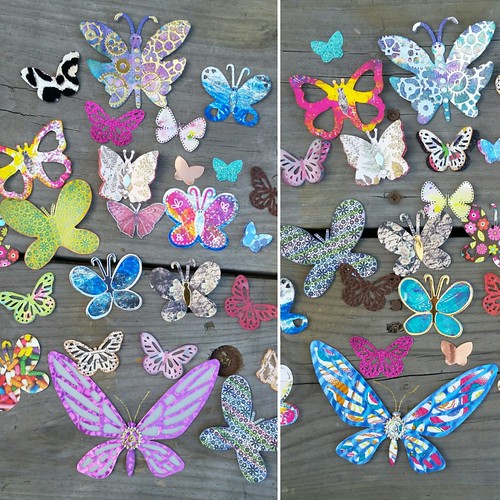
I recently revisited Swap-Bot and signed up for a butterfly swap. We were to make 20 butterflies for two partners, so a total of 40 butterflies were made. They could be punched, die-cut or hand-cut, and could all be the same shape, but they all had to be from different paper or prints. Of course, I went overboard, but it was so fun!


IMG_20160725_085429
I wonder what my partners will do with all of their butterflies?

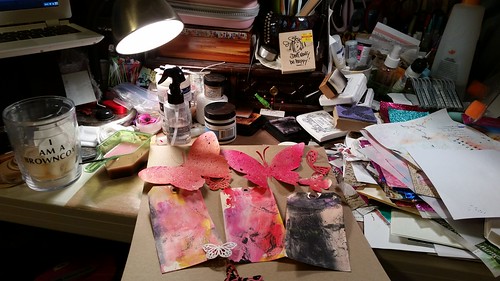
20160713_161929
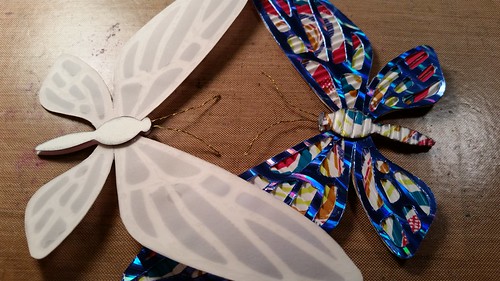
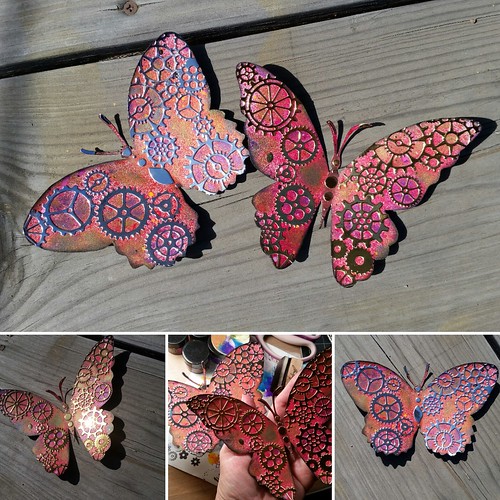
The other side of the butterfly on the left (above) is pink instead of blue, and is backed with vellum. They're cut from a Tim Holtz die and they are huge.


20160709_201145
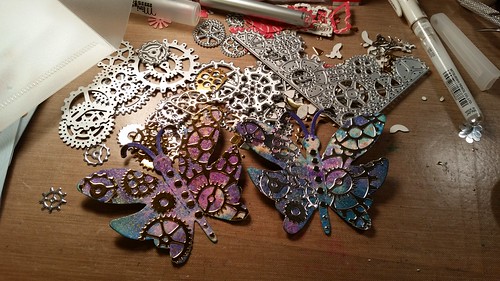
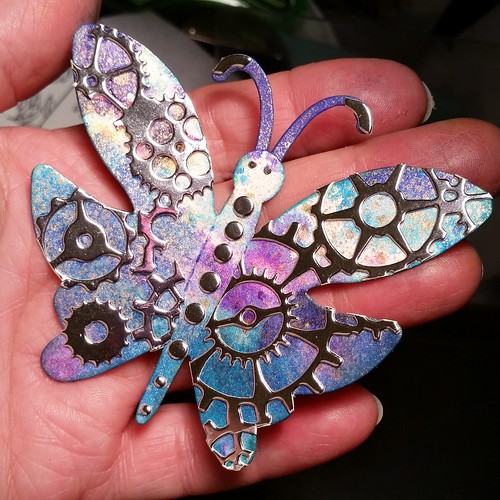
These are steampunk-ish palm-sized butterflies, my favorites.
IMG_20160709_205739
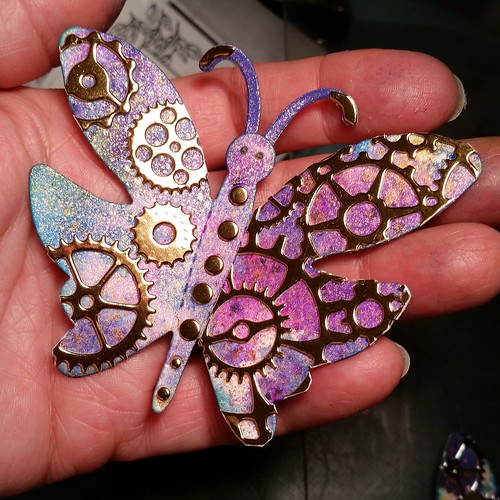
See? So big! I spritzed them with Distress and Dylusions ink and glued gears cut from metallic cardstock onto the wings. In person, it really does look like metal.
IMG_20160709_203810
I don't know why I haven't made myself one of these!
20160712_221318
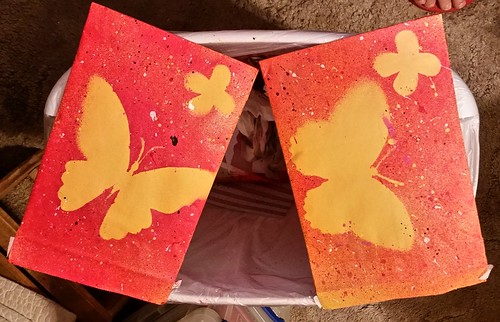
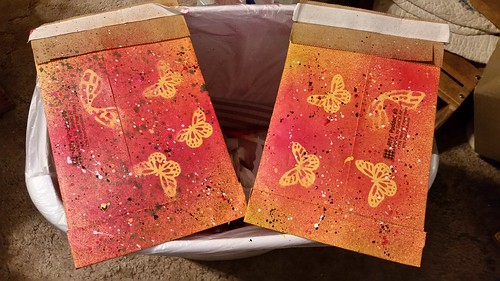
For the envelopes, I cut out two large butterflies from a coloring book I found at a thrift store, and placed them on the front of the envelopes as masks while I spritzed ink all around them. I placed smaller butterflies where the return address should be.


20160712_221454
I like how the fronts turned out, the backs could have been better.
20160712_220819
I received 40 butterflies from the Swap-Bot swap, mostly the size of the smallest ones I did, and I'm very happy with them. When I swap with someone, I mostly think about the giving, not the getting. So when it dawned on me I was going to get 40 butterflies, I was a little worried about where I was going to put them all. It's fine, they're in with my cut dies and I've already used a few of them on a project. This was a fun swap that I enjoyed immensely. 


IMG_20160714_165404
I liked the steampunk-ish ones so much, I took the butterflies I used as masks on the envelopes and did the same technique on them. I had originally intended to throw them away, but after seeing them with all the ink spritzed on them, I just couldn't. I'm glad I didn't! I'm sending them to a couple of Instagram buddies, but they don't know it yet. They're huge, and I'm not sure what my two Instagram buddies will end up using them for, but they commented on how much they liked them, so I thought I'd surprise them by sending them each one.

Be careful when you tell me you like something I've made, you just might end up with it.


Monday, August 8, 2016

More Creative Chemistry!

With the exception of working for my father during his ceramic business days, I have never crafted this much in all of my life! Dawn and I crafted from Friday after she got off work until tonight (Sunday). We're almost finished with Creative Chemistry 103, only four tags left to do. We did 29 tags this past week! Go us.

20160807_162243
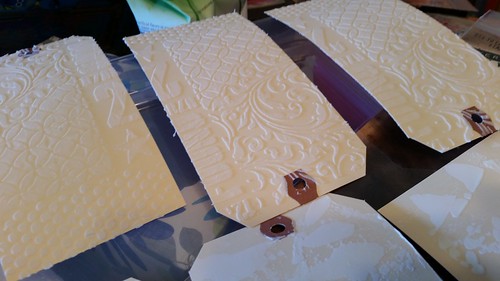
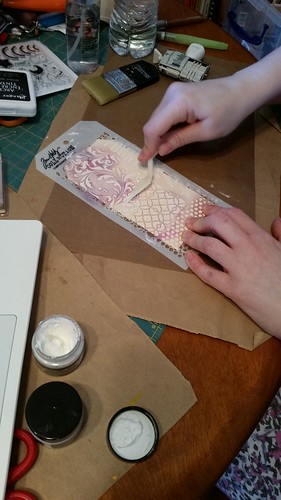
The first thing Dawn did today was lay down some texture paste, so the tags would dry.

20160807_161123

20160807_165022
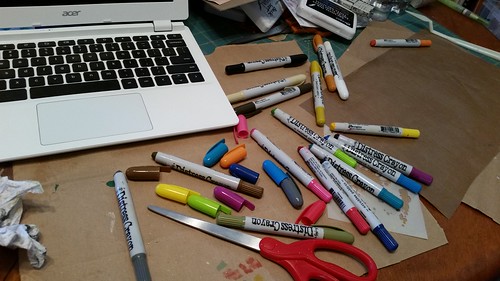
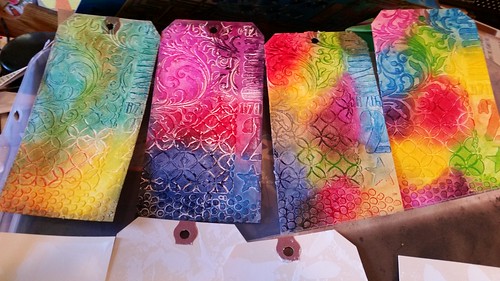
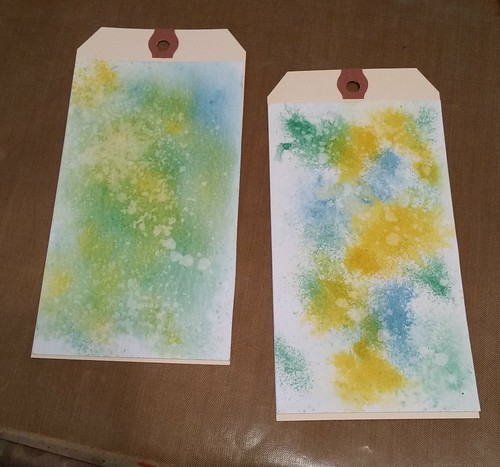
After emptying out all of the Distress Crayons, we went to work on those tags.

20160807_165016
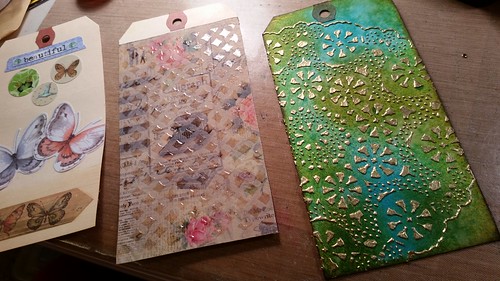
...and made these! My two are on the left, Dawn's on the right

I didn't take pictures of all of the tags we did because I was so busy I actually forgot. And I also realized I didn't have Dawn take one single picture of me crafting, poo. Next time.

We played around with crazing medium on a stamped tag. You can't rush the drying process because the crazing happens while it's drying, so we had to muster up some patience while it dried on its own. The wait was well worth it. It's so cool!
20160807_193331
Here's a close-up of Dawn's crazing before she applied Distress Crayons.

20160807_193154 
This is my tag before applying Distress Crayons.

20160807_202838
Here it is after I applied Distress Crayons

20160807_202854
One last close-up of the crazing

As I said, we're almost finished with Creative Chemistry 103. Next we'll dive into 101 where we left off. This was such a fun weekend, I hope we can do it again soon.


Summer of Creative Chemistry 101, 102, and 103

Sunday, August 7, 2016

Creative Chemistry 103, Day 6

Today's class was an overview of some of the variety of substrates available from his line, so he didn't have any tags for us to make. So Dawn and I took the opportunity to get caught up. We crafted all. day. long!


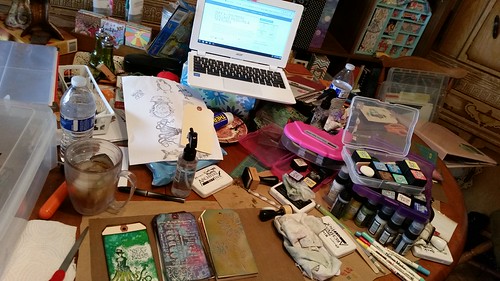
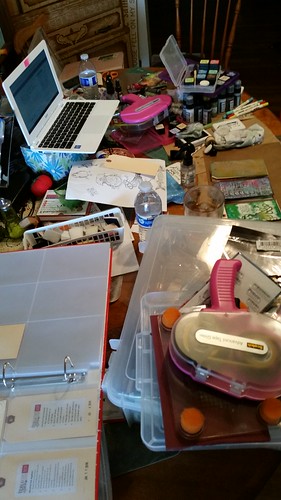
First and foremost, we made a humongous mess!


20160806_170828

20160806_170908
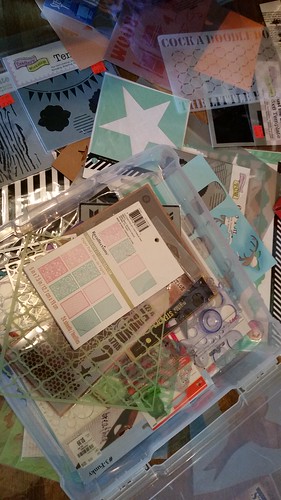
After gathering stencils from my bedroom and craft room, and throwing them on the floor so we could see them more easily, we decided it was time to put them in a bin. Honestly, I hadn't realized just how many we've accumulated over the last couple of years.

20160806_152544
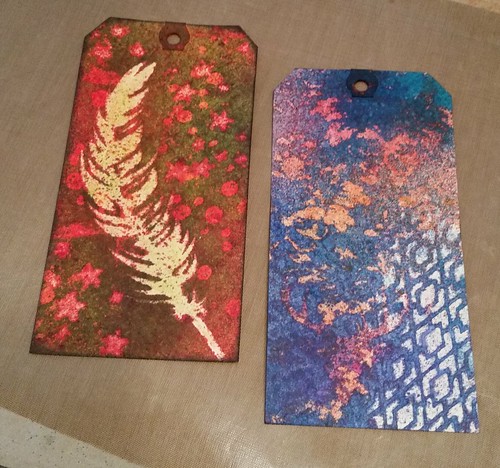
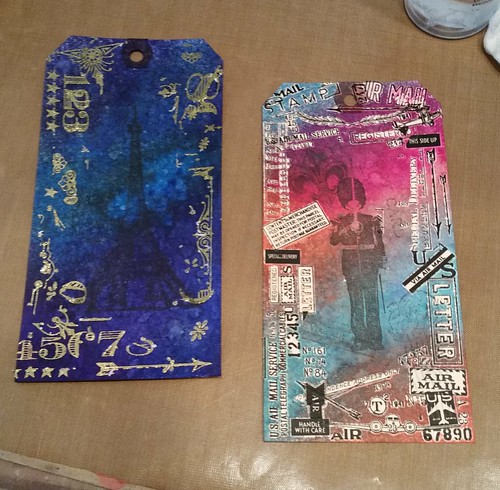
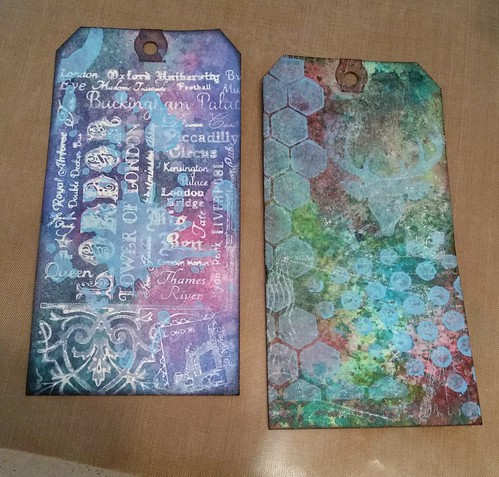
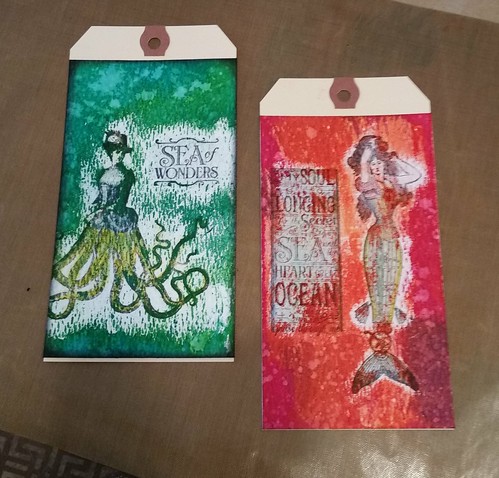
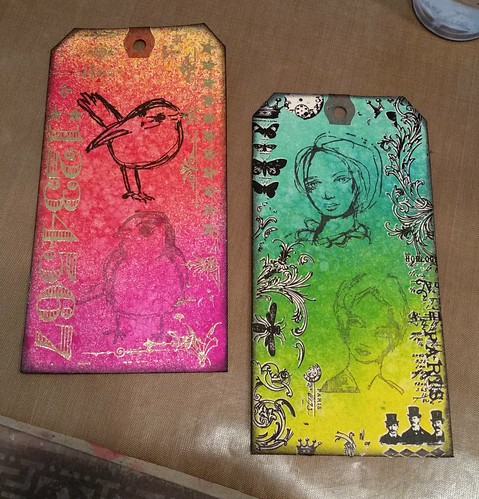
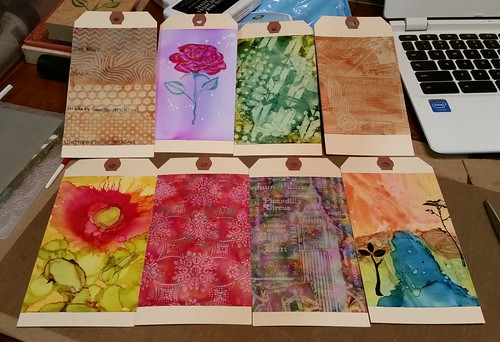
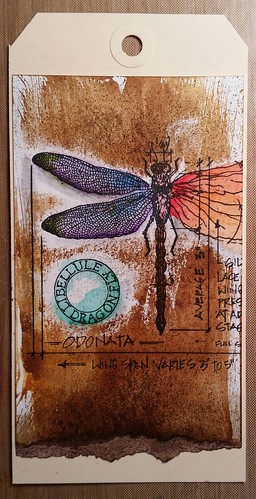
Okay, finally, here are the tags we created today. I can't remember all of the process names exactly, so my apologies for not labeling these as they should be labeled. I can tell you there was a lot of stencils, Distress Paint and Ink used, and a whole lot of spritzing going on. These are meant to be used as a reference so when we go to make a card, journal page or mixed media piece, we can look at the tags and remember, hey, we can do this or that to them, and have the confidence to go for it.

20160806_140534
Mine is on the left, Dawn's on the right.
Paint lifting, which was pretty cool once we got the hang of it.


20160806_161956
Mine is on the left, Dawn's on the right.
The one on the right is my favorite so far of all the tags she's made.

20160806_165906
Both of these are mine.I kind of want to draw flower outlines on the one on the right.


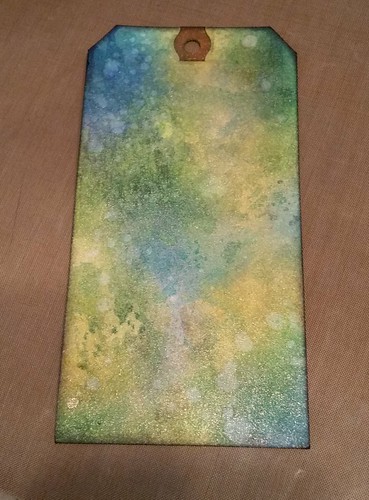
20160806_163841
Using Mica spray, this one is mine. You can't really see the wonderful shimmer
the mica spray gives it.

When we were finished crafting, Dawn printed out the tag/process labels and we sat on my bed, cut them out and adhered them to the backs of the tags we've been making the last few days. We finished just in time to tune into a live chat with Tim Holtz and company. It was very enjoyable, and we're looking forward to the next one.

20160806_144927
Paint resist with ink, one of my favorite processes.Mine is on the left, Dawn's on the right. 


20160806_133744
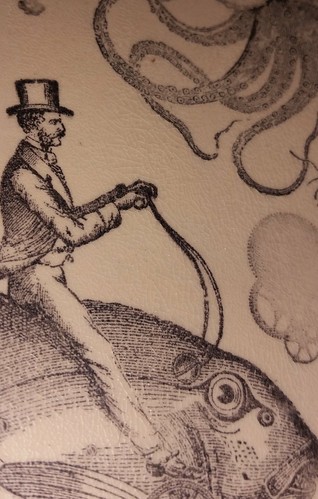
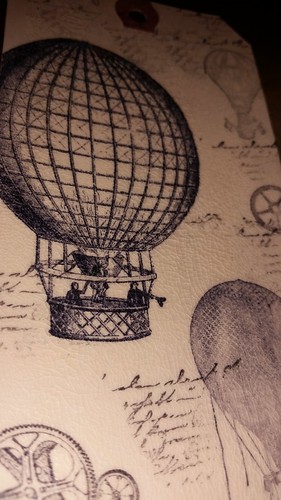
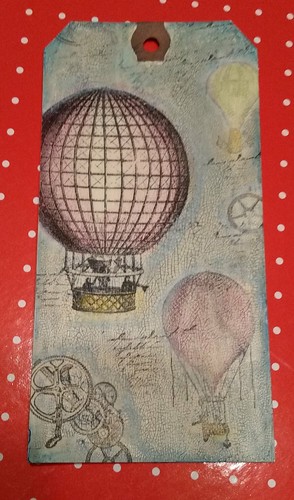
Using Micro Glaze, steampunk!
Mine is on the left, Dawn's on the right.


20160806_161457
Stain rub resist using Tim Holtz rub-ons
along the outer edges. Both of these are mine.
I love how they turned out.


That's a lot of arting going on, right?!


Summer of Creative Chemistry 101, 102, and 103

Saturday, August 6, 2016

Creative Chemistry 103, Day Five

Man, oh, man, what a loaded class this was! Dawn and I worked through all of the lessons this time, and we even made a few extras. She worked on decorating an envelope for a swap as well, so, two birds with one stone. We rock.

Alcohol Inks


20160805_232859
These are all of the tags I made on Day 5

We discovered we don't much like working with alcohol inks, but that's okay, we still had fun. The funny thing about the alcohol inks is that, just when you think you hate what you're making, if you just wait a few minutes the whole thing changes and you like it more than before.


20160805_213924 
Dawn, working on her embossed tag

We still didn't love it, but we're glad we did it. Now we know we don't need to buy anymore of those types of supplies. I doubt we'll use up what we have. But that's just us. I encourage you to play with this product, you might love it.


20160805_190915
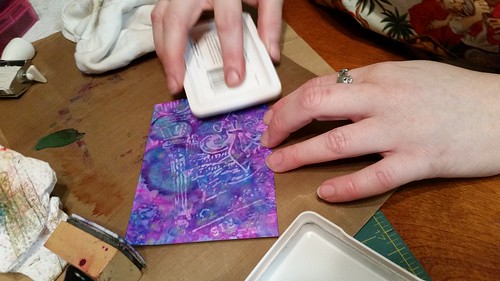
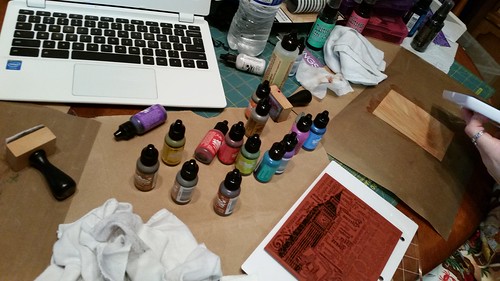
It was one big sticky, stinky mess

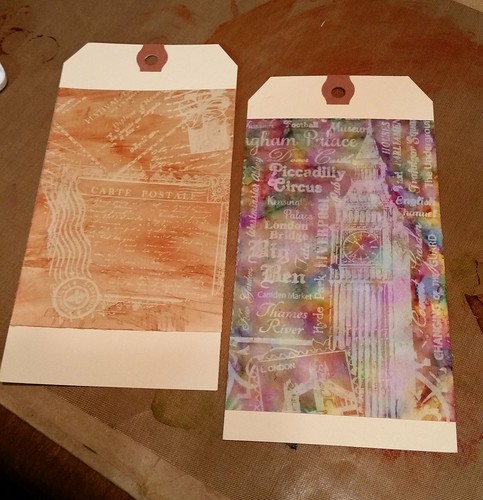
The one with Big Ben was my absolute favorite, I think I might even do it again in the future. The embossed one, to the left of Big Ben in the group picture above, was also pretty easy and impressive.


20160805_230122
My favorite process, alcohol ink with faded background stamp

All in all it was a fun-filled class made even more fun because I was able to craft with my daughter.

Thursday, August 4, 2016

Creative Chemistry 103, Day Four

We're on to Day 4 of Tim Holtz's Creative Chemistry 103!

I only had time to do one of the processes today, so I chose a very simple one. Even though it was easy, I learned a lot about Distress Crayons.

Day 4: Blended Background

20160804_210312-1
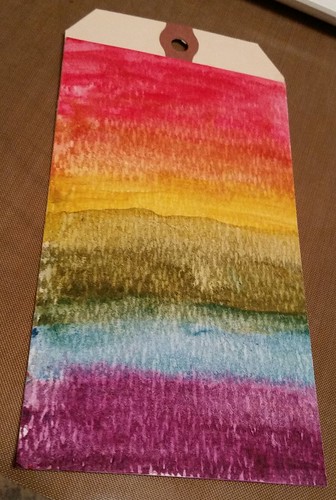
It isn't much to look at because it's meant to be a reference tag to show the blendability of Distress Crayons, not a work of art. But if you squint just so, you can see a field of lavender, a pond, a mountain and a lovely sunset.

Summer of Creative Chemistry 101, 102, and 103

Wednesday, August 3, 2016

Creative Chemistry 103, Day Three

This session from Tim Holtz's Summer of Creative Chemistry 101, 102 103 was packed so full of projects, we couldn't finish them all. Not that we've completed all of them anyway, but even if we tired we wouldn't have been able to do them all in one evening. I'm not complaining, mind you. In my opinion, this series is worth more than double what we paid for all we're learning.

Thank you, Tim Holtz and Online Card Classes for keeping this so affordable and within our reach!

Day Three: Collage Medium (a sort of tester tag to compare the three different medium pastes), Paste Resist, Paste Embossing

20160803_231351

We had so. much. fun!


Tuesday, August 2, 2016

Creative Chemistry 103, Day Two

More brain overload with the fabulous lessons from Tim Holtz's Summer of Creative Chemistry 101, 102 and 103! I hope to post at least one of my favorite processes from each class this week.

Day Two: Paint Resist

20160628_122709
I really enjoyed this one and love the results. I can see me using it on future projects.

Monday, August 1, 2016

Creative Chemistry 103, Day One

My daughter and I are signed up for Tim Holtz's Creative Chemistry 101, 102, and 103 classes. I made this post so that I can upload the image of my tag to the gallery over there, so my apologies if this is a bit clunky.

Day One: Micro Glaze Distress

Micro Glaze Resist

My brain hurts from all of the creative awesomeness Tim taught us in this first lesson! Tomorrow is Day Two and my daughter and I are excited about diving in.