Thursday, December 13, 2012

Aluminum

My daughter Stumbled me an Etsy seller, Recycled Souvenirs, who sells things made out of aluminum cans cut from craft dies, you know, like some of the ones I have. LIKE THE ONES *I* HAVE! I couldn’t get to the recycling bin fast enough to cut a few cans and give it a try! Surprisingly, I didn’t cut myself, yay.
 
It was fun figuring out which dies would look good in aluminum form and then seeing them come to life. To give you an idea of size, the bird cage is about 4-inches high. I learned a lot, mostly to be more observant as to which side should be the right side, and that a variety of soda cans would make for some interesting patterns. (But I only buy Coke, don’t know if I can sacrifice taste for the sake of crafting, haha!)
The cool thing about the dies is that they sort of bend the edges as they cut so they’re not sharp. Also, even though aluminum is pretty tough these are still fragile and bend quite easily. These would be great for card-making (of course!) scrapbooking, magnets, pictures, and other crafty-type things along those lines.

Check out the camera piece that Etsy seller has up, it’s what got me so excited. I don’t know who they are, but for all the trouble it takes to make these puppies they’re very reasonably priced.

Monday, December 3, 2012

Christmas Ornament Exchange


My daughters and I signed up for an ornament exchange and this is one of the ornaments we came up with. I'm having a lot of fun with the new Tim Holtz snowflake die!
 
I cut them all out, the girls folded them and attached the ends, and I pulled my hot glue gun out of its holster and went to work. Dawn made the finishing touches since these were actually her project. (She had another project half-way done and the epoxy didn't set right, so they were ruined. Que Plan B.)

  
Dawn also ordered wooden snowflakes and had them drill a hole at the top for ribbon.
 
She sprayed them with pearly and blue colored mist and attached them to the outside of her packaging.
 
Here's a shot of her bags tucked amongst some of the other fabulous ornaments that were brought. Mine are right in front of hers, the envelopes with the rosette and Washi tape.
 
Valerie's ornaments are in the green boxes with ribbon.

She made the most adorable yarn balls with knitting needles on them!
She started with a paper mache form that came with a gold hanger attached to it already, which was a great help. She painted on the glue a little at a time and wrapped the first layer of yarn over it in a circular pattern. The second layer was applied by putting glue directly on the strand of yarn and winding it around. This was very time-consuming, but well-worth the results.
The knitting needles were made with skewers cut in half. It took a bit of searching, but she found beads to fit the tips and glued them in place.
I already posted about my ornaments, but here are the stars I made in case you missed it.
I cut my stars from natural-colored card stock using a die and gave each star 3 layers of embossing powder and hit them with my heat gun. (I may have a few fingerprints left!) The center star was so tiny, though, I couldn't hold it to emboss it, so I cut it from some pretty sparkly paper, the same I used for the backing.
I wrapped each one with tissue paper and tucked them inside little gold office envelopes I had inked up to give it some age. I put Washi tape around it to make it look like a gift then added my handmade rosettes as a finished touch. I also put a strip of Washi tape on the back. At the party everyone was more interested in the tape than anything else because they had never heard of it...can you imagine? hahaha! It was neat to be able to be excited and tell them all about the wonders of this magical thing we are all hoarding nowadays.
Here's a photo of the other ornaments from the exchange (I stole it from my niece's Facebook!). So much talent!
Reindeer, two glass ornaments with curled paper, elf, snowman, little felt Russian doll (what a lot of work! I mean, they all were, but this was pretty intricate), ceramic critters, plastic form filled with snow, and then ours. It was a fabulous ornament exchange with some pretty fabulous women.

Saturday, December 1, 2012

Homemade Refrigerator Roll Dough

Making Clover leaf rolls is one of my proudest achievements in the kitchen. My go-to cookbook is an old Betty Crocker book, a just married gift from my bff, Lauri. It's battered and well-used, the best pages being the messiest. I highly recommend Betty's recipe (as well as other recipes found in this book, like the best peanut butter cookies in the entire world!). It's the closest thing to my dad's clover leaf rolls I can make.
I made a batch for Thanksgiving and they rose nice and high, the best I've ever made, I think.
 
A couple of days after Thanksgiving my daughters suggested I make more, but I told them they'd have to wait for Christmas. Well, I caved and whipped up another batch.
What's neat about this dough, besides the fact it makes A LOT of rolls, is that it keeps in the refrigerator up to 5 days. So I made some the other day and just now took the last of the rolls out of the oven. I made mini rolls and had enough left over to make a tiny cake-pan full.
I had some turkey breast, so I made myself a little sandwich from half of the pan bread. It was messy, the rolls separated because it was still warm from the oven, but I didn't care, the effort to keep it together was worth every bite! I wish this blog had smell-a-vision!


Friday, November 30, 2012

Wizard of Oz Christmas Cards

I signed up for a Wizard of Oz Christmas card exchange with my Oz group and started making them as soon as we started talking about getting one together. I'm glad I did, they're already on their way! They didn't have to be homemade, but I'm a card-maker, so I was excited to make them. I've been holding on to a ton of Oz scrapbooking paper and was more than happy to dive into it and get to cutting.

I started with 4" x 5-1/2" natural-colored pre-made card stock. I love that earthy color, it makes the vintage look more authentic. I cut the images a bit smaller and used pinking sheers for one side. My little cutter doesn't cut true lines, so this helps mask the imperfection. I stamped and embossed a pair of silver shoes on each image (a nod to the original book version), then inked the edges with Tim Holtz Distress Ink, Vintage Photograph (by Ranger Inks)

Two holes were punched along the side for a pretty piece of red ribbon. It was a nice little splash of color for the outside as well as the inside.
Here's a close-up of the stamped and embossed silver shoes. I think it makes the card.
For the inside I cut a square of striped paper, stamped and embossed the sentiment, and didn't forget to add Toto, too!
I made a tag/label for the back that has the name of our club by cutting a square, rounding the corners with my corner chomper, inked the edges then signed and dated each one.

When they were sealed I placed unique Oz stickers on the back of the envelopes. I've had these forever as well, so it was good to put them to use.
I like these so much I want to make more for general purposes and to have on hand for other occasions. Goodness knows I have enough paper.

Sunday, November 18, 2012

Winnie

Winnie, another of my grandoggers, is missing Gibbs. Part of our morning routine is that she’d come into my room and lay down to the left of me, Gibbs on my right. Then I’d sing them their own little ditty (don’t judge me), and when I was done they’d reach over me, meeting in the middle. And kiss. This morning Winnie jumped on my bed and kept looking over at Gibbs’ spot. I sang to her, but she just couldn’t seem to muster any enthusiasm.

 
When I fixed her breakfast she wouldn’t eat at first. She kept walking around the kitchen and then went over and sat near Gibbs’ bed we keep by the sliding glass door. (We kept beds all over the house for him because of his old arthritic bones.) It took her awhile, but she finally ate.

I keep telling her Gibbs is all gone, making the hand motions we do when we give them treats and they’re all gone. I don’t know what else to do but to acknowledge that I understand she’s looking for her buddy.

Friday, November 16, 2012

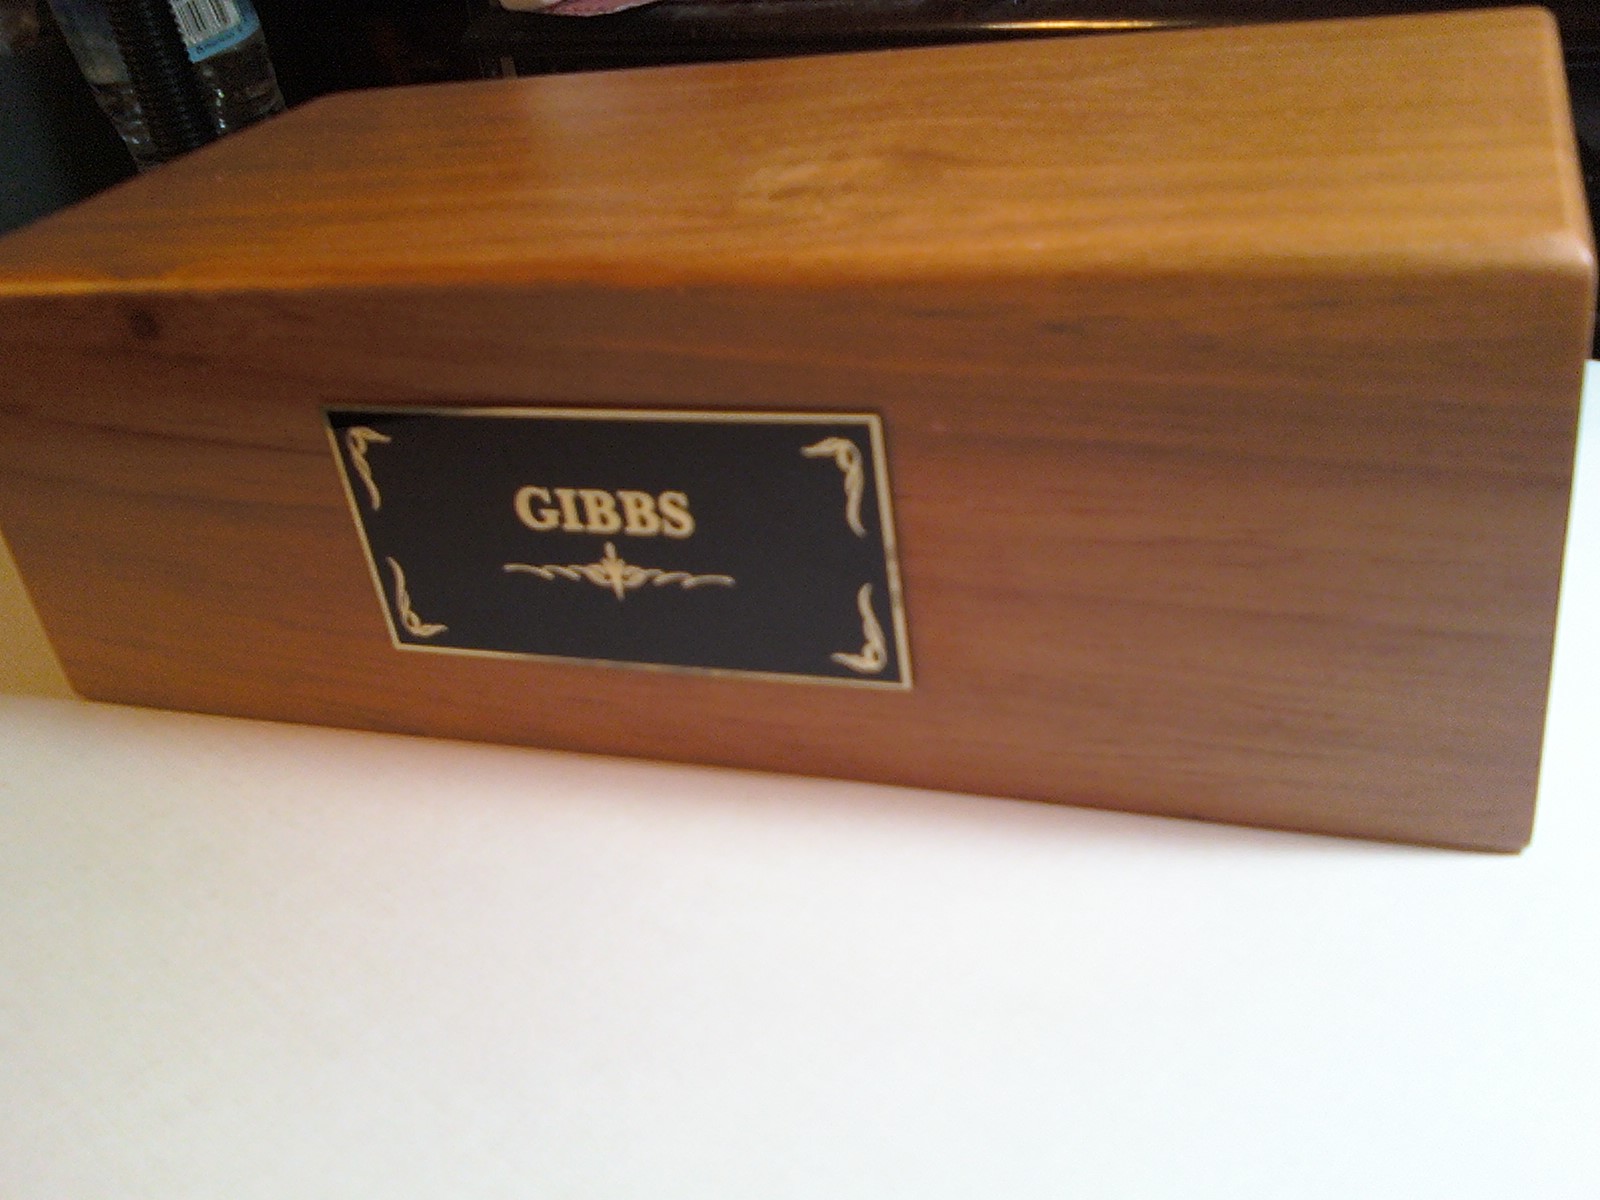
Gibbs

 
Gone, very peacefully, is my shadow. No more following me around every single time I take a step. No more peeking into the bathroom to make sure I haven’t gone anywhere in the last five seconds. No more good morning pawing to get me out of bed and into the kitchen. Gone is the boy who revealed to us that, yes, your other two dogs (part of our family a few years before Gibbs joined us), do indeed know how to howl, duh.

Gibbs was a rescue who came from an abusive home who in return rescued us. Thanking Gibbs for the unconditional love he gave us and for being my constant companion when I didn’t even know I needed one.

 Rest in peace, Gibbers, we love you.