Showing posts with label washi tape. Show all posts

Wednesday, January 9, 2013

Washi Tape At Costco

I picked up this set of Washi tape by We R Memory Keepers, complete with holder at Costco, of all places. They rarely have scrapbooking/card-making stuff, so it was an unexpected fun find.
 
I like that it fits inside my Washi tape container.
And by unscrewing the center handle, the lid even closes, holla!


Monday, December 17, 2012

I'm A Winner!


I won this set of rubber stamps by commenting on a craft blog I follow on YouTube. Actually, I won 5 stamps, but one, an adorable image of a piece of wrapped candy, fell behind my dresser and I can't get to it, ugh. (I'm sorry, R.J.!) I didn’t even realize I was entering a contest. I usually try and leave comments on craft videos regardless if there is a contest or not, so this was a nice surprise.

Guys are rare in the crafting community and this one, R.J. Avery is just the nicest fellow and very talented. My daughter Dawn and I learn something from him just about every time we watch one of his craft videos.
I stamped the gingerbread with white embossing powder, but I wasn't happy with the result. I just so happened to have a 3-D embellishment of the same little guy only a little smaller. I popped him up directly on top of my stamp, which allowed the stamp to sort of highlight the sticker. I like the affect, and, good save! The inside sentiment is a sticker.
Isn't the mouse just the cutest little thing you ever did see?! I embossed him with black detail embossing powder and colored his sweater with a red glittery gel pen. There are two different patterns of Washi tape along the bottom, one on top of the other. I surrounded the mouse with opaque Christmas tree and snowflakes stickers. I used another sticker for the sentiment and added a couple of more snowmen.
The Christmas tree stamp is so pretty! I stamped it several times using clear VersaMark embossing ink and silver detailed embossing powder. I love the affect of the silver embossing powder, it's my favorite. The trees didn't show up as well as I wanted them to, so I colored them in with various shades of green colored pencil and gave the front a light coating of green ink with my Tim Holtz blending tool. I used the same silver embossing powder on the inside sentiment using one of the new stamps.
I've never been challenged to make a certain type of card, but I'd do it again, it was really fun. Thanks again, R.J., have a very Merry Christmas and a wonderful New Year!

Sunday, March 4, 2012

My First Smash Book


SMASHING!

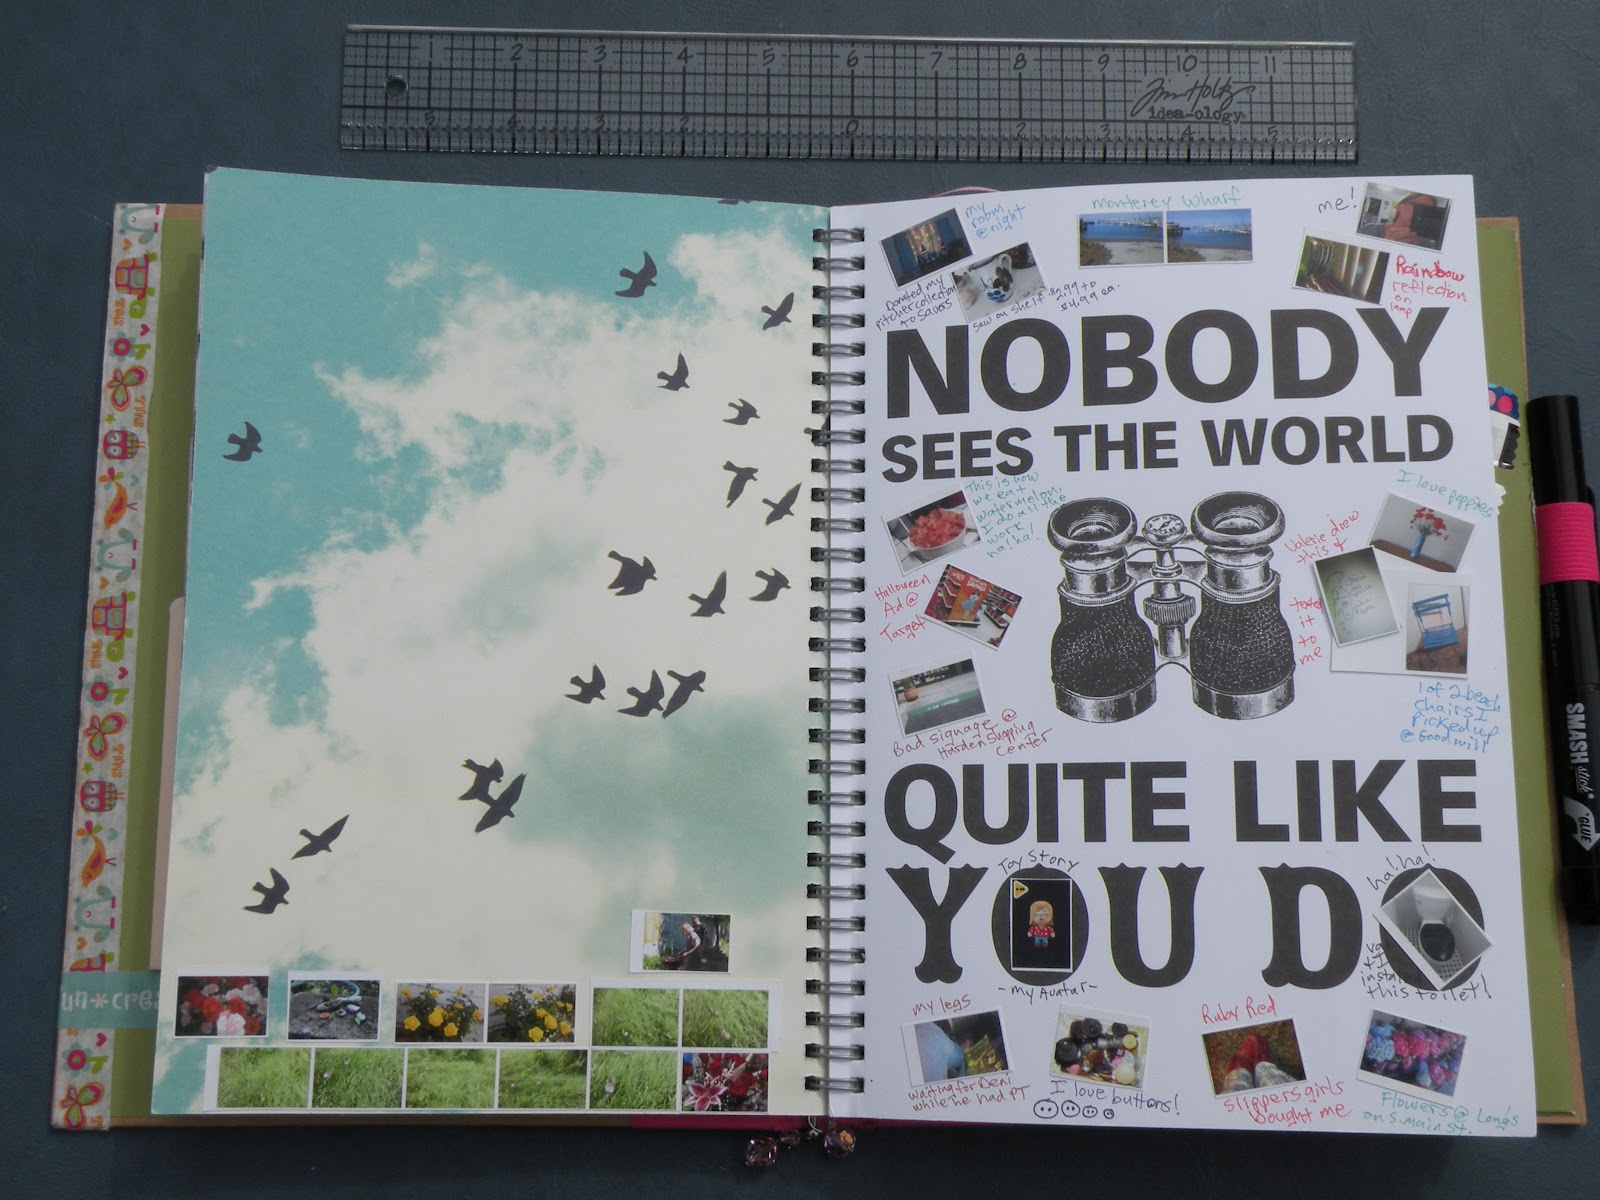
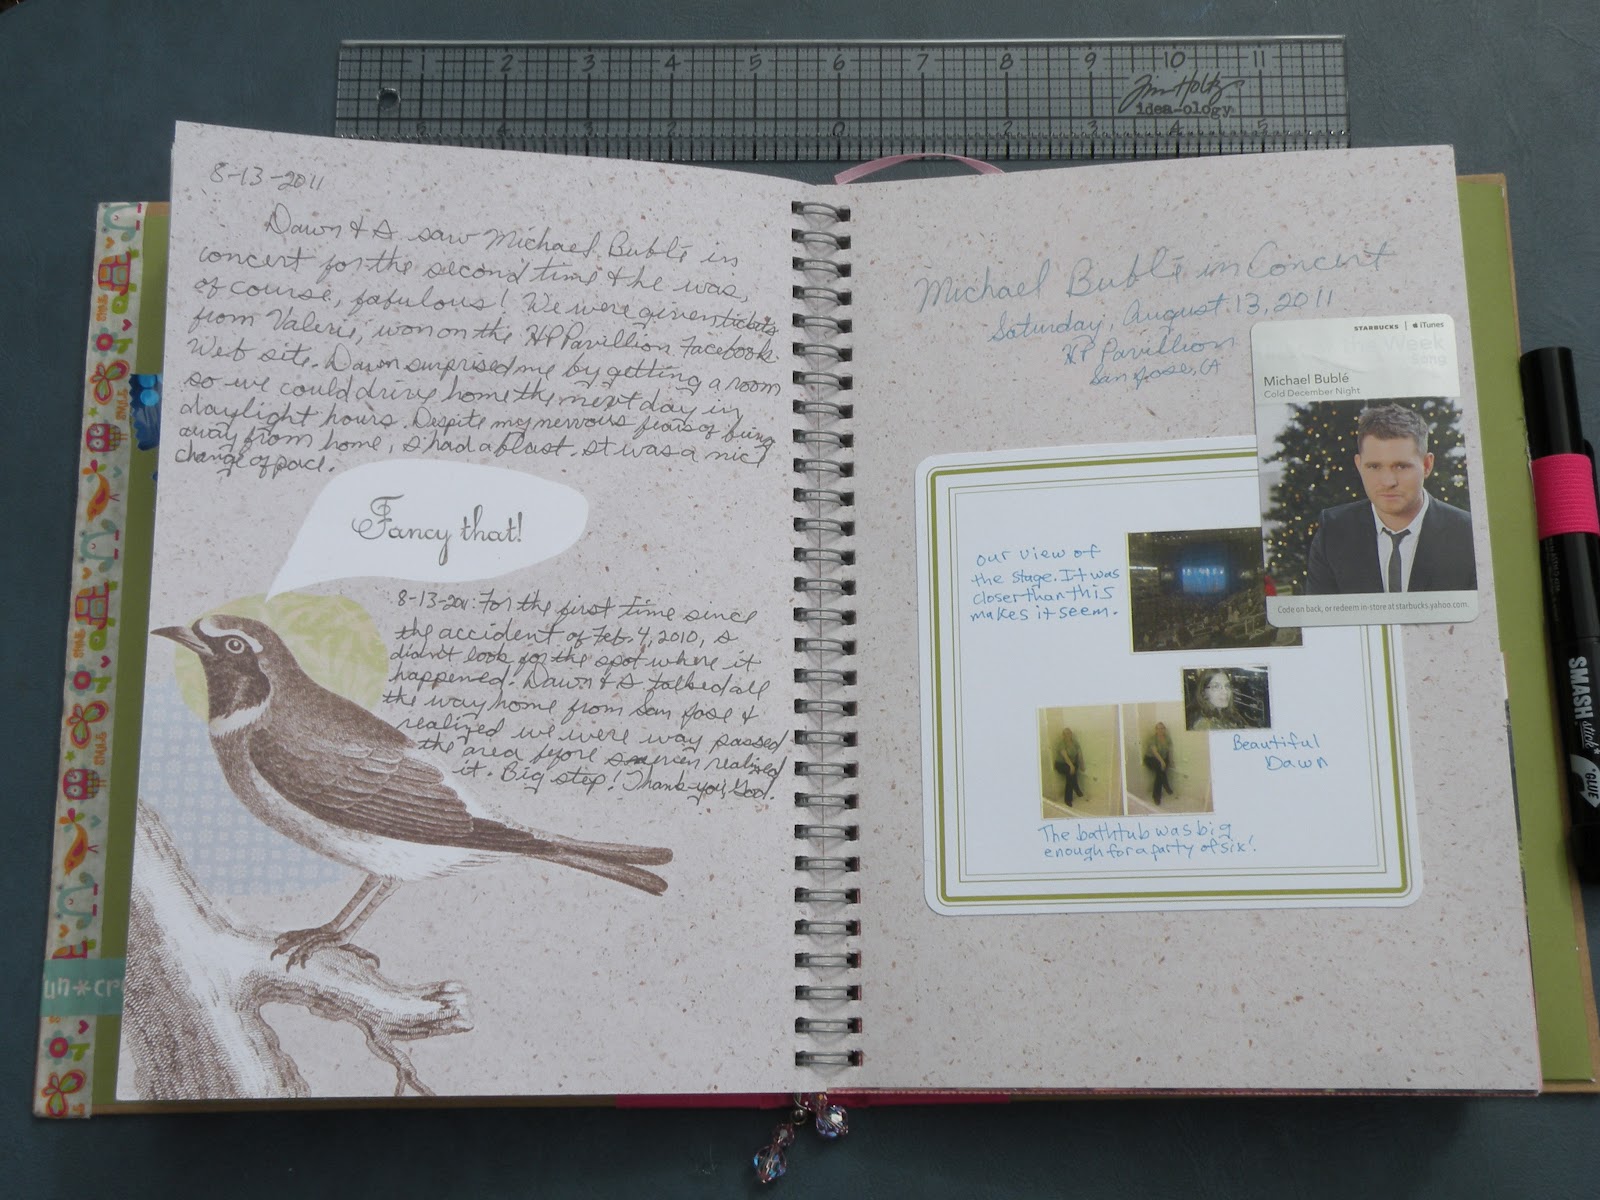
I began this *Smash Book back in June 2011 and finally finished it the 1st of March 2012, whew! I very much like the end result. It probably isn't much of anything to anyone else but me, but that's what journaling is all about. I just thought it would be fun to show my version of smashing.

Maybe once you see the mish-mash of things I've stuffed inside the pages you'll be inspired to start one of your own. My next one (Orange) is already waiting in the wings! (For photos of the book in its entirety be sure to visit my Flickr.)

The handy-dandy pockets come 3 to a pack with one built-in on the inside-back. It's a great place to put the things you want to stick inside the pages when you don't have time.

I used the tiny photos that came with my photo orders which are printed on 6"x4" photo paper. They're perfect for Smashing, inserting into a locket or to use with any number of other projects.

Look closely at the center of the right-hand page. I stamped a peacock feather and like the way it turned out. You will see it on another page where it's not so subtle.

A lot of people make their own books, which I may tackle some day, but for now I need a starting point. The images on the pages of the Smash Books, as well as other products this company publishes, work as prompts and provide me a great place to start. Even the pen that comes with the book is great, and the glue at the opposite end is the best of this type I've ever tried. Really.

This is one of my favorite pages. I played around with some of my stamps and markers, even tied a real ribbon around the bouquet of flowers. My images aren't showing it, but my favorite pen is a sparkly-glittery type pen and I used it every single chance I could get.

I love buttons!

  
This was the last page I did. It's especially meaningful because every time I looked at that bicycle page I wanted to do something with it, but I got nuttin'. It all finally came together one day when I got home from doing some errands and spotted a piece of paper on our front lawn. It turned out to be what looks like an ice cream label with "Joy Joy" written on it, it's so perfect!

I added vintage ribbon, cut the ends into tiny strips and glued them on to the ends of the handlebars. I also took my glittery pen to the shiny parts of the bicycle so it sparkles where the light hits it. It's another favorite page of mine.

My daughters surprised me with a Vagabond by Sizzix (GAH!), so I played around with some of the dies and shared some here. I also bagged some up to go along with a few Smash Books we are giving as gifts. There are so many dies out there that I tell everyone I know if they ever want to give me a gift (for the rest of my life), dies will make me very  happy.

My top ten were in no particular order, of course, I mean, who can do that? Number 3 is books, so I made a miniature book especially for this spot.

Thistle was our old lady baby, we had her for over 15 years. I couldn't leave her out. And that back yard of ours, it's tough to keep up, but when I'm done mowing it's very satisfying to see what I've accomplished. And it smells goo, too! I used the built-in pocket for glue dots, envelopes, journaling paper and whatever else I thought I might need to make it easier to journal.
To see the entire set of photos with close-ups, please visit My Flickr under the set titled Smashing.

*I am not affiliated in any way with the company who publishes Smash Book products, I just think they're nifty.