Showing posts with label crafts. Show all posts

Friday, October 27, 2017

It's a been awhile

I discovered Instagram and have been posting over there instead of here. It's so much easier, and the response I've gotten, the friends I've made over there, well, it's kept me away. I feel badly that I probably won't have a blog book published this year. But I'm so lazy! Posting photos here requires some footwork, but with Instagram all I have to do is upload directly from my phone, boom, it's done. *whine*


I just now tried to figure out to post photos from my Flickr, but I've forgotten how, argh! So I posted directly from my computer, which isn't the best way because it eats up storage.

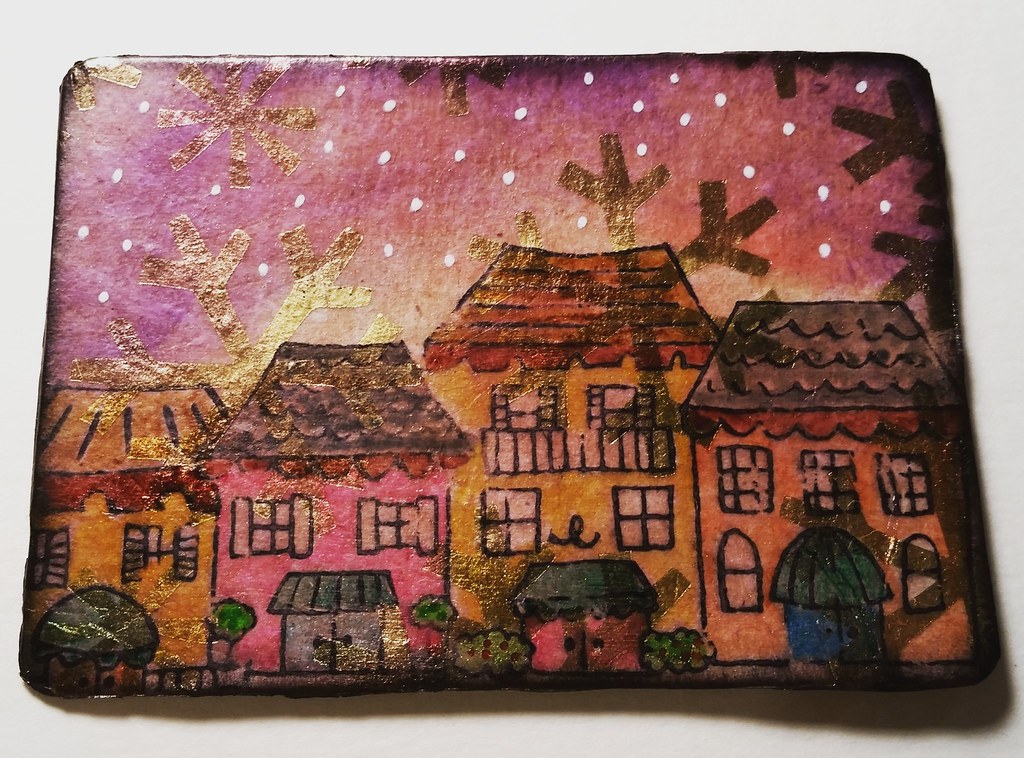
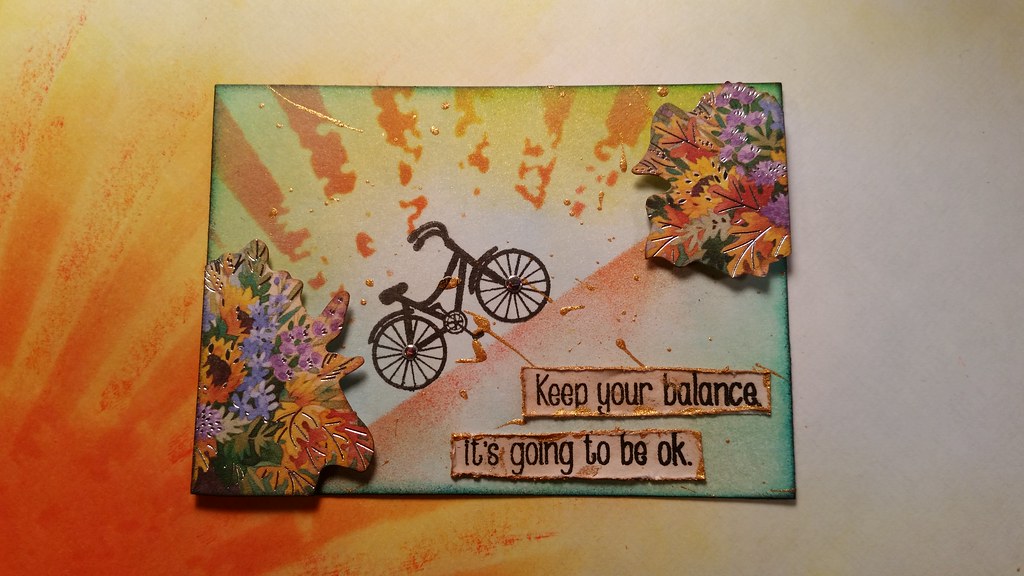
Here's a card I made for a friend. I'm in love with this stamp! I water colored the card and then used colored pencils for the envelope. I like this so much I'll definitely be doing this again.


Tuesday, February 14, 2017

Happy Heart's Day!


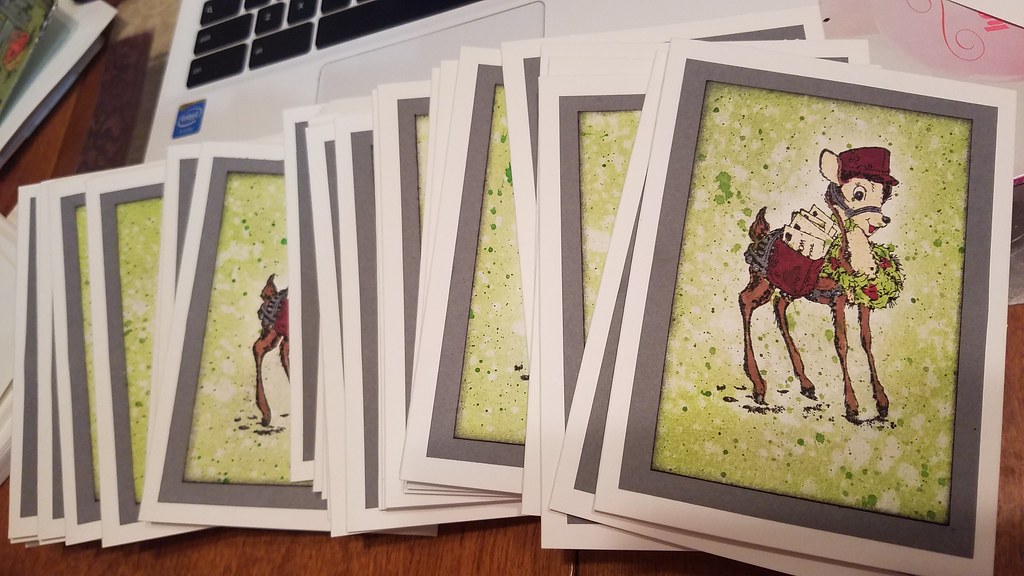
Cards I made for my husband and daughters.

Happy Valentine's day! It's also the anniversary of mine and my husband's first date. We've been married over 38 years and dated for two. He liked his card and said my coloring and fussy-cutting has gotten really good.  It's nice he noticed.

Friday, January 27, 2017

Dogs and Cards

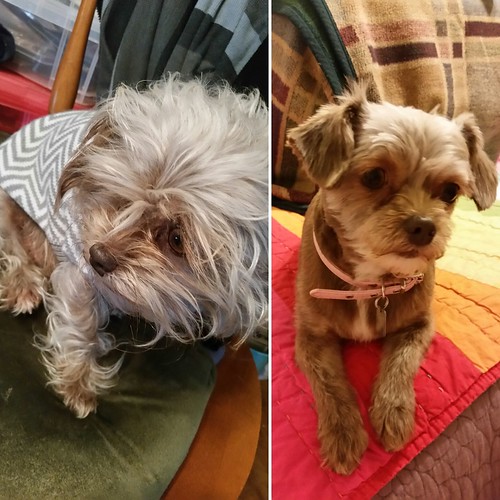
Molly enjoyed her day at the spa.
IMG_20170119_202753_303
She looks like two different dogs, doesn't she? Although I love her when her fur is long and swirly, it gets knotted, stinky and makes her uncomfortable. So I like to reset her every now and again, which brings out the puppy in her. She's adorable.

20170119_114427
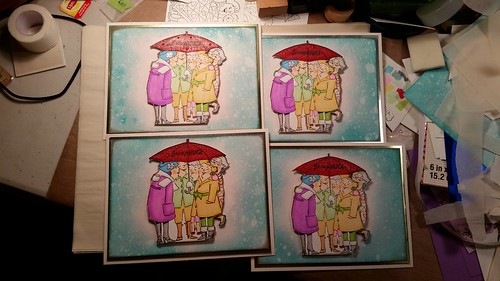
I made four of my lifelong friends a card and wrote a short note in each of them reminding them how much they mean to me and that I love them. I even made one for myself because I love how they turned out and now I can keep it as a reminder of all the kind and wonderful things everyone said about them when they received them.  This is the first card I've sent the group since our group went from six to five, so I kept thinking about her and how our get-togethers will never be the same. This makes me cherish all of my girlfriends that much more.

20170119_114458
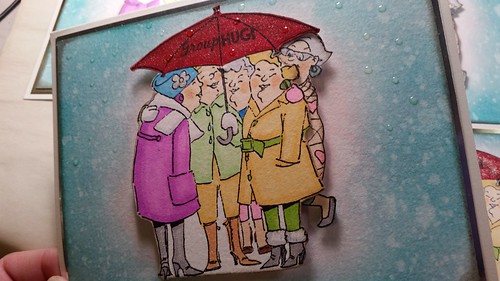
These were made of watercolor paper, even the ladies. The background was done using Distress Ink, and the ladies were colored with a combination of Copics, Le Plume and Faber-Castel markers. The sparkly umbrella has a coating of red Sparkle brush pens by Faber-Castel. Have you tried them yet? They're pricey, but if you want your images to shimmer, these will do the trick. I was given several sets for Christmas by my daughters and then yesterday I discovered the clear ones are sold as a set of three, so I bought them (using a coupon, of course). I'm especially enamored with the tiny raindrops I created with Glossy Accents. They make me very happy.

IMG_20170116_140901_230
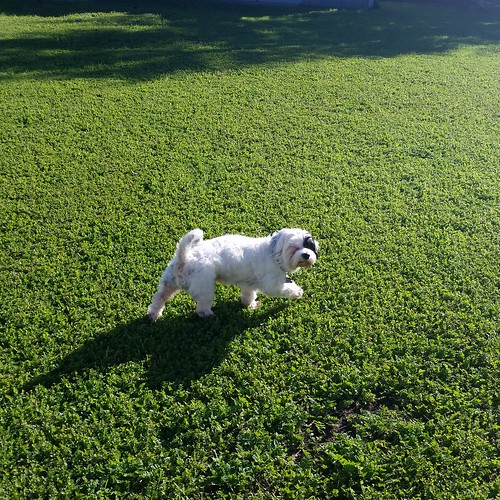
Meet Oliver Flynn, Valerie's new pupper! He's about 2-1/2 years old, has personality galore, loves everybody and all of our dogs, and just wants to eat, poop and play all day. We're still working on the potty training, so he wears a belly band during the day. He's catching on, but he sure is taking his sweet time about it. Good thing he's so adorable.


Monday, December 19, 2016

Sunday, December 4, 2016

Stamping and Coloring

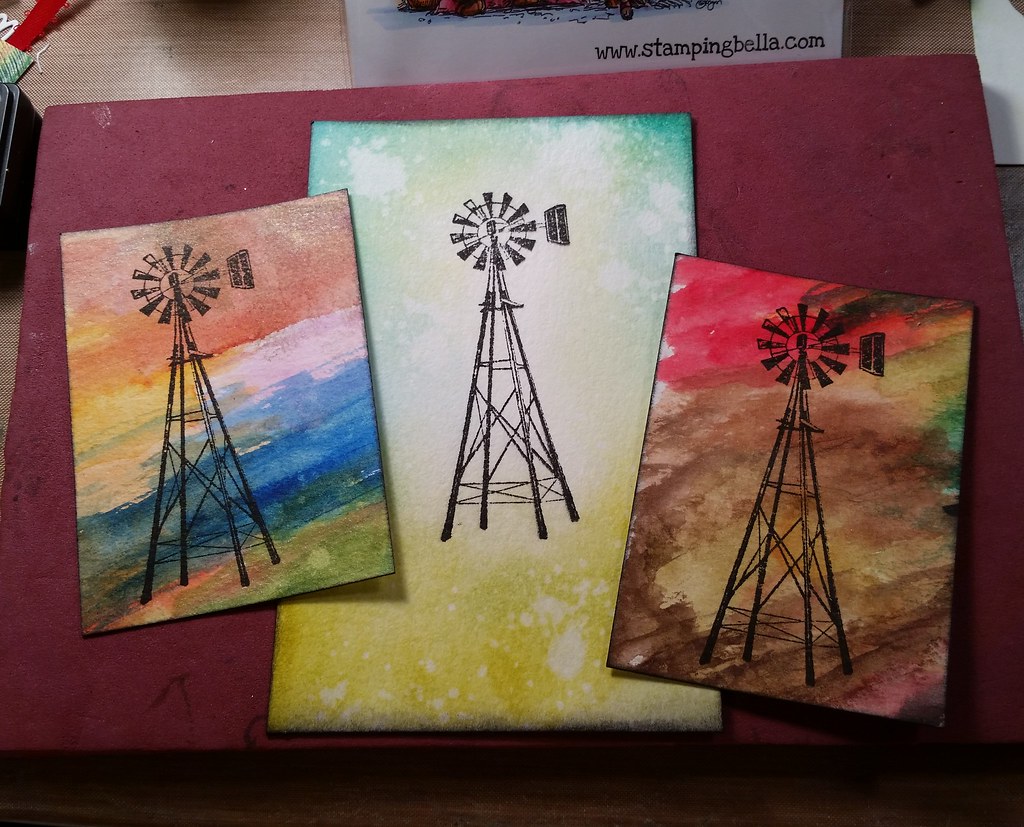
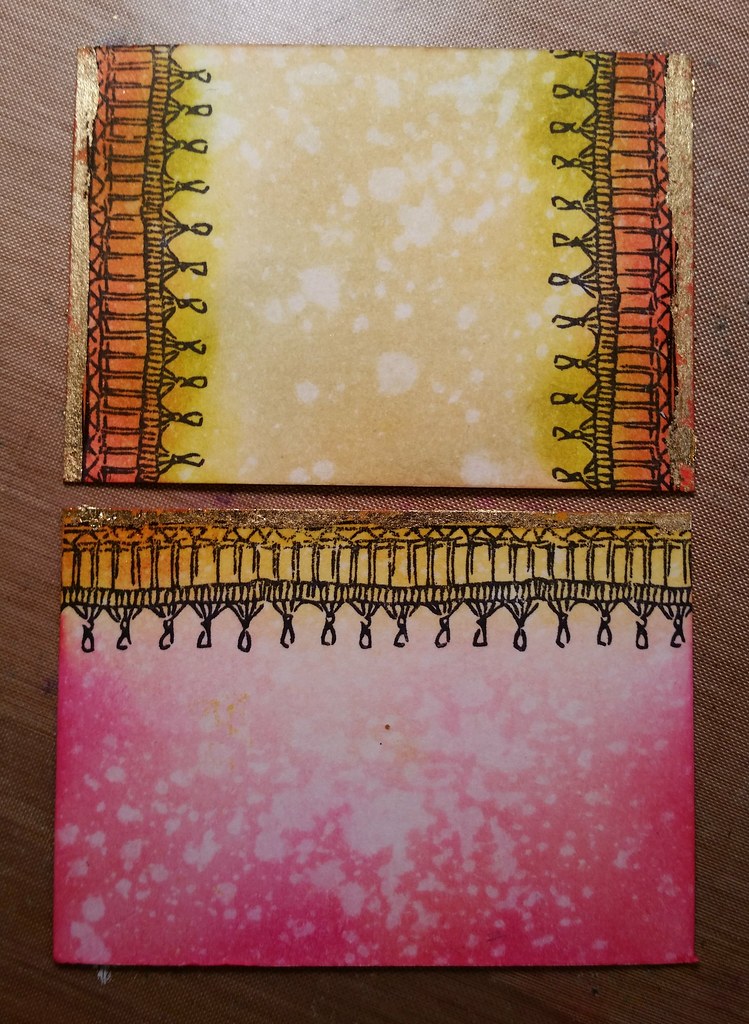
A while back I was making swatches for some watercolors Valerie bought me, and I used a piece of watercolor paper to clean off my brush in between colors. When I was done, I looked over at the paper and thought, wow, that would make great backgrounds for a set of ATCs (Artist Trading Cards).


IMG_20161122_220030
I stamped windmills on two of them. The other one was done with Distress Inks.


IMG_20161120_234944
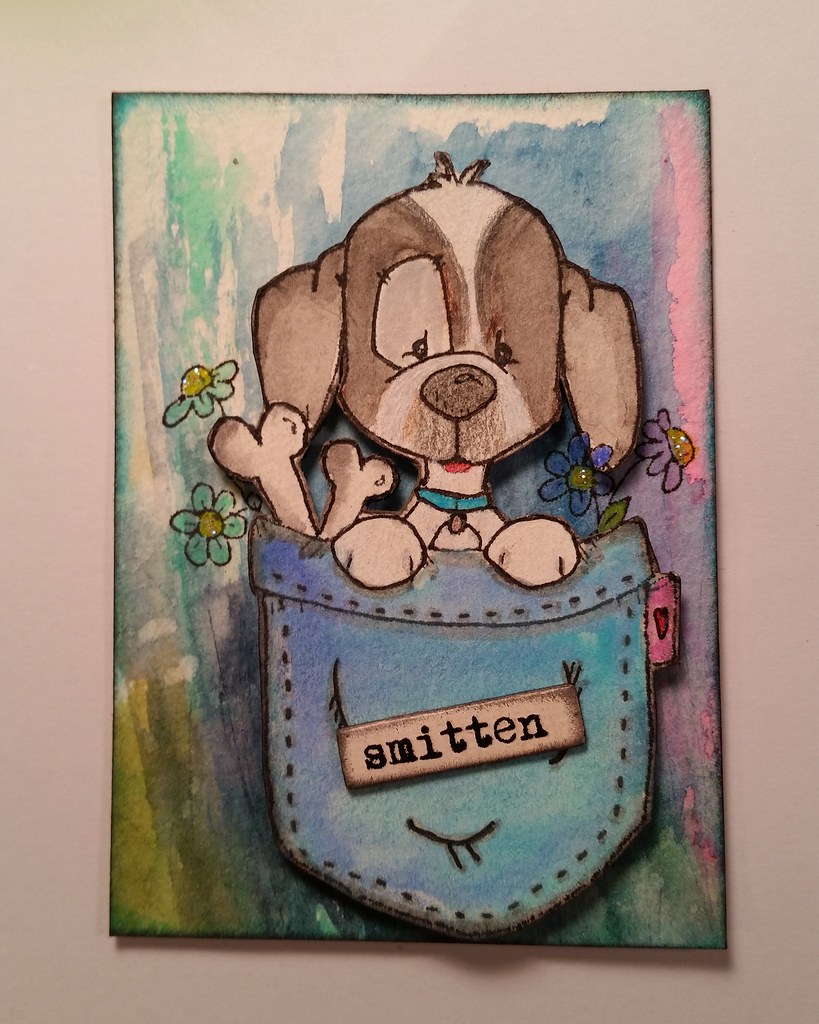
For this one I did the puppin in the pocket separately and popped it up with pop dots. I made the puppy to look like an on-line friend's dog and sent it on its way. I like how differently it looks just by cutting the background with the brush strokes going vertically.


20161127_194143
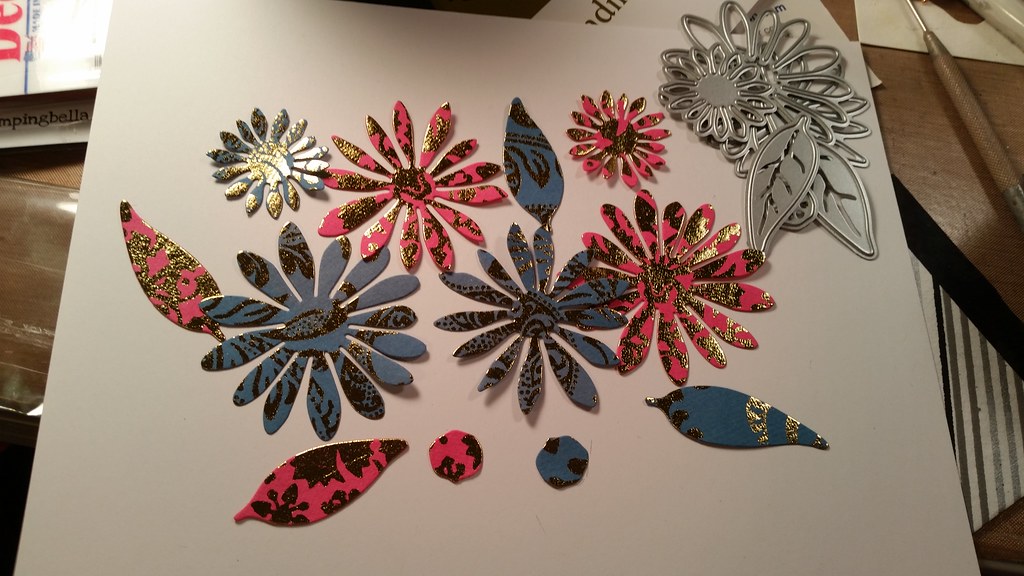
Valerie keeps spoiling me with new dies she doesn't want to wrap for Christmas! Aren't these flowers so pretty?! I cut them with handmade paper I've held on for far too long. It even has metallic highlights.

IMG_20161128_001312
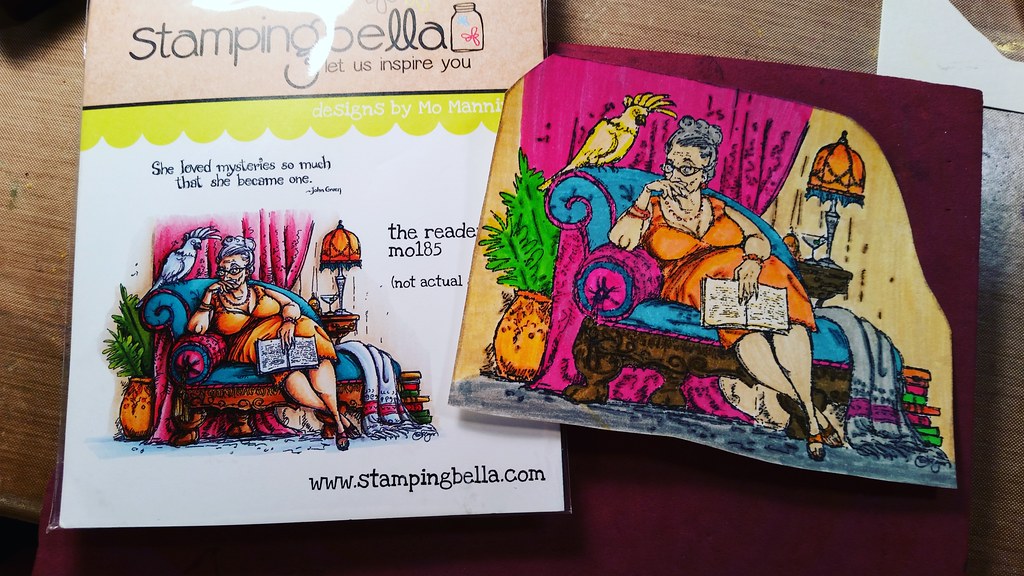
Dawn bought me this sweet stamp I've wanting for a long time. Isn't she fabulous?! I colored her with Faber-Castell markers and then went over each color with colored pencils to kind of fill in the strokes. I need to practice coloring with my markers more. Actually, I need to practice more of everything.

Monday, November 7, 2016

Arting

My daughter Dawn and I did our first Artist Trading Card (ATC) collaboration!

20161030_180807
20161030_165357
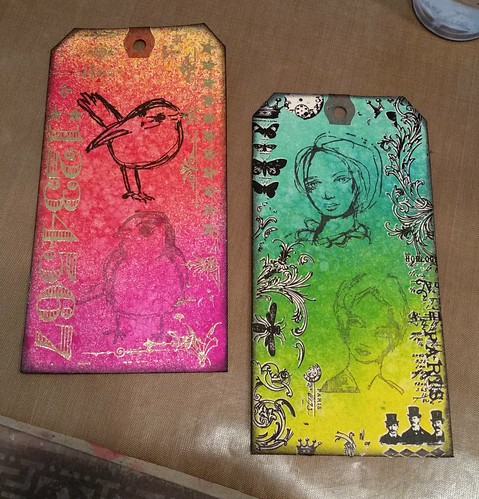
Dawn created the background with the amazing technique we learned from Tim Holt's Creative Chemistry Class-3. She brought them to me and said, "Now that I've done this I don't know what to put on them. You're good at that, here."

I was nervous at first because I didn't want to ruin her beautiful art. It took me a bit to come up with ideas, but after rifling through my die cuts and stamps, I came up with these. She kept the bird, I kept the other one. Maybe next time we do it, I'll do the background and she can put the other side of her creative brain to work.

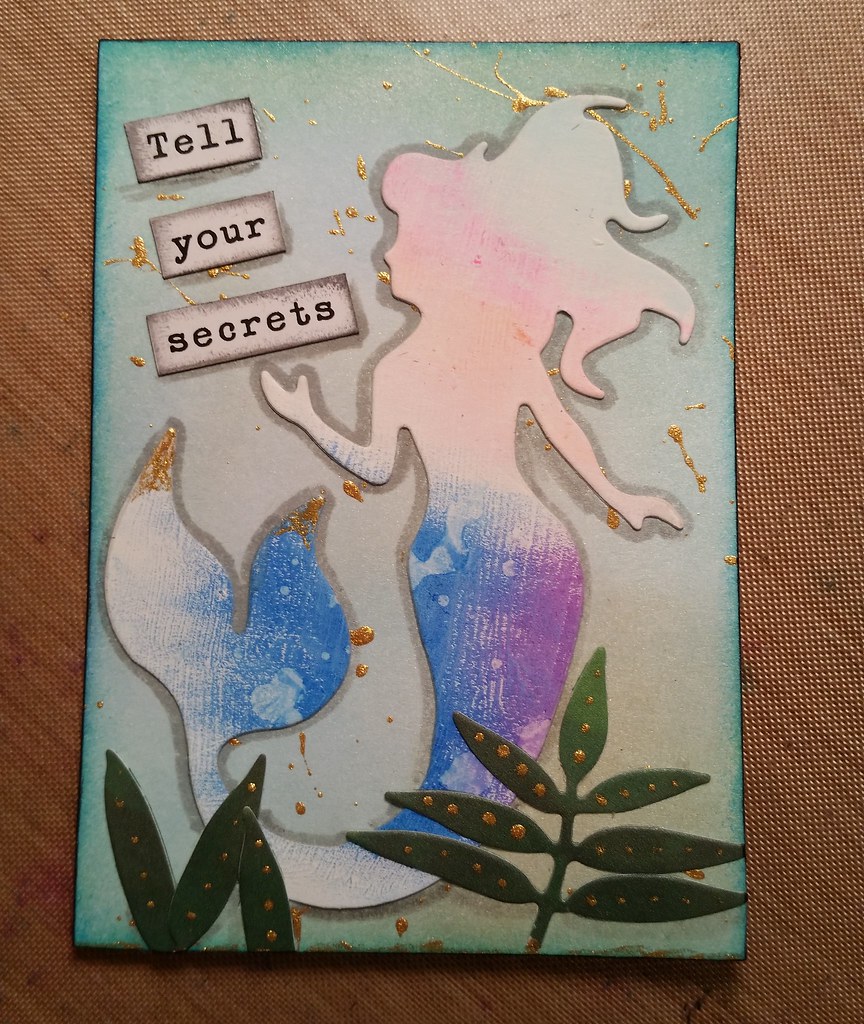
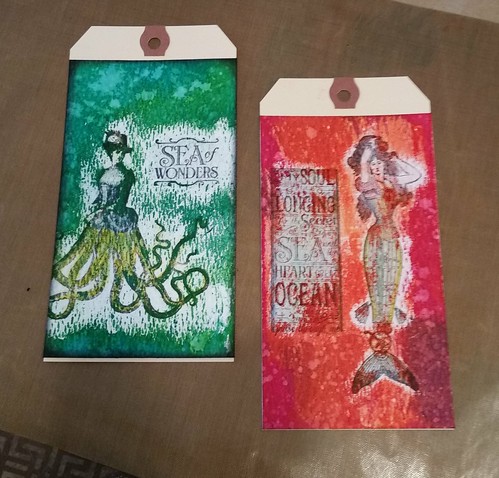
I've done several Instagram ATC swaps and having so much fun! This is my latest, which will be going out to jolly old England. I borrowed Dawn's mermaid die-cut and used some scratch watercolor paper on which I was trying different art crayons. I feel like there's something missing, but at this point, I'm afraid I'll mess it up. Plus I have to decorate an envelope in which to mail it, so I'm calling it done. 

IMG_20161106_131159

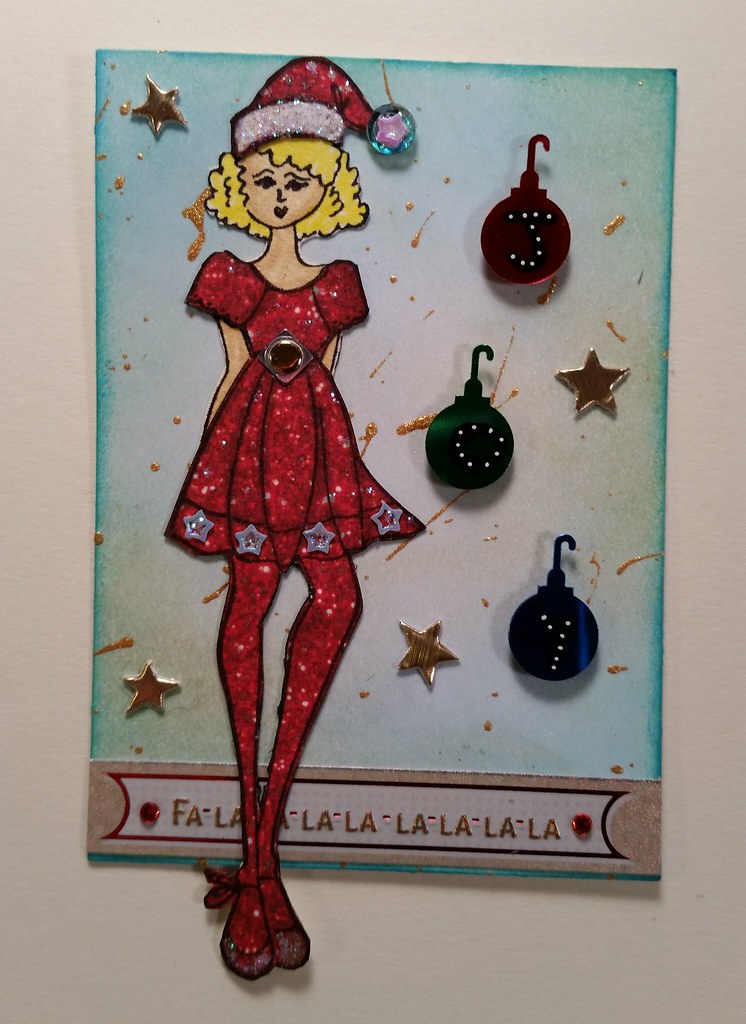
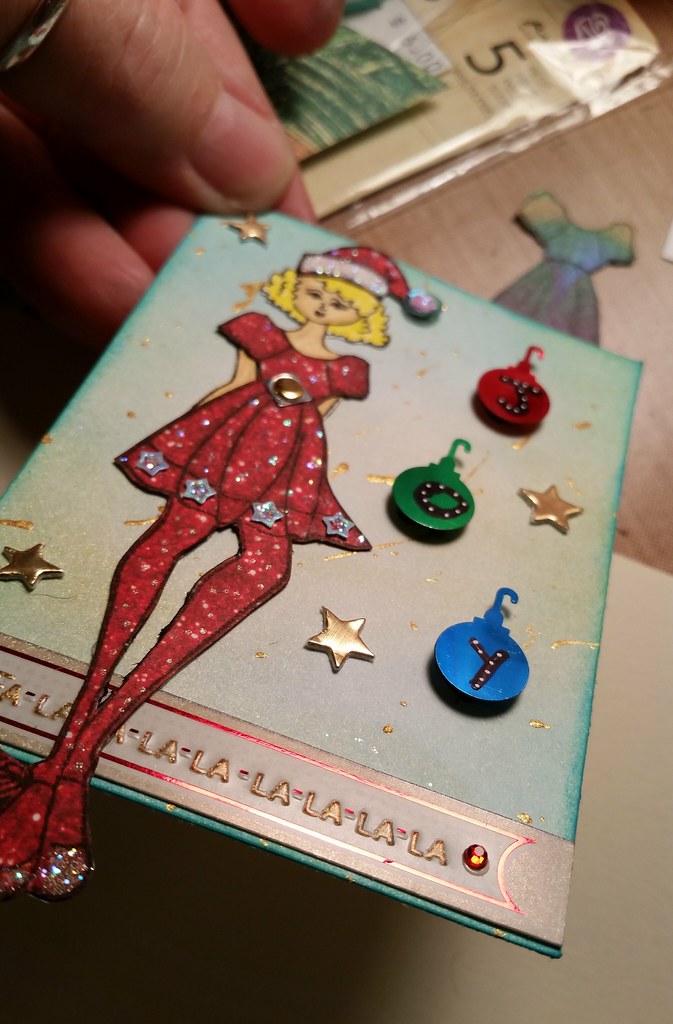
I belong to a Facebook paper doll crafting group that consists mostly of making Julie Nutting paper dolls. I joined their Christmas ATC swap and will find out who my partner is at the end of this week. This is the ATC I made using one of the smaller Christmas sets by Prima. I wrote JOY on the Christmas ornament confetti, but it was a challenge to photograph.

20161106_161854
20161106_162110

I'm working on a few other things, mainly my ornaments for our annual ornament swap, which is this Saturday! I've never cut it so close, but I didn't like any of the ideas I was considering. I finished the prototype last night around 1:00 a.m. I'm still not feeling it like I usually do, but maybe it'll grow on me. Happy holidays have begun!

Wednesday, November 2, 2016

Decorating Happy Mail

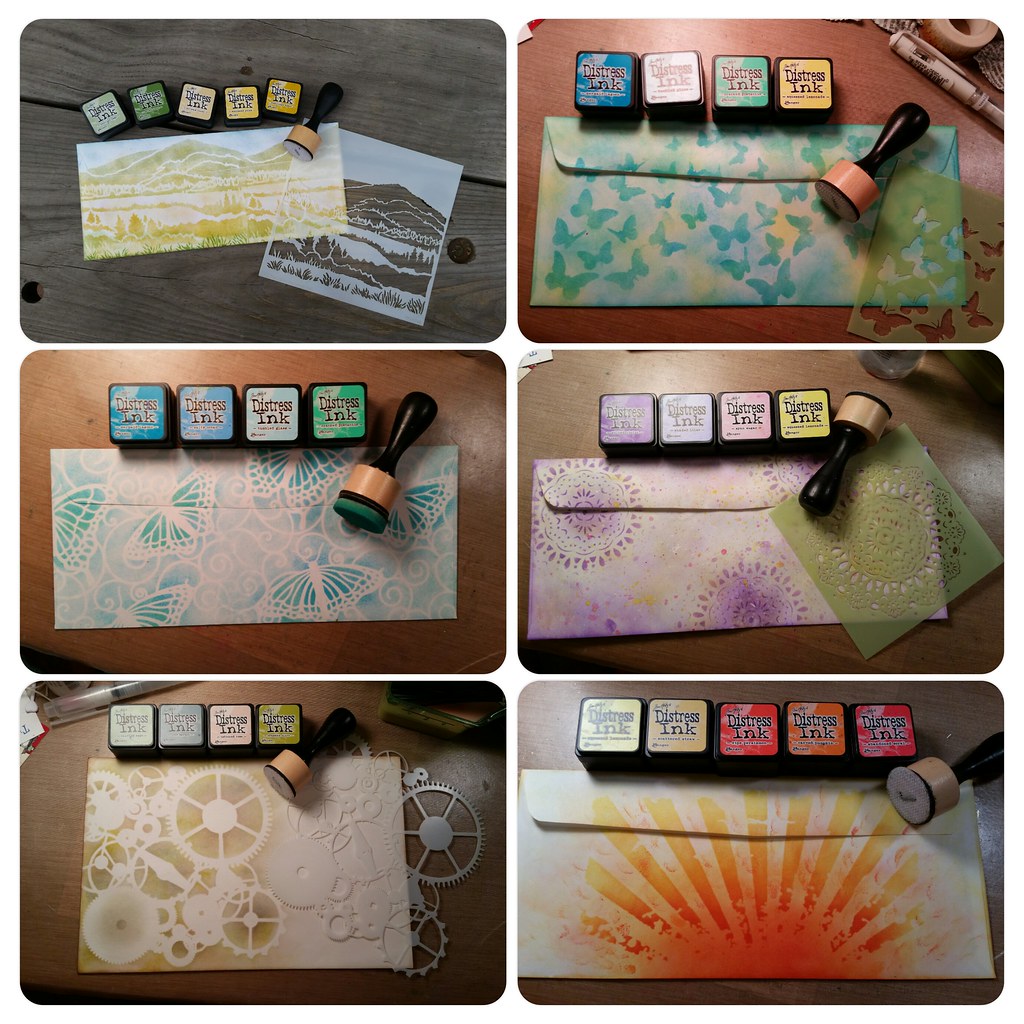
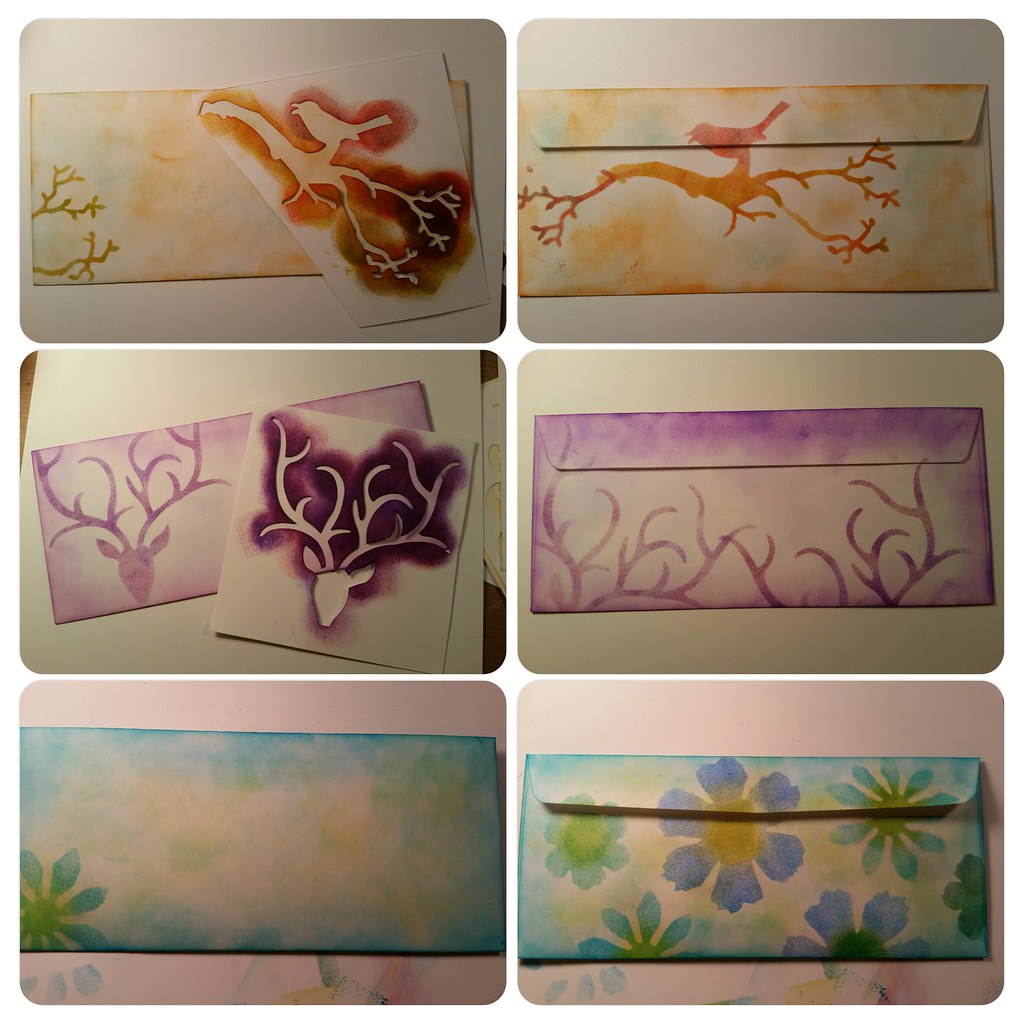
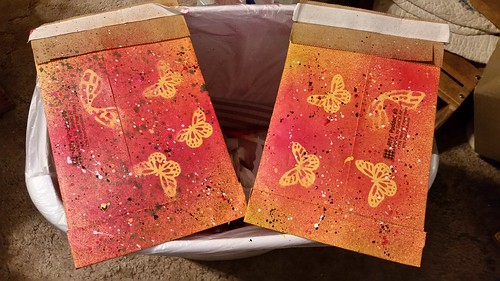
I've been on an envelope-decorating kick lately using our often ignored but very awesome stencils. Here are a few I've done for craft swaps on Instagram.

Project Life layouts
I'm in love with this process, the result of which are very satisfying. I'd love to hear how you decorate your mail!

Tuesday, November 1, 2016

Halloween 2016

IMG_20161029_133558
We Had A Happy Halloween!
I haven't posted in too long. I seem to have putting more effort into Instagram than here, which disappoints me. The blog books my daughter publishes for me each year are such a highlight, but they won't be if I don't sit up and pay more attention.

20161029_203857
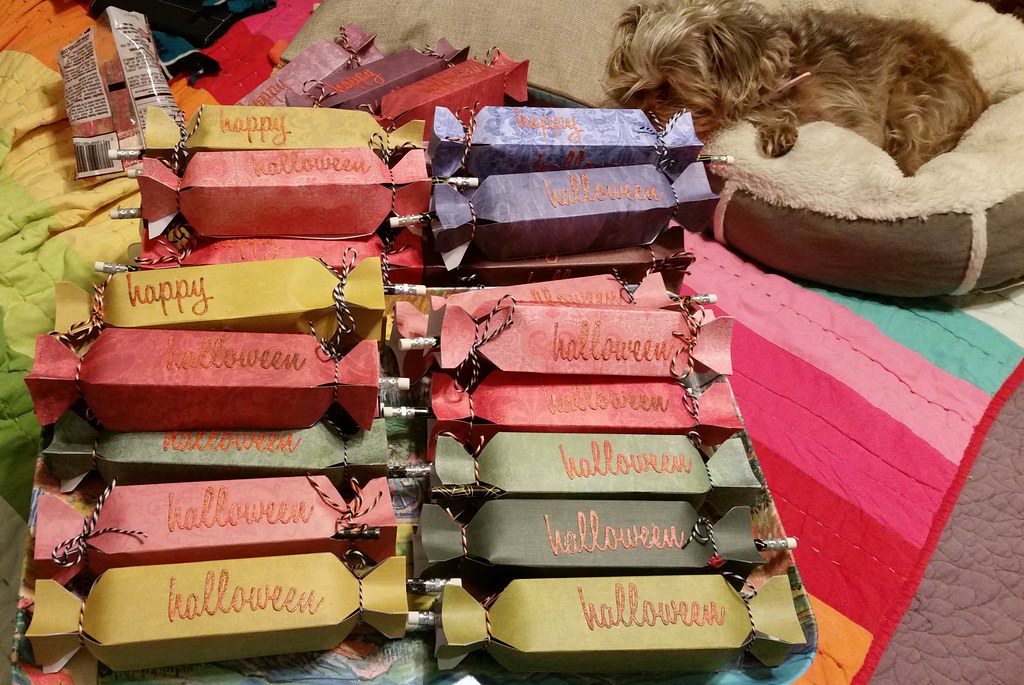
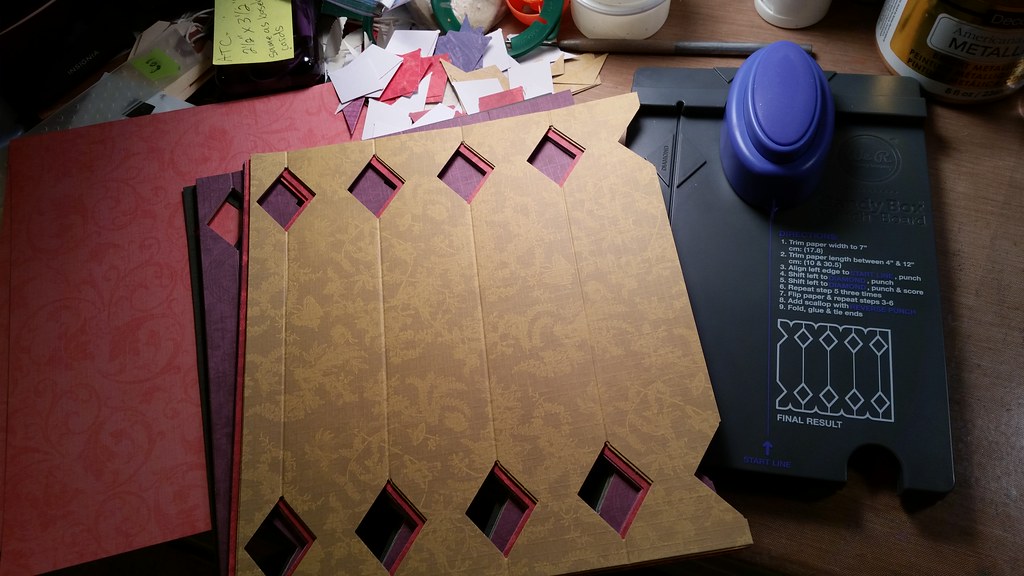
Dawn and I made these candy boxes for hers and Valerie's co-workers. Molly approved of them and so did everyone else. We made them using We R Memory Keepers candy box punch board. They're super easy, but punching them does require some stamina of the hands. These are so versatile, I hope we make some at Christmastime.
20161025_201215

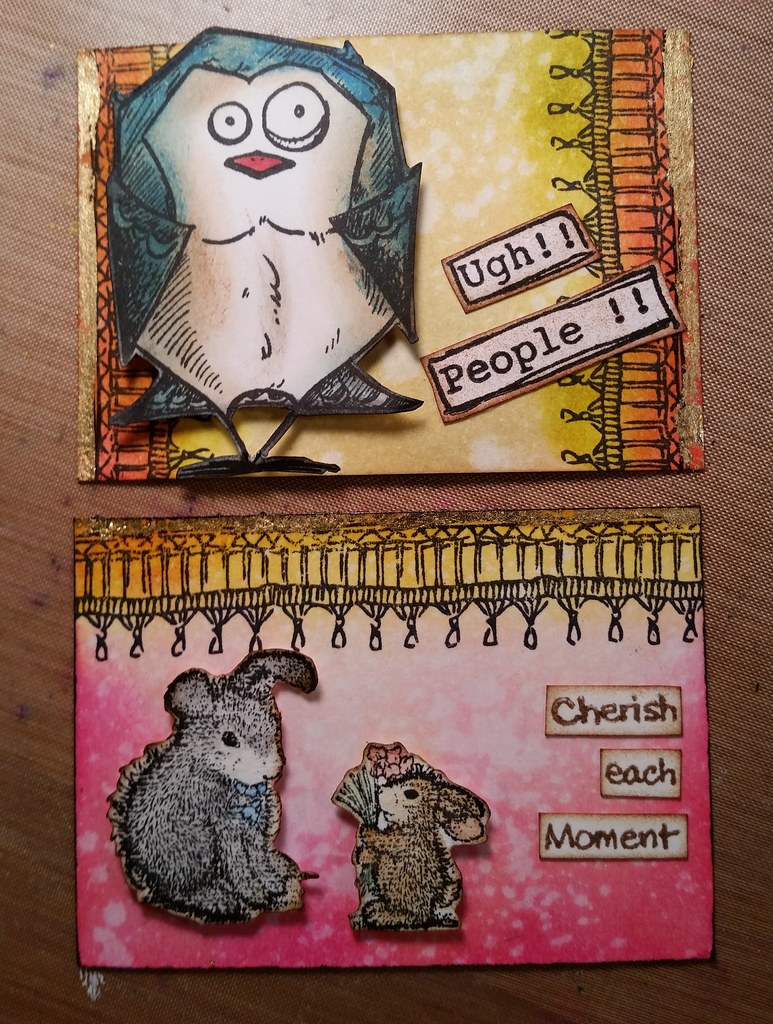
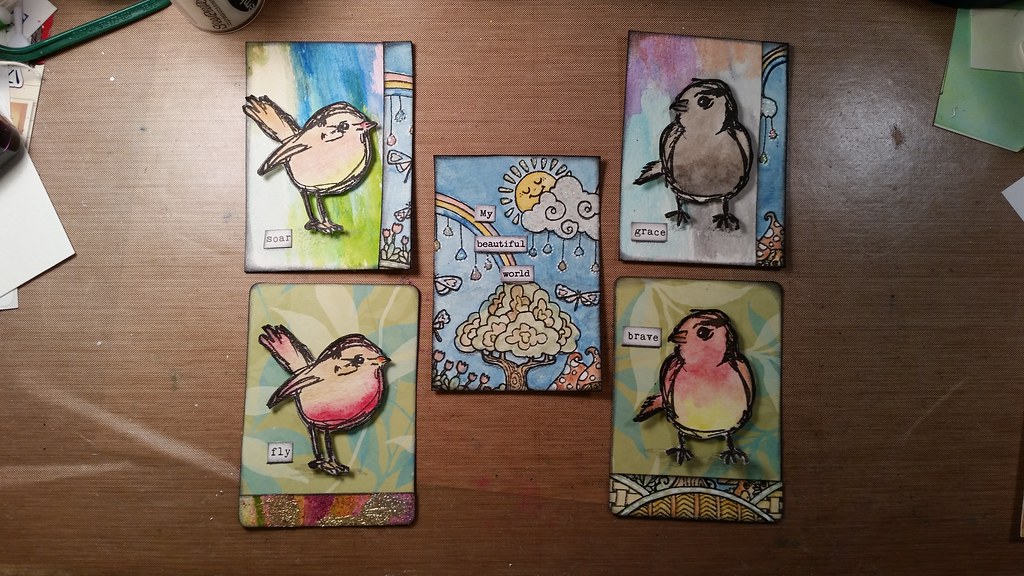
I've been doing a lot of ATC (Artist Trading Card) trades on Instagram. We also include other crafty things like tissue paper, die-cuts and other little tidbits we can use to make more ATCs. Here a just a few I made.
20161012_211841
20161025_151402

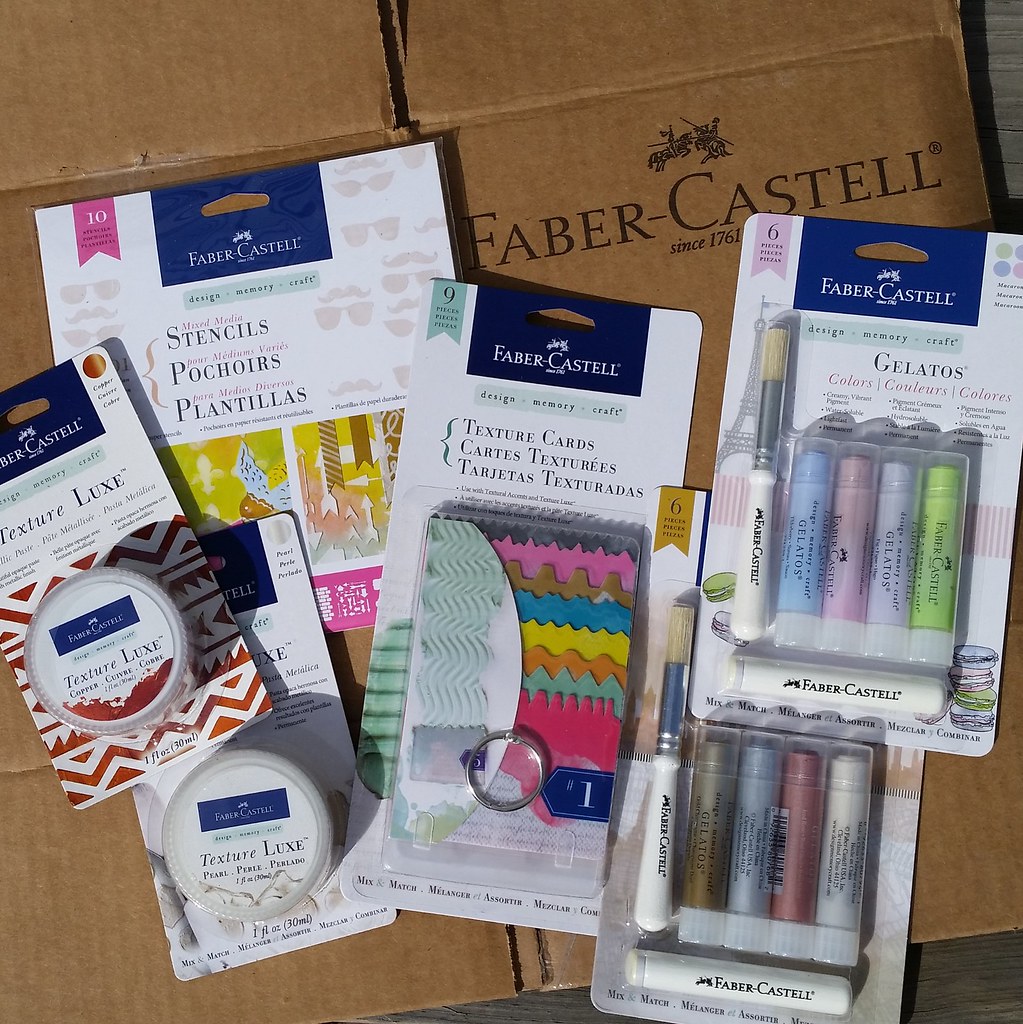
I won something on Instagram! A bunch of Faber-Castell products, woo-hoo! This box was full of great products I'll definitely use.
IMG_20161022_143702

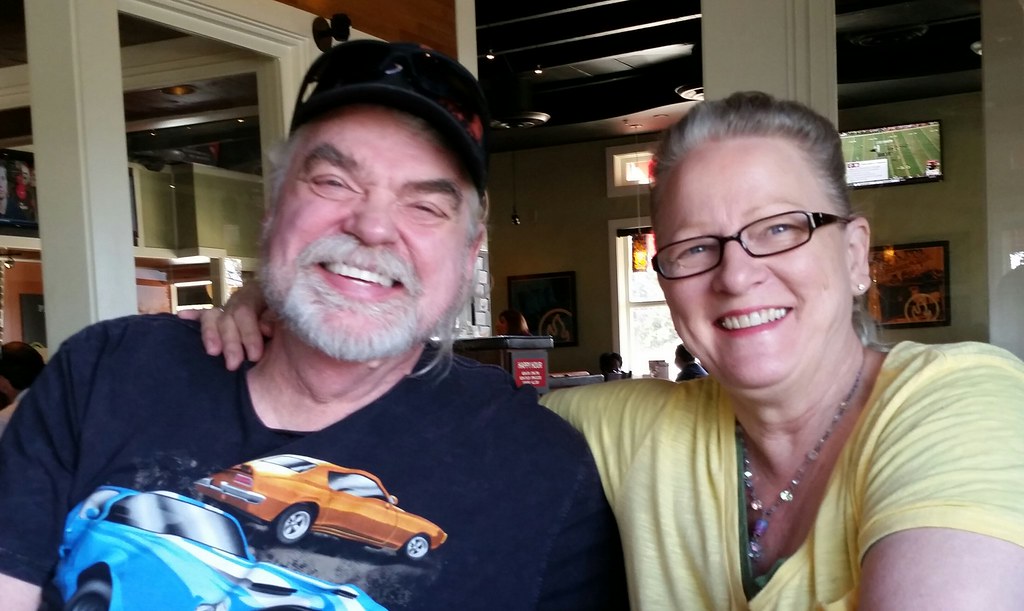
And then my husband and I celebrated our 38th anniversary! I can't believe we're that old.
20161022_120408-1

Sunday, August 14, 2016

Butterflies Galore!

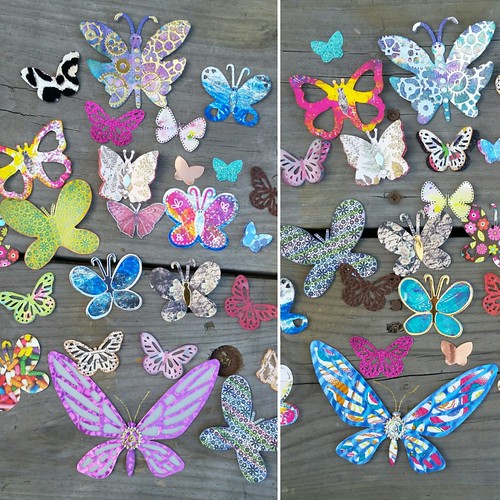
I recently revisited Swap-Bot and signed up for a butterfly swap. We were to make 20 butterflies for two partners, so a total of 40 butterflies were made. They could be punched, die-cut or hand-cut, and could all be the same shape, but they all had to be from different paper or prints. Of course, I went overboard, but it was so fun!


IMG_20160725_085429
I wonder what my partners will do with all of their butterflies?

20160713_161929
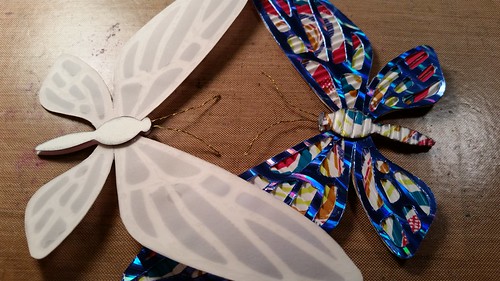
The other side of the butterfly on the left (above) is pink instead of blue, and is backed with vellum. They're cut from a Tim Holtz die and they are huge.


20160709_201145
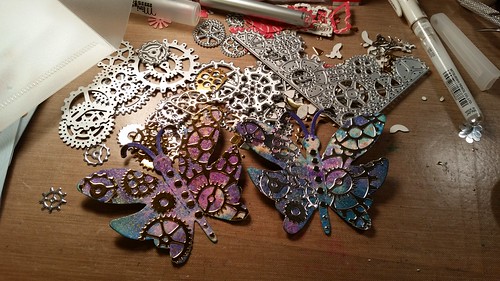
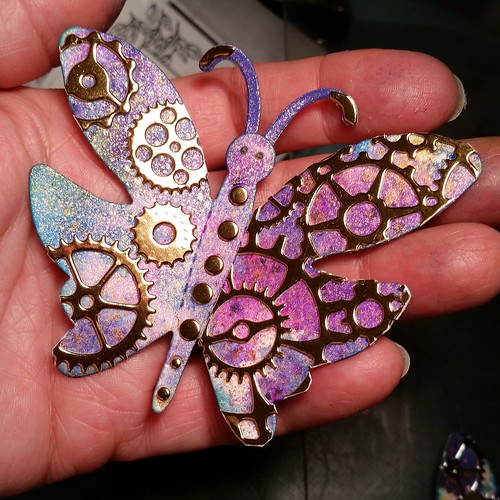
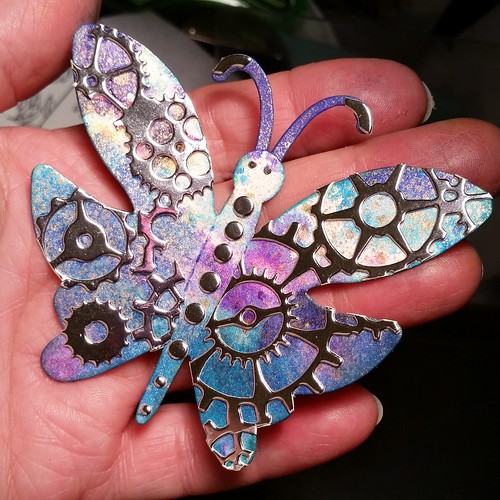
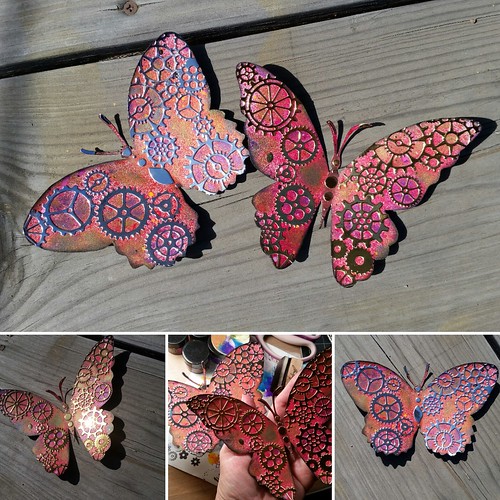
These are steampunk-ish palm-sized butterflies, my favorites.
IMG_20160709_205739
See? So big! I spritzed them with Distress and Dylusions ink and glued gears cut from metallic cardstock onto the wings. In person, it really does look like metal.
IMG_20160709_203810
I don't know why I haven't made myself one of these!
20160712_221318
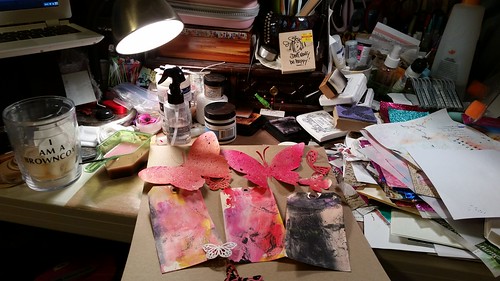
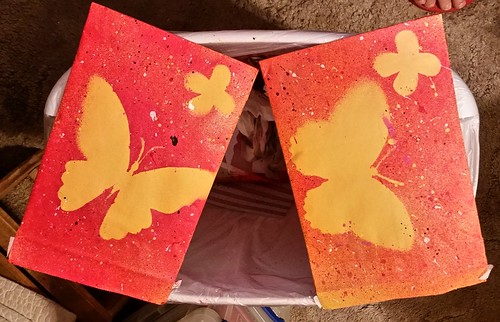
For the envelopes, I cut out two large butterflies from a coloring book I found at a thrift store, and placed them on the front of the envelopes as masks while I spritzed ink all around them. I placed smaller butterflies where the return address should be.


20160712_221454
I like how the fronts turned out, the backs could have been better.
20160712_220819
I received 40 butterflies from the Swap-Bot swap, mostly the size of the smallest ones I did, and I'm very happy with them. When I swap with someone, I mostly think about the giving, not the getting. So when it dawned on me I was going to get 40 butterflies, I was a little worried about where I was going to put them all. It's fine, they're in with my cut dies and I've already used a few of them on a project. This was a fun swap that I enjoyed immensely. 


IMG_20160714_165404
I liked the steampunk-ish ones so much, I took the butterflies I used as masks on the envelopes and did the same technique on them. I had originally intended to throw them away, but after seeing them with all the ink spritzed on them, I just couldn't. I'm glad I didn't! I'm sending them to a couple of Instagram buddies, but they don't know it yet. They're huge, and I'm not sure what my two Instagram buddies will end up using them for, but they commented on how much they liked them, so I thought I'd surprise them by sending them each one.

Be careful when you tell me you like something I've made, you just might end up with it.


Sunday, August 7, 2016

Creative Chemistry 103, Day 6

Today's class was an overview of some of the variety of substrates available from his line, so he didn't have any tags for us to make. So Dawn and I took the opportunity to get caught up. We crafted all. day. long!


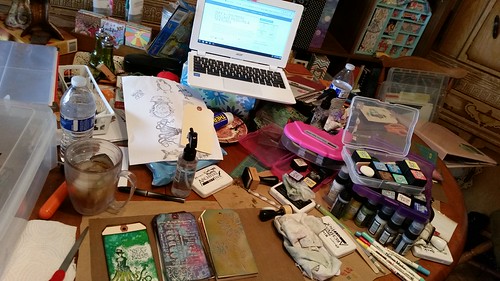
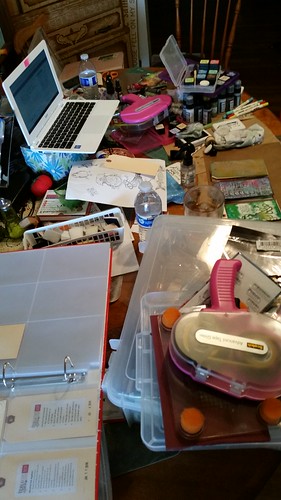
First and foremost, we made a humongous mess!


20160806_170828

20160806_170908
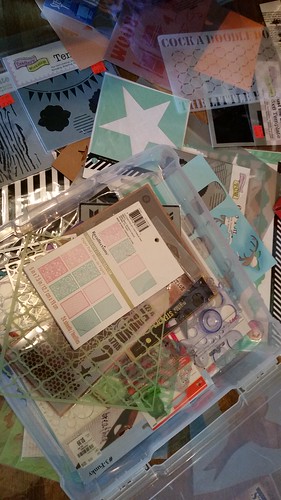
After gathering stencils from my bedroom and craft room, and throwing them on the floor so we could see them more easily, we decided it was time to put them in a bin. Honestly, I hadn't realized just how many we've accumulated over the last couple of years.

20160806_152544
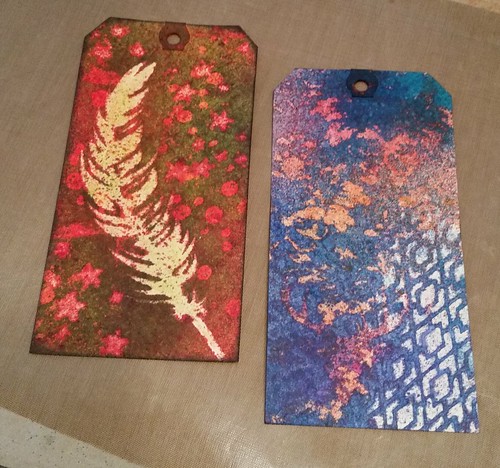
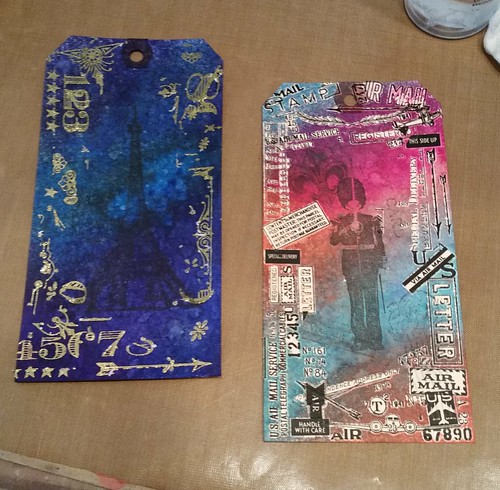
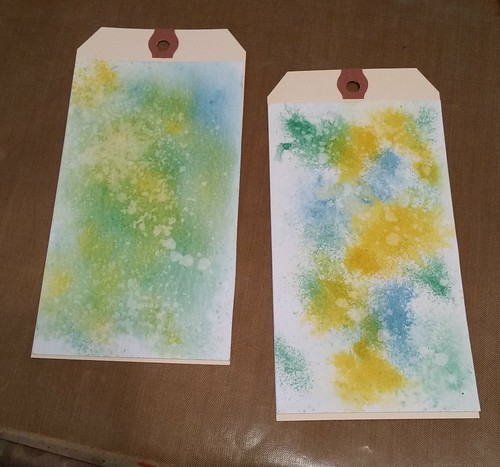
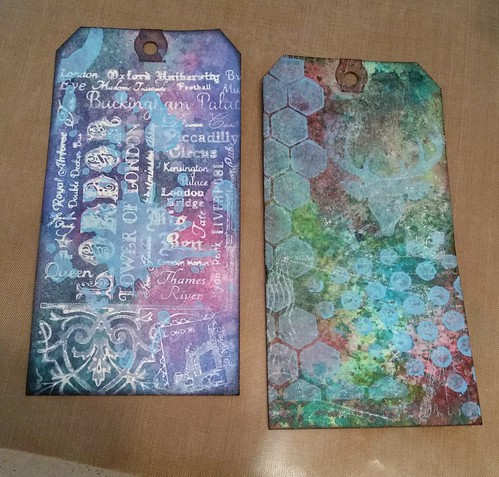
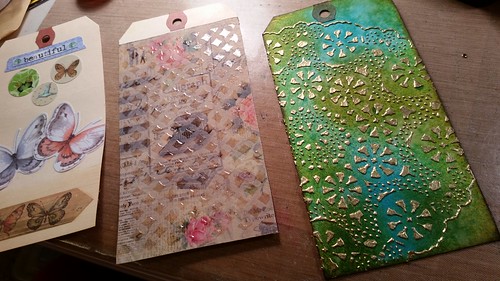
Okay, finally, here are the tags we created today. I can't remember all of the process names exactly, so my apologies for not labeling these as they should be labeled. I can tell you there was a lot of stencils, Distress Paint and Ink used, and a whole lot of spritzing going on. These are meant to be used as a reference so when we go to make a card, journal page or mixed media piece, we can look at the tags and remember, hey, we can do this or that to them, and have the confidence to go for it.


20160806_140534
Mine is on the left, Dawn's on the right.
Paint lifting, which was pretty cool once we got the hang of it.


20160806_161956
Mine is on the left, Dawn's on the right.
The one on the right is my favorite so far of all the tags she's made.

20160806_165906
Both of these are mine.I kind of want to draw flower outlines on the one on the right.
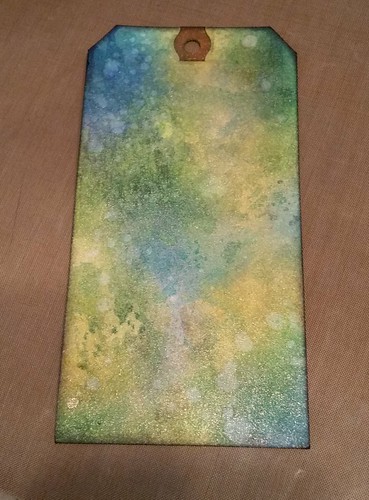

20160806_163841
Using Mica spray, this one is mine. You can't really see the wonderful shimmer
the mica spray gives it.

When we were finished crafting, Dawn printed out the tag/process labels and we sat on my bed, cut them out and adhered them to the backs of the tags we've been making the last few days. We finished just in time to tune into a live chat with Tim Holtz and company. It was very enjoyable, and we're looking forward to the next one.

20160806_144927
Paint resist with ink, one of my favorite processes.Mine is on the left, Dawn's on the right. 


20160806_133744
Using Micro Glaze, steampunk!
Mine is on the left, Dawn's on the right.


20160806_161457
Stain rub resist using Tim Holtz rub-ons
along the outer edges. Both of these are mine.
I love how they turned out.


That's a lot of arting going on, right?!


Summer of Creative Chemistry 101, 102, and 103

Wednesday, August 3, 2016

Creative Chemistry 103, Day Three

This session from Tim Holtz's Summer of Creative Chemistry 101, 102 103 was packed so full of projects, we couldn't finish them all. Not that we've completed all of them anyway, but even if we tired we wouldn't have been able to do them all in one evening. I'm not complaining, mind you. In my opinion, this series is worth more than double what we paid for all we're learning.

Thank you, Tim Holtz and Online Card Classes for keeping this so affordable and within our reach!

Day Three: Collage Medium (a sort of tester tag to compare the three different medium pastes), Paste Resist, Paste Embossing

20160803_231351

We had so. much. fun!


Monday, August 1, 2016

Creative Chemistry 103, Day One

My daughter and I are signed up for Tim Holtz's Creative Chemistry 101, 102, and 103 classes. I made this post so that I can upload the image of my tag to the gallery over there, so my apologies if this is a bit clunky.

Day One: Micro Glaze Distress

Micro Glaze Resist

My brain hurts from all of the creative awesomeness Tim taught us in this first lesson! Tomorrow is Day Two and my daughter and I are excited about diving in.