Showing posts with label steampunk. Show all posts

Sunday, August 14, 2016

Butterflies Galore!

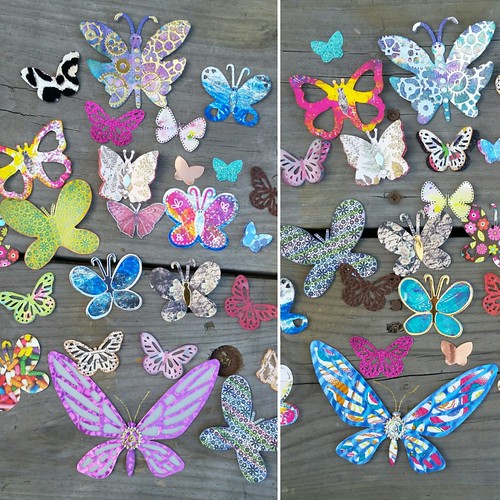
I recently revisited Swap-Bot and signed up for a butterfly swap. We were to make 20 butterflies for two partners, so a total of 40 butterflies were made. They could be punched, die-cut or hand-cut, and could all be the same shape, but they all had to be from different paper or prints. Of course, I went overboard, but it was so fun!


IMG_20160725_085429
I wonder what my partners will do with all of their butterflies?

20160713_161929
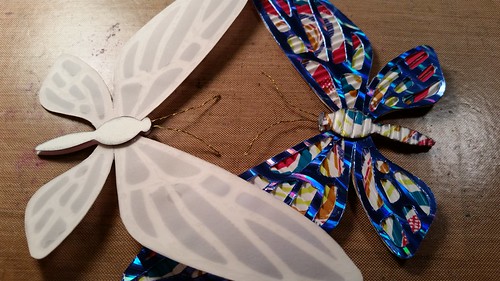
The other side of the butterfly on the left (above) is pink instead of blue, and is backed with vellum. They're cut from a Tim Holtz die and they are huge.


20160709_201145
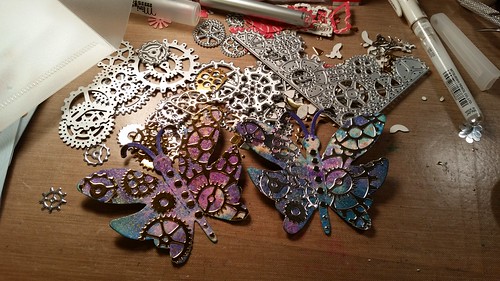
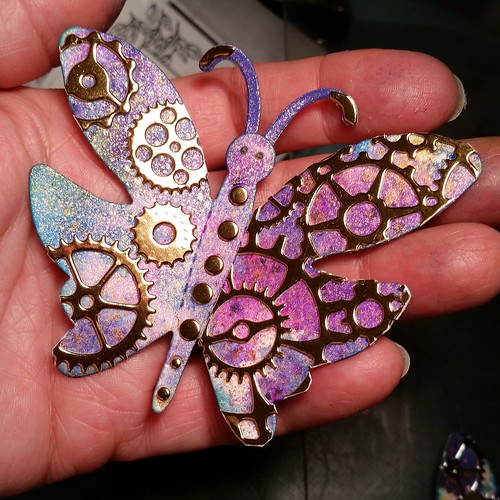
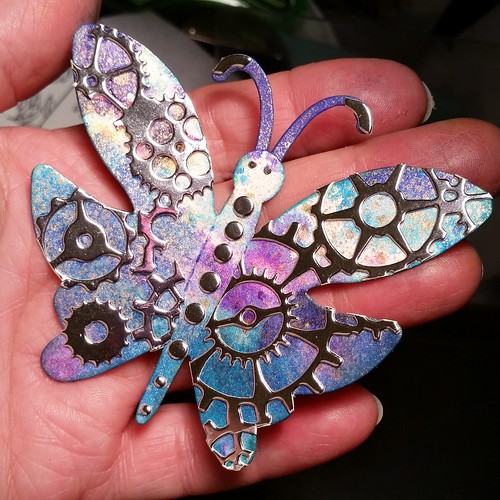
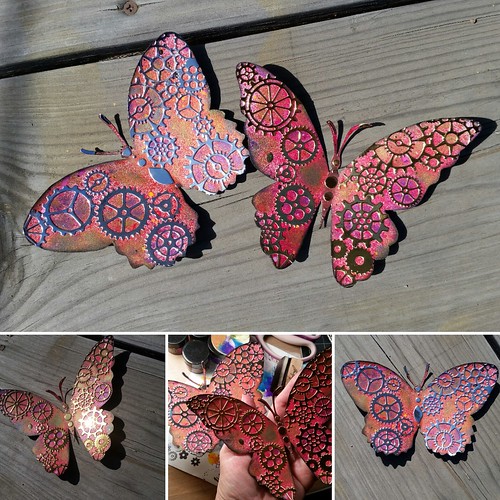
These are steampunk-ish palm-sized butterflies, my favorites.
IMG_20160709_205739
See? So big! I spritzed them with Distress and Dylusions ink and glued gears cut from metallic cardstock onto the wings. In person, it really does look like metal.
IMG_20160709_203810
I don't know why I haven't made myself one of these!
20160712_221318
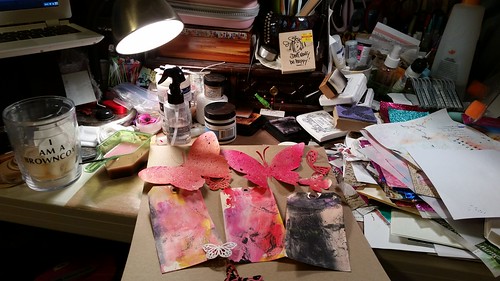
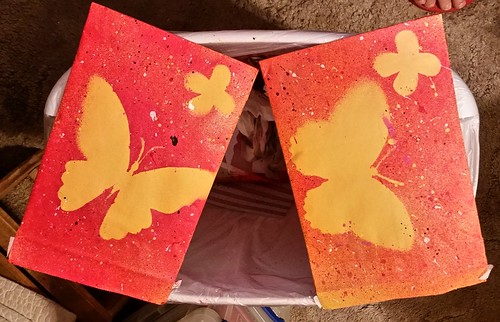
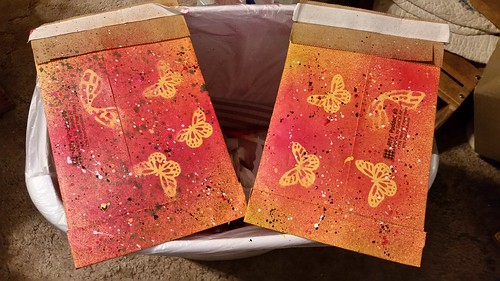
For the envelopes, I cut out two large butterflies from a coloring book I found at a thrift store, and placed them on the front of the envelopes as masks while I spritzed ink all around them. I placed smaller butterflies where the return address should be.


20160712_221454
I like how the fronts turned out, the backs could have been better.
20160712_220819
I received 40 butterflies from the Swap-Bot swap, mostly the size of the smallest ones I did, and I'm very happy with them. When I swap with someone, I mostly think about the giving, not the getting. So when it dawned on me I was going to get 40 butterflies, I was a little worried about where I was going to put them all. It's fine, they're in with my cut dies and I've already used a few of them on a project. This was a fun swap that I enjoyed immensely. 


IMG_20160714_165404
I liked the steampunk-ish ones so much, I took the butterflies I used as masks on the envelopes and did the same technique on them. I had originally intended to throw them away, but after seeing them with all the ink spritzed on them, I just couldn't. I'm glad I didn't! I'm sending them to a couple of Instagram buddies, but they don't know it yet. They're huge, and I'm not sure what my two Instagram buddies will end up using them for, but they commented on how much they liked them, so I thought I'd surprise them by sending them each one.

Be careful when you tell me you like something I've made, you just might end up with it.


Wednesday, July 3, 2013

Steampunk, Doctor Who and The Avengers

I love all those nifty gears you find in craft stores, but they can be pricey. So I picked up some packages of gear-like bits and pieces at OSH for cheap and died the silver with different colors of alcohol inks. I also used some watch parts on this card.
I stamped the boot in gold. It seems to need extra drying time, so I left it overnight since I had other things to work on. The crinkly paper behind the boot is scrunched up vellum I dabbed with several stamp pads in lots of different colors. The colors stayed on the wrinkles just as I wanted them to. That, too, needed extra drying time; vellum can be tricky to work with. The pop dots and double-sided sticky tape didn't want to stick, but the Tombow Mono Multi glue worked wonders.
The inside was kept very simple as this will be passed around my daughter's office for everyone to sign.
Speaking of my daughter, Valerie colored some Julie Nutting paper doll stamps I stamped up and made them like The Avengers/space alien she's been in love with lately. Left to right: Iron Man, Doctor Who, Thor (I dig the sparkly hammer) and Captain America. I love how they turned out!

Monday, May 28, 2012

 
I’ve finished all the Father’s Day cards on my list, so guess what I’ll be posting. This one’s for my brother John. He’s an oiler, climbs into those big ol’ mining trucks like Ukes and gets down and dirty.

 
I took a page from a pad of paper with grunge/steampunky-ish images on it and attached a few gear-cog-type embellishments. Silver lettering spells out his name. I used a simple gold brad on the inside. You can’t see it, but I traced around the images on the inside with a sparkle-silver pen to give it a hint of a glint. (I digitally covered the mushy hand-written sentiment, so there isn’t actually a weird grey box.)

Even though I tell my big brother how much he means to me, I don’t think he realizes just how much. He’s one of the funniest, hard-working, loyal, most endearing guys you’d ever want to meet. I love him a lot.