Showing posts with label stamping. Show all posts

Sunday, December 4, 2016

Stamping and Coloring

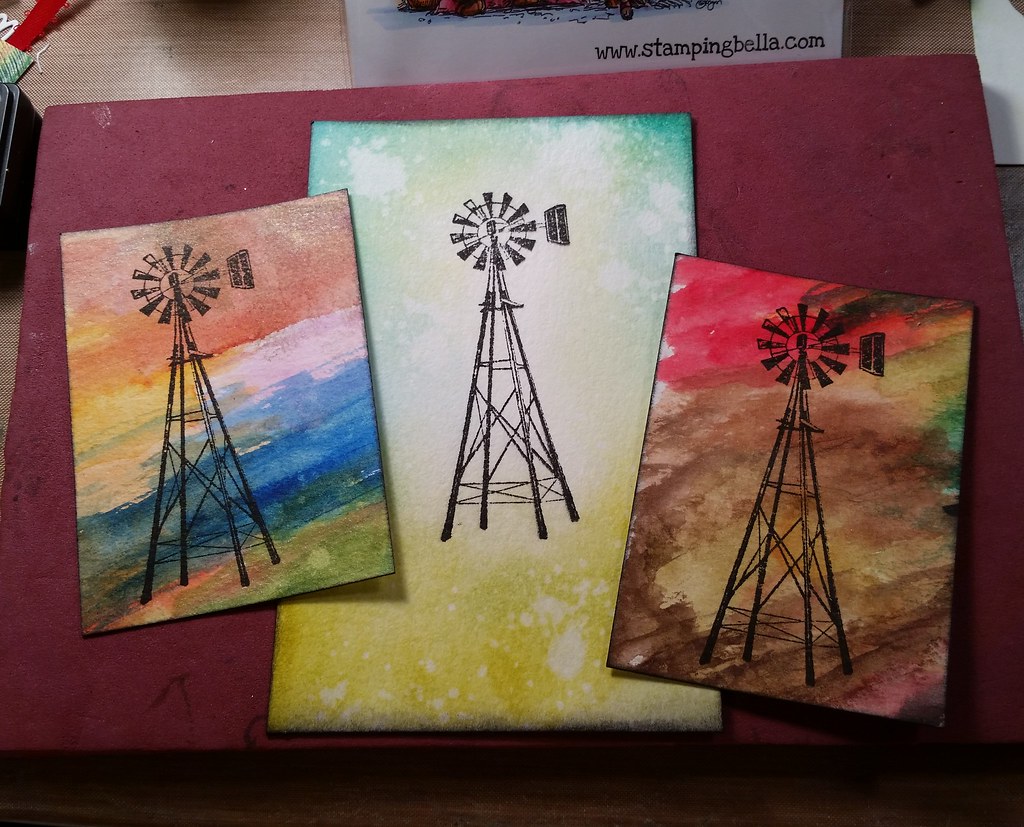
A while back I was making swatches for some watercolors Valerie bought me, and I used a piece of watercolor paper to clean off my brush in between colors. When I was done, I looked over at the paper and thought, wow, that would make great backgrounds for a set of ATCs (Artist Trading Cards).


IMG_20161122_220030
I stamped windmills on two of them. The other one was done with Distress Inks.


IMG_20161120_234944
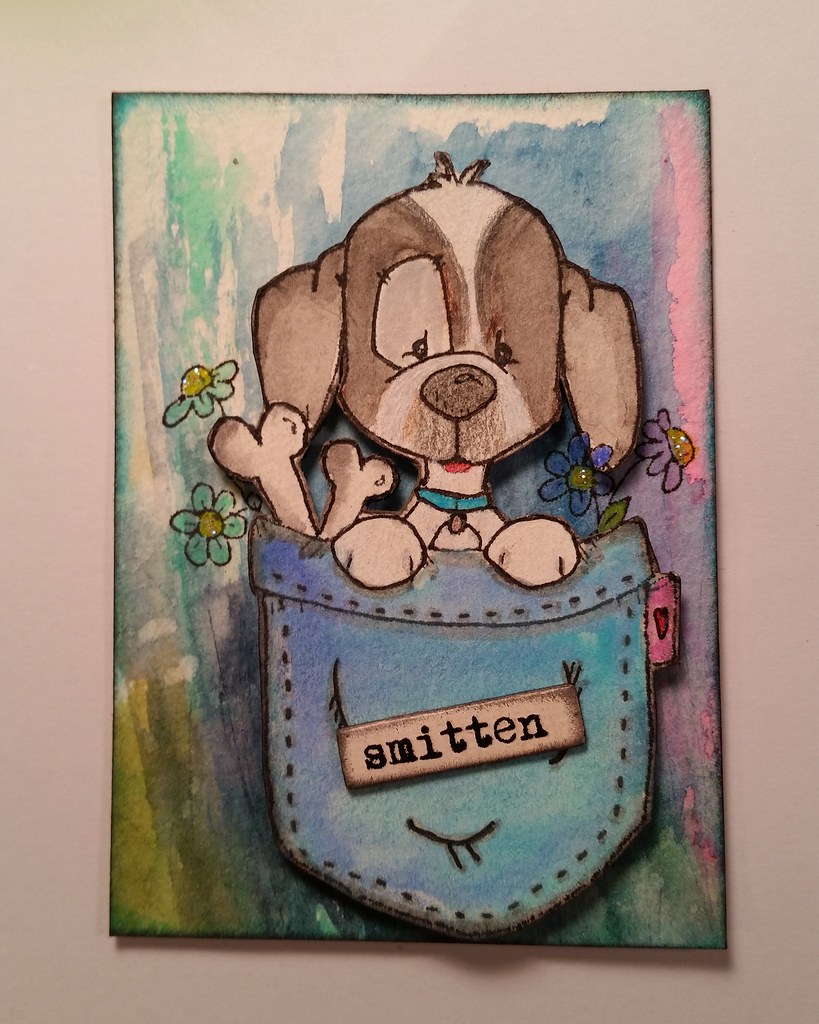
For this one I did the puppin in the pocket separately and popped it up with pop dots. I made the puppy to look like an on-line friend's dog and sent it on its way. I like how differently it looks just by cutting the background with the brush strokes going vertically.


20161127_194143
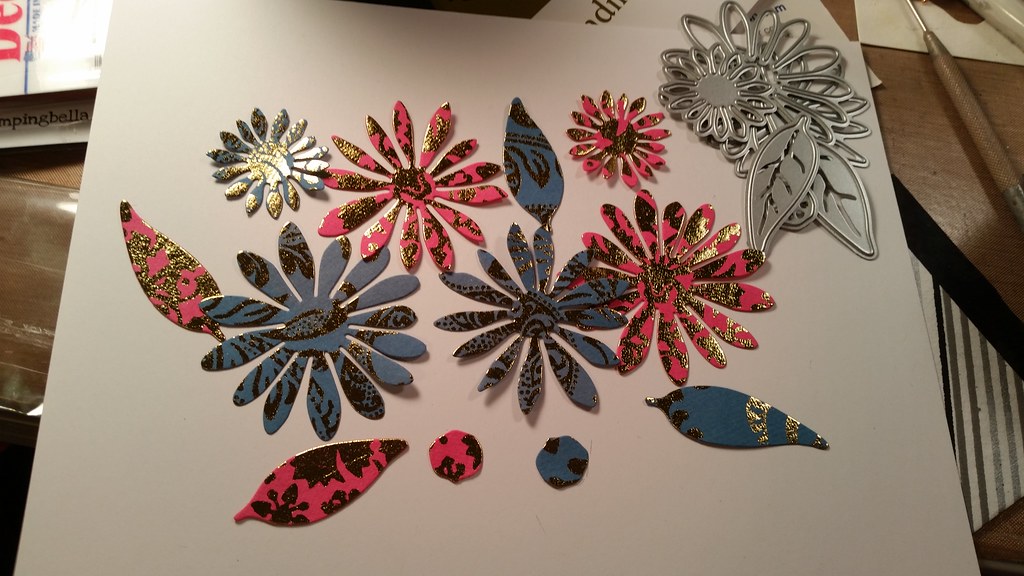
Valerie keeps spoiling me with new dies she doesn't want to wrap for Christmas! Aren't these flowers so pretty?! I cut them with handmade paper I've held on for far too long. It even has metallic highlights.

IMG_20161128_001312
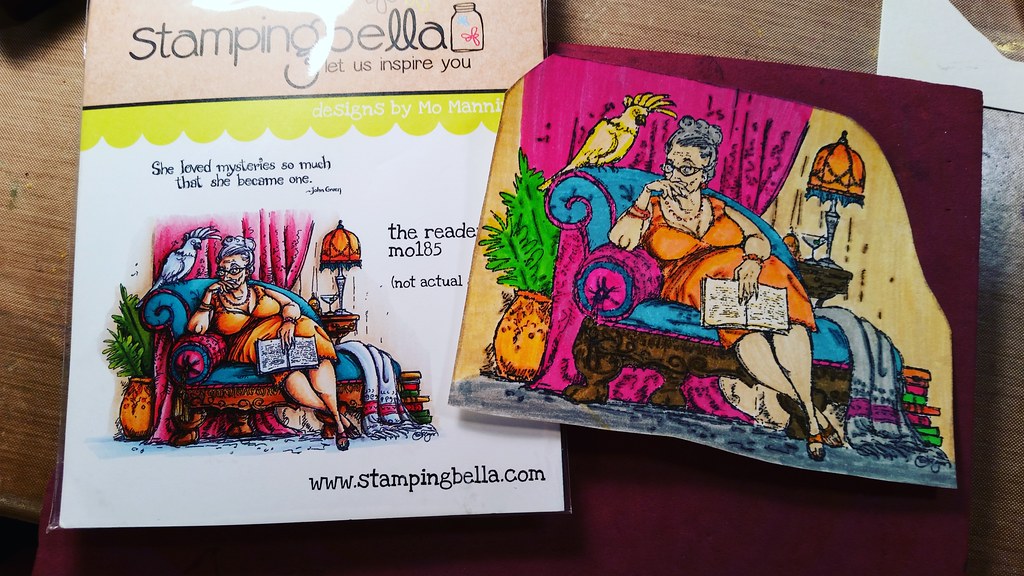
Dawn bought me this sweet stamp I've wanting for a long time. Isn't she fabulous?! I colored her with Faber-Castell markers and then went over each color with colored pencils to kind of fill in the strokes. I need to practice coloring with my markers more. Actually, I need to practice more of everything.

Monday, May 9, 2016

A Meaningful Stamp


This stamp reminds me of my mother.


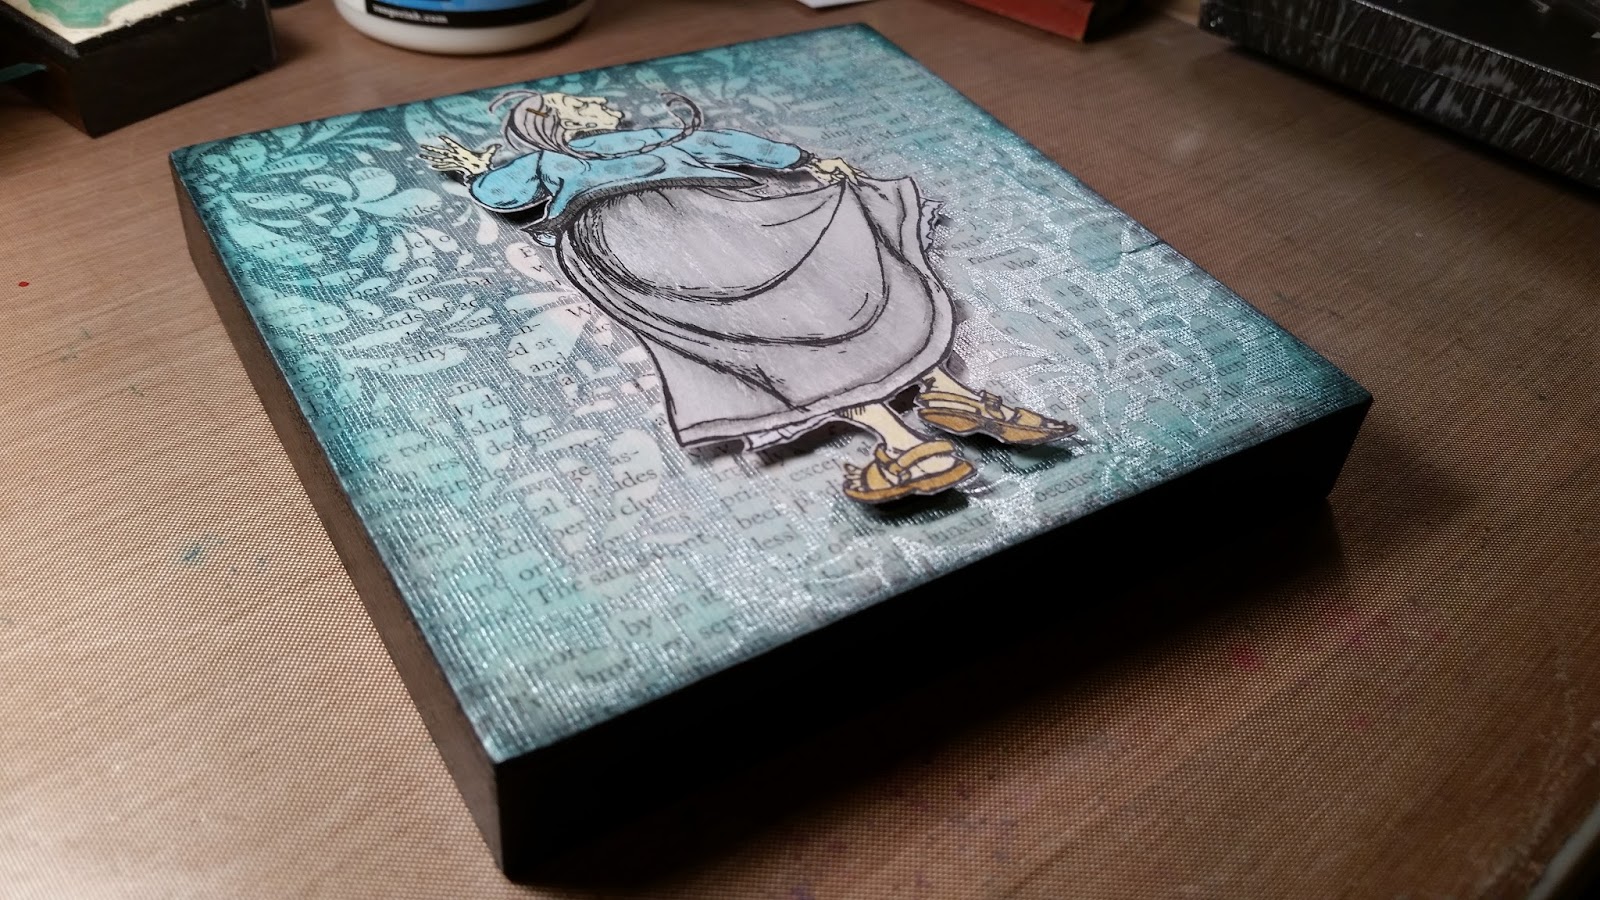
When I saw this stamp, "Never Stop Dancing," by Penny Black (link below), I immediately thought of my mother. It was on my Amazon wish list for at least a year. It’s now on my craft table. *eep!*

I colored the clothing to resemble my mom’s favorite outfit, a thick velvety sea green/blue jacket (with a black pattern I, sadly, can’t recall), and a black skirt. We buried her in it along with the bedroom slippers we couldn’t talk her out of.

When I finished coloring and cutting it, I wanted to display it but didn’t have any idea how. My daughter Dawn has been doing some mixed media, decoupaging pretty napkins on old book and magazine pages for possible journal pages. She made one I particularly liked and gave me a piece, the one you see here. It was just what I was looking for. (It's difficult to photograph because the silver is shiny, even without a flash.)


Let me back up a little. I spotted these sturdy little graduation box signs at the Dollar Tree and thought, hmm, I bet I could re-purpose them for my art. And so I did.

I peeled off what I could of the original sign (I tried painting over it with white gesso, but I wasn’t happy with it), and then decoupaged Dawn’s paper onto it. I blended Viridian and Aquamarine Archival Ink along the edges, and finished it up with Black Soot Distress Ink, all by Ranger.


I place pop-dots on the back of my lady to give her depth, centered her on the box and called it done.
I love it!


Disclosure – This post contains affiliate links, which means that at no cost to you, I may make a tiny commission if you decide to make a purchase. The products I link to are those that I believe in, regardless of any commission I may make from them. My goal is to help you easily find the tools, products, or other items that you will need to complete your project.

Monday, March 30, 2015

Paper Towns

As you can see, I'm still in love with Julie Nutting's paper doll stamps. I spent a few days working on getting multiple stampings of each one, then dressing them up by fussy-cutting patterned paper. I colored a few areas and topped them off with touches of Glossy Accents. It's nice to have them ready for cards I'll be making or for scrapbooking.

Thank you, Dawn, for spoiling me with my new stamps!

Thursday, October 30, 2014

Friends


For a friend’s birthday. I worked into the wee hours of the morning last night, probably spent too much time on it, but it was for a special friend. The ladies, in a funny way, represent, from left to right, me, my daughters and our friend. My daughters are a lot younger than us, but I thought it was a fun stamp to use.

The group is cut out from a stamp and popped up. Their clothing and purses are fussy-cut and glued into place, which was the most time consuming. I used colored pencils on some of the details and highlighted things like their sunglasses, shoes and accessories with sparkly pens.

I found a stash of tourist maps of the Monterey Peninsula I had amongst my printed cardstock and used it for the background. I love it. We live in this area, so it helped make the card that much more personal.

I am in love with this line of stamps!

Tuesday, June 17, 2014

Stamping and Painting

Did a bunch of stamping and made my first tag. It may end up on the front of a card.

But it's my paintings that I'm most recently proud of. I don't know why all of a sudden I'm wanting to do this, but it sure is a lot fun!


One of my friends wants me to do a triptych. Challenging, but I'm determined to do it. Also, my daughters and I have challenged one another to make something with specific themes. I can't wait to see the results.

Sunday, May 4, 2014

Intricate Embossing and Friends Reunited!

I dove into Dawn's cling stamp stash and came up with these doilies. I love the detail of these stamps!
These were created by stamping with embossing ink, sprinkling white detail embossing powder over it, and then heat setting it with my embossing tool.
The results were stunning. The contrast between the white and black makes the intricate lines pop.
I also stamped silver on black and white on white. I took some ink to the white on white and really liked how they came out, especially the multi-colored one. I took an ink pad with variegated colors on it and swiped it several times, back and forth, being careful not to mix the colors. After I fussy-cut them I thought they'd make great stickers, and they do!
I did some collaging of post cards, something different to send a couple of crafters I follow on-line. The cowgirl, a Julie Nutting stamp, is for someone who lives in Texas. I liked the feel of it from all the Mod Podge I used, made it feel leather-like.
This one, which is very different than anything I've done (and I'm not sure I like it very much) is for someone who designs clothing, fabric, and everything else under the sun. I'm hoping the sequins stayed put.
On a completely different note, I was so happy to have caught up with my best friend of 49 years while she and her new beau were in Monterey! Our motto is "Through thick and thin..." (Obviously, I'm thick, she's thin!). My daughters and I had a great lunch with Lauri and Kevin at Dominico's on the Wharf in Monterey. Every time I go to Monterey I forget how beautiful it is, this time made even more so by the coming together of lifelong friends.
I love you, Lauri!

Tuesday, March 11, 2014

My Love For Julie Nutting Paper Doll Stamps Continues

I ordered a few of the newest Julie Nutting paper doll stamps and I love them all! I actually tried something I saw on YouTube with this one.

I stamped her on a piece of mixed-media paper with black Versafine archival ink, and instead of paper-piecing her outfit with an already printed piece of card stock, I stamped the skirt with a floral pattern using a pigment ink. This is important because I wanted it to soften the stamped image a bit and pick up some of the purple color when I brushed over it with a water brush. It wasn’t quite as dark as I wanted, so I gave it another coat with purple metallic water color.

It didn't matter that the stamping and coloring went outside the lines because it was cut out and pieced together later. I must say, knowing I didn't have to be particular while coloring it made it even more fun.
I used a gel pen to color her hair and the top of the dress and headband, and gave the top a once over with a clear Wink of Stella brush pen. A piece of lace and a flower made of confetti with a pearl at the center was added to her waist. Her face, drawn free-hand, finished it up.

The stamping/water-color process was new-to-me, and drawing features was is something outside my comfort zone. New goals met.

Sunday, July 21, 2013

House of Cards

I had a lot of fun making a few cards and playing around a bit with paints. Since I have so many cards to share, I'll save the ones of my painting for the next post. I also have a note card project I'm excited to have completed, so I'll share them and the details next time as well.

This little lovely was simply for the pleasure of it. The background was an experiment in collage stamping that I thought had gone bad, but when I cut it down to card size I decided it wasn't such a disaster after all. The lanterns were cut with a die then stamped with matching stamps, colored with yellow watercolor pencils and covered with Glossy Accents to make them look as if they are burning bright.
The Marci stamp is probably one of my favorites, she's so adorable. Dawn made a Silhouette cutting of the stamp and then I stamped her on that. She's colored with pencils, markers and Stickles. It's my first attempt at blending. The photo does weird things to her hair, it looks much better in real life. My daughter said the umbrella reminds her of the one Firefly's Kaylee carried with her. The inside lamp was made with a stamp I cut out and then backed with rice paper I colored with yellow marker. The bamboo is stamped with very light-colored green ink.
This is a birthday card for my daughter's co-worker. She likes anything Harley Davidson-related, but I wanted to keep it feminine, so that's why I chose this black print. The medallions are metal, the top one of which I highlighted with colors of metal paste.

The next two are sympathy cards for people who lost their pets, one a dog, the other a cat.
I stamped the sentiment on to a cloth sticker-backed piece and popped it up with pop dots.
I found out later, after I had made this card, that the cat was some type of French breed, so I think this was just about perfect.
She was very appreciative and said this was the only card she received. Sympathy cards are my most difficult card to make, but one that gives me the most satisfaction.
This is an anniversary card for the best in-laws anyone could ever hope for.

My brother-in-law's anniversary is on the same day as my in-laws'. They love everything cowboy/western, so I thought this sign was extra cute and fit the bill perfectly.
I colored the wood sign, backed it with rice paper and added sticker lettering.
This one's for my oldest brother's birthday, kept it very simple. I tied a bit of twine at the side and outlined the sentiment at the center. The background paper has shiny gold lines on it, so it's a bit more brighter in person than the photo shows.

Looking back through this post made me realize how busy I've been at my craft table. I like that. A lot.
Tuesday, July 2, 2013

Woodland Creatures

I've had this bag of wood cuts for eons and finally did a little something with them. I used some cute stamps and then coated them for safe keeping.
Woodland creatures are stamped on the 4-sided piece, a deer, bears, turtle and owl.
This piece measures about 2-3/4". The bears are stamped on the reverse side of the deer. All sides are coated in Mod Podge Hard Coat.
 The little turtle is on the bottom. It's a bit funky, but he's still cute.
The little fawn is my favorite, she's so adorable!
The owl is lighter than I wanted, but Dawn still wants to make a necklace of it. I coated it with Glossy Accents and added a couple of rhinestones for the eyes so she sparkles.
Easy-cheesy! The bats stamped really well and Valerie wants me to put a magnet on the back of it for her.

 I'm glad I didn't pass up this $2.99 deal at Savers!