Showing posts with label Tim Holtz. Show all posts

Sunday, August 7, 2016

Creative Chemistry 103, Day 6

Today's class was an overview of some of the variety of substrates available from his line, so he didn't have any tags for us to make. So Dawn and I took the opportunity to get caught up. We crafted all. day. long!


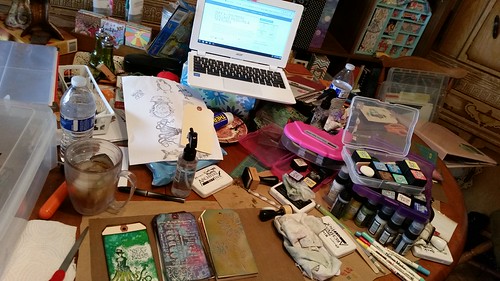
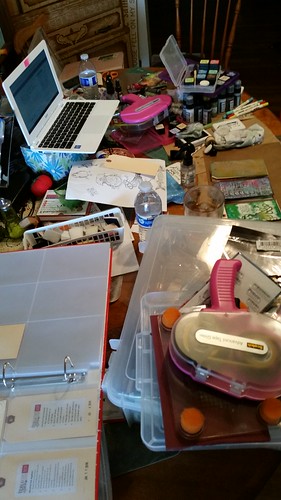
First and foremost, we made a humongous mess!
20160806_170828

20160806_170908
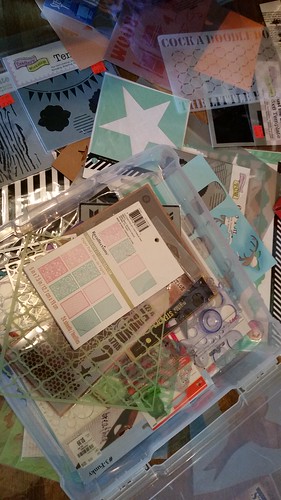
After gathering stencils from my bedroom and craft room, and throwing them on the floor so we could see them more easily, we decided it was time to put them in a bin. Honestly, I hadn't realized just how many we've accumulated over the last couple of years.

20160806_152544
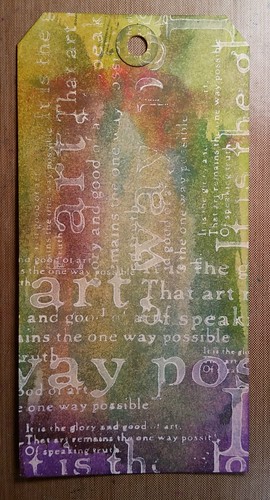
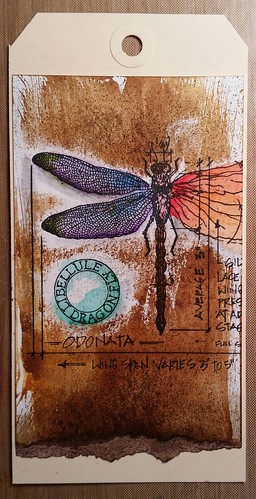
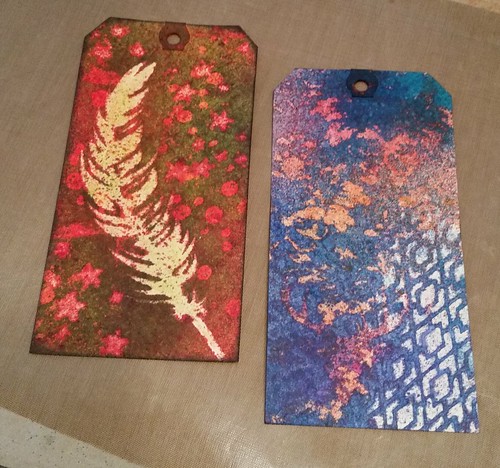
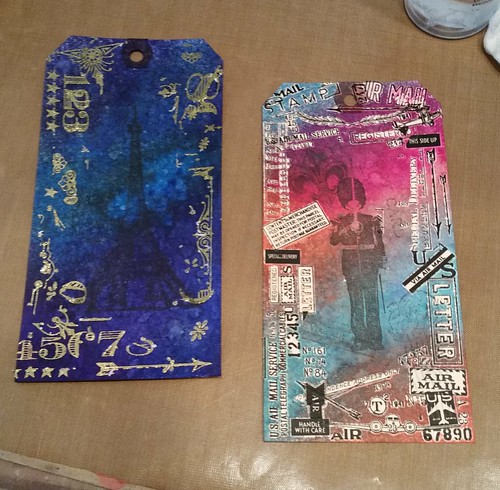
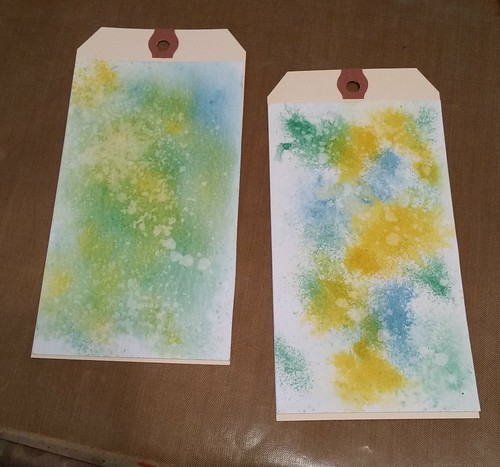
Okay, finally, here are the tags we created today. I can't remember all of the process names exactly, so my apologies for not labeling these as they should be labeled. I can tell you there was a lot of stencils, Distress Paint and Ink used, and a whole lot of spritzing going on. These are meant to be used as a reference so when we go to make a card, journal page or mixed media piece, we can look at the tags and remember, hey, we can do this or that to them, and have the confidence to go for it.

20160806_140534
Mine is on the left, Dawn's on the right.
Paint lifting, which was pretty cool once we got the hang of it.


20160806_161956
Mine is on the left, Dawn's on the right.
The one on the right is my favorite so far of all the tags she's made.
20160806_165906
Both of these are mine.I kind of want to draw flower outlines on the one on the right.
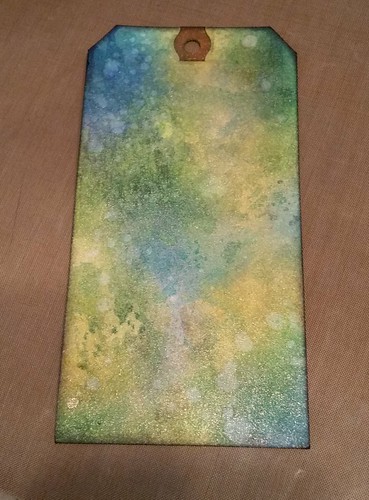

20160806_163841
Using Mica spray, this one is mine. You can't really see the wonderful shimmer
the mica spray gives it.

When we were finished crafting, Dawn printed out the tag/process labels and we sat on my bed, cut them out and adhered them to the backs of the tags we've been making the last few days. We finished just in time to tune into a live chat with Tim Holtz and company. It was very enjoyable, and we're looking forward to the next one.
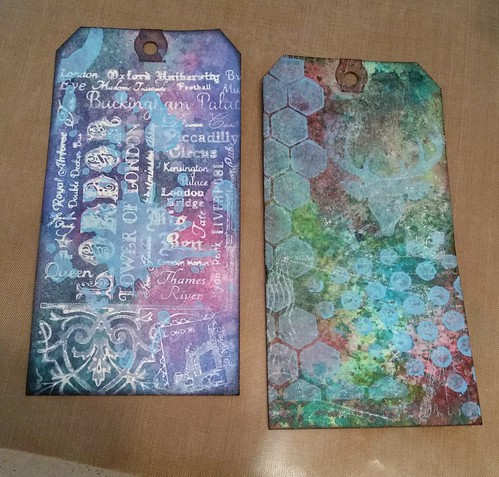
20160806_144927
Paint resist with ink, one of my favorite processes.Mine is on the left, Dawn's on the right. 
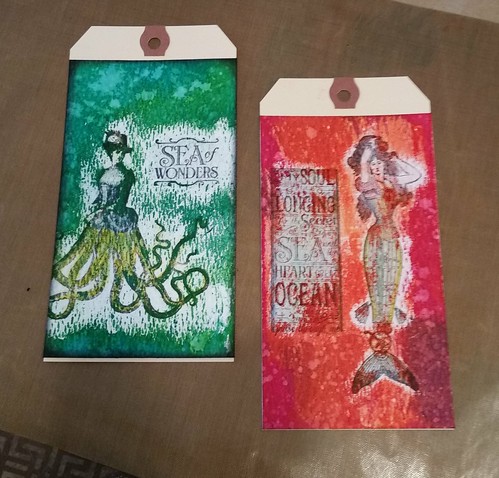

20160806_133744
Using Micro Glaze, steampunk!
Mine is on the left, Dawn's on the right.
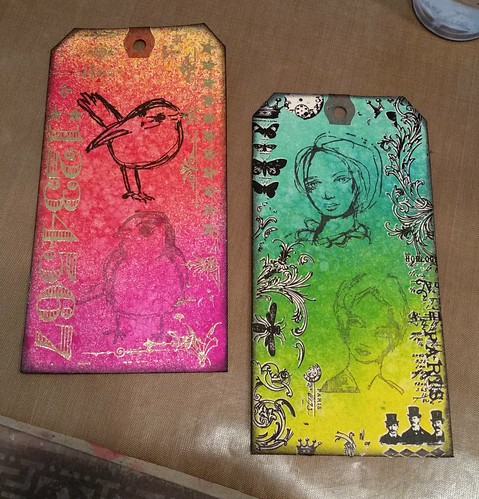


20160806_161457
Stain rub resist using Tim Holtz rub-ons
along the outer edges. Both of these are mine.
I love how they turned out.


That's a lot of arting going on, right?!


Summer of Creative Chemistry 101, 102, and 103

Saturday, August 6, 2016

Creative Chemistry 103, Day Five

Man, oh, man, what a loaded class this was! Dawn and I worked through all of the lessons this time, and we even made a few extras. She worked on decorating an envelope for a swap as well, so, two birds with one stone. We rock.

Alcohol Inks


20160805_232859
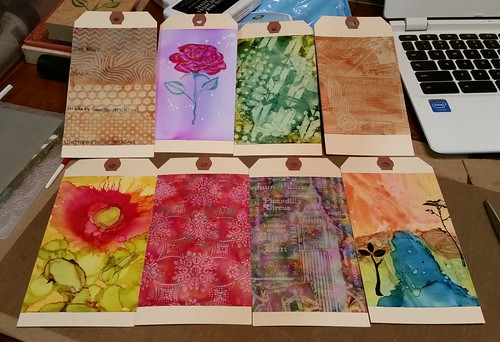
These are all of the tags I made on Day 5

We discovered we don't much like working with alcohol inks, but that's okay, we still had fun. The funny thing about the alcohol inks is that, just when you think you hate what you're making, if you just wait a few minutes the whole thing changes and you like it more than before.


20160805_213924 
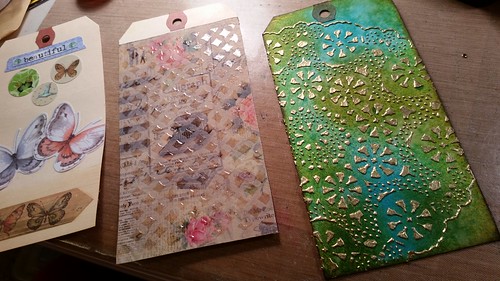
Dawn, working on her embossed tag

We still didn't love it, but we're glad we did it. Now we know we don't need to buy anymore of those types of supplies. I doubt we'll use up what we have. But that's just us. I encourage you to play with this product, you might love it.


20160805_190915
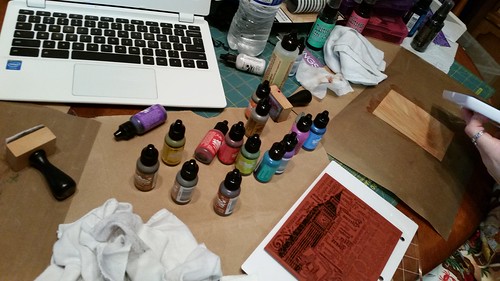
It was one big sticky, stinky mess

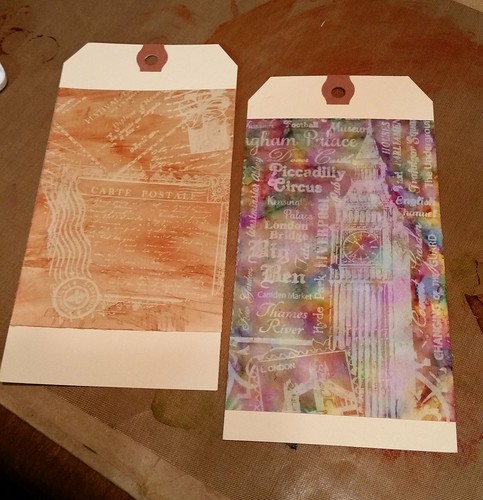
The one with Big Ben was my absolute favorite, I think I might even do it again in the future. The embossed one, to the left of Big Ben in the group picture above, was also pretty easy and impressive.


20160805_230122
My favorite process, alcohol ink with faded background stamp

All in all it was a fun-filled class made even more fun because I was able to craft with my daughter.

Wednesday, August 3, 2016

Creative Chemistry 103, Day Three

This session from Tim Holtz's Summer of Creative Chemistry 101, 102 103 was packed so full of projects, we couldn't finish them all. Not that we've completed all of them anyway, but even if we tired we wouldn't have been able to do them all in one evening. I'm not complaining, mind you. In my opinion, this series is worth more than double what we paid for all we're learning.

Thank you, Tim Holtz and Online Card Classes for keeping this so affordable and within our reach!

Day Three: Collage Medium (a sort of tester tag to compare the three different medium pastes), Paste Resist, Paste Embossing

20160803_231351

We had so. much. fun!


Tuesday, August 2, 2016

Creative Chemistry 103, Day Two

More brain overload with the fabulous lessons from Tim Holtz's Summer of Creative Chemistry 101, 102 and 103! I hope to post at least one of my favorite processes from each class this week.

Day Two: Paint Resist

20160628_122709
I really enjoyed this one and love the results. I can see me using it on future projects.

Monday, August 1, 2016

Creative Chemistry 103, Day One

My daughter and I are signed up for Tim Holtz's Creative Chemistry 101, 102, and 103 classes. I made this post so that I can upload the image of my tag to the gallery over there, so my apologies if this is a bit clunky.
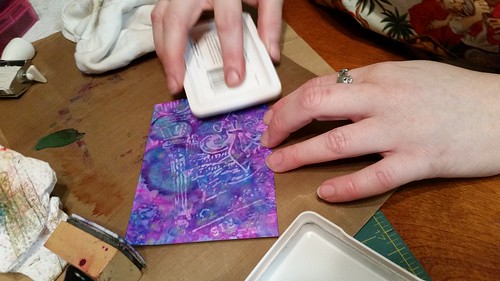
Day One: Micro Glaze Distress

Micro Glaze Resist

My brain hurts from all of the creative awesomeness Tim taught us in this first lesson! Tomorrow is Day Two and my daughter and I are excited about diving in.

Thursday, January 21, 2016

Bird Crazy

These stamps, though!
I've been wanting these stamps for a long time. When my daughters brought them home to me I couldn't wait to try them out!
To purchase a set of these nifty stamps, see the link at the end of this post. (I'm trying out Amazon's affiliate program, so I do get a tiny reward if you purchase them after following the link from my blog.) There are also dies that go with this set, but honestly, they're quite easy to cut with scissors and a craft knife.

We interrupt this post for a moment of cute: Rarely does Molly show me outright affection, so when she rests her tiny head on my leg, I can hardly stand the cuteness!
I did some sketching! Using deli paper, I traced the general form of Molly by placing it over a photograph on my phone. It was tricky because every time the weight of the pencil touched the screen, it would change photos or enlarge the picture. So I had to barely make a mark on the paper and then do the real sketching on the table. It's okay to say she looks like an Ewok.
I was so pleased with Molly's sketch, I tried a self-portrait of sorts.


And then Molly fell asleep gazing up at me. My heart...


~~~~~~~~~~~~~~~~~~~~~~~~~~~~~~~~~~~~~~~~~~~~~~~

Bird Crazy stamps by Stampers Anonymous


Disclosure – This post contains affiliate links, which means that at no cost to you, I may make a tiny commission if you decide to make a purchase. The products I link to are those that I believe in, regardless of any commission I may make from them. My goal is to help you easily find the tools, products, or other items that you will need to complete your project.

Monday, December 17, 2012

I'm A Winner!


I won this set of rubber stamps by commenting on a craft blog I follow on YouTube. Actually, I won 5 stamps, but one, an adorable image of a piece of wrapped candy, fell behind my dresser and I can't get to it, ugh. (I'm sorry, R.J.!) I didn’t even realize I was entering a contest. I usually try and leave comments on craft videos regardless if there is a contest or not, so this was a nice surprise.

Guys are rare in the crafting community and this one, R.J. Avery is just the nicest fellow and very talented. My daughter Dawn and I learn something from him just about every time we watch one of his craft videos.
I stamped the gingerbread with white embossing powder, but I wasn't happy with the result. I just so happened to have a 3-D embellishment of the same little guy only a little smaller. I popped him up directly on top of my stamp, which allowed the stamp to sort of highlight the sticker. I like the affect, and, good save! The inside sentiment is a sticker.
Isn't the mouse just the cutest little thing you ever did see?! I embossed him with black detail embossing powder and colored his sweater with a red glittery gel pen. There are two different patterns of Washi tape along the bottom, one on top of the other. I surrounded the mouse with opaque Christmas tree and snowflakes stickers. I used another sticker for the sentiment and added a couple of more snowmen.
The Christmas tree stamp is so pretty! I stamped it several times using clear VersaMark embossing ink and silver detailed embossing powder. I love the affect of the silver embossing powder, it's my favorite. The trees didn't show up as well as I wanted them to, so I colored them in with various shades of green colored pencil and gave the front a light coating of green ink with my Tim Holtz blending tool. I used the same silver embossing powder on the inside sentiment using one of the new stamps.
I've never been challenged to make a certain type of card, but I'd do it again, it was really fun. Thanks again, R.J., have a very Merry Christmas and a wonderful New Year!

Thursday, December 13, 2012

Aluminum

My daughter Stumbled me an Etsy seller, Recycled Souvenirs, who sells things made out of aluminum cans cut from craft dies, you know, like some of the ones I have. LIKE THE ONES *I* HAVE! I couldn’t get to the recycling bin fast enough to cut a few cans and give it a try! Surprisingly, I didn’t cut myself, yay.
 
It was fun figuring out which dies would look good in aluminum form and then seeing them come to life. To give you an idea of size, the bird cage is about 4-inches high. I learned a lot, mostly to be more observant as to which side should be the right side, and that a variety of soda cans would make for some interesting patterns. (But I only buy Coke, don’t know if I can sacrifice taste for the sake of crafting, haha!)
The cool thing about the dies is that they sort of bend the edges as they cut so they’re not sharp. Also, even though aluminum is pretty tough these are still fragile and bend quite easily. These would be great for card-making (of course!) scrapbooking, magnets, pictures, and other crafty-type things along those lines.

Check out the camera piece that Etsy seller has up, it’s what got me so excited. I don’t know who they are, but for all the trouble it takes to make these puppies they’re very reasonably priced.

Friday, November 30, 2012

Wizard of Oz Christmas Cards

I signed up for a Wizard of Oz Christmas card exchange with my Oz group and started making them as soon as we started talking about getting one together. I'm glad I did, they're already on their way! They didn't have to be homemade, but I'm a card-maker, so I was excited to make them. I've been holding on to a ton of Oz scrapbooking paper and was more than happy to dive into it and get to cutting.

I started with 4" x 5-1/2" natural-colored pre-made card stock. I love that earthy color, it makes the vintage look more authentic. I cut the images a bit smaller and used pinking sheers for one side. My little cutter doesn't cut true lines, so this helps mask the imperfection. I stamped and embossed a pair of silver shoes on each image (a nod to the original book version), then inked the edges with Tim Holtz Distress Ink, Vintage Photograph (by Ranger Inks)

Two holes were punched along the side for a pretty piece of red ribbon. It was a nice little splash of color for the outside as well as the inside.
Here's a close-up of the stamped and embossed silver shoes. I think it makes the card.
For the inside I cut a square of striped paper, stamped and embossed the sentiment, and didn't forget to add Toto, too!
I made a tag/label for the back that has the name of our club by cutting a square, rounding the corners with my corner chomper, inked the edges then signed and dated each one.

When they were sealed I placed unique Oz stickers on the back of the envelopes. I've had these forever as well, so it was good to put them to use.
I like these so much I want to make more for general purposes and to have on hand for other occasions. Goodness knows I have enough paper.